Last night I excitedly pulled out one of the new Silhouette files I purchased this week. It was SO cute! But then, I was a little confused and couldn’t find any instructions, a website, different pictures of it that might show me that one little piece of info I was missing. I even asked on one of the Silhouette pages I’m on on Facebook and they weren’t sure either. Finally, I figured it out – in my defense I was crafting on little sleep – and because we couldn’t find any help online, I thought I’d take some pictures and do a quick tutorial in case someone else has the same question I did.
First, here’s the file I was using and a picture from the Silhouette Store of the project. What I needed to see was the side, which obviously isn’t shown here.

Let me show you what I wasn’t sure about.

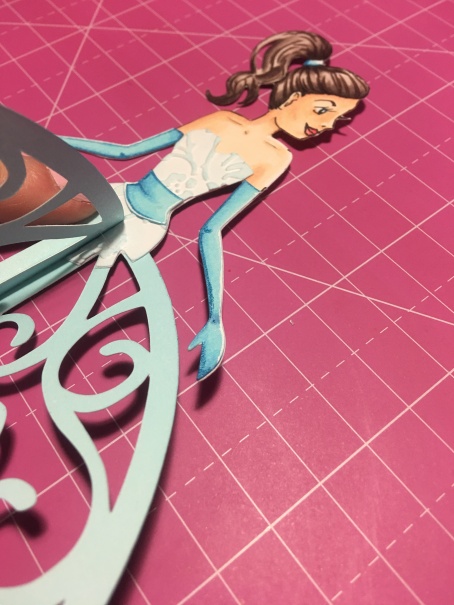
I knew what I was supposed to do with the center slot. What I couldn’t figure out was why the other notches were there and what I was supposed to do with them. Here’s what I finally figured out 🙂
Two of the ball gown pieces slide into the slot and are folded and glued down – one on each side. Those notches line up with the dress design. See 🙂
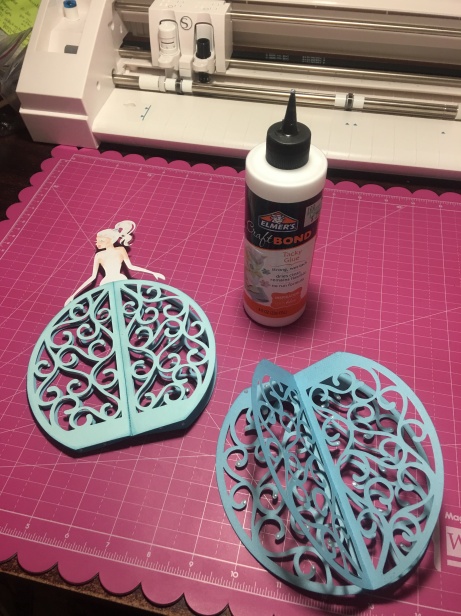
After I realized that, the rest was gravy 🙂 The design cuts six of the skirt pieces. I ended up using eight. You crease them in the center where the score lines are cut, then glue them together to form the bottom of the gown. I put them together in threes, three for the front, three for the back as pictured below.

Next, I added the front of the skirt, then the back. This will fold down flat, so I took advantage of that and folded it flat to make sure I had the designs lined up before giving it some good pressure to make sure my glue had a good chance to adhere to everything.
Once everything is in place and where you want it, you can stand your project up and celebrate 🙂 This really was a quick and easy project once I figured out that one little issue. That being said, there might be other ways to assemble this piece, and that’s okay. Papercrafting is so flexible it allows for various ways of getting to the same outcome, so find what works for you and go with it.
Here’s the finished project. Thanks for stopping by!
xoxo

***Non-paper things used:embossing folder for dress, copics, colored pencils, and white gel pen


 Thanks for stopping by 🙂 xoxo


