You guys, I’ve been trying for a WHILE to put designs on hats. Every now and then I pull it off. But more often than not, I end up wasting hats and time. I usually end up with a crease that makes the cap look bad 🙄
In the past I bought patches to sublimate onto to then put on the hat, hoping that was the answer. It wasn’t, not like I’d hoped.
But today was different!
I spent the weekend looking up tutorials on making my own patches and applying those to hats and it worked!
In the summer, we try to take the kids on a trip. It usually involves a family reunion, then some time for our immediate family to explore. I like decorating bags for the kids to take to keep their things in. And sometimes I go a little crazy…like this year.
This year there are water bottles, shirts, drawstring backpack tags, backpacks, and, you guessed it, hats.
I didn’t have really high expectations for these caps because of past experience. But boy howdy! I didn’t mess up ANY of them. Not even the practice one lol.
And since I’m super excited that I finally did something that worked like it was supposed to, I’m sharing it lol
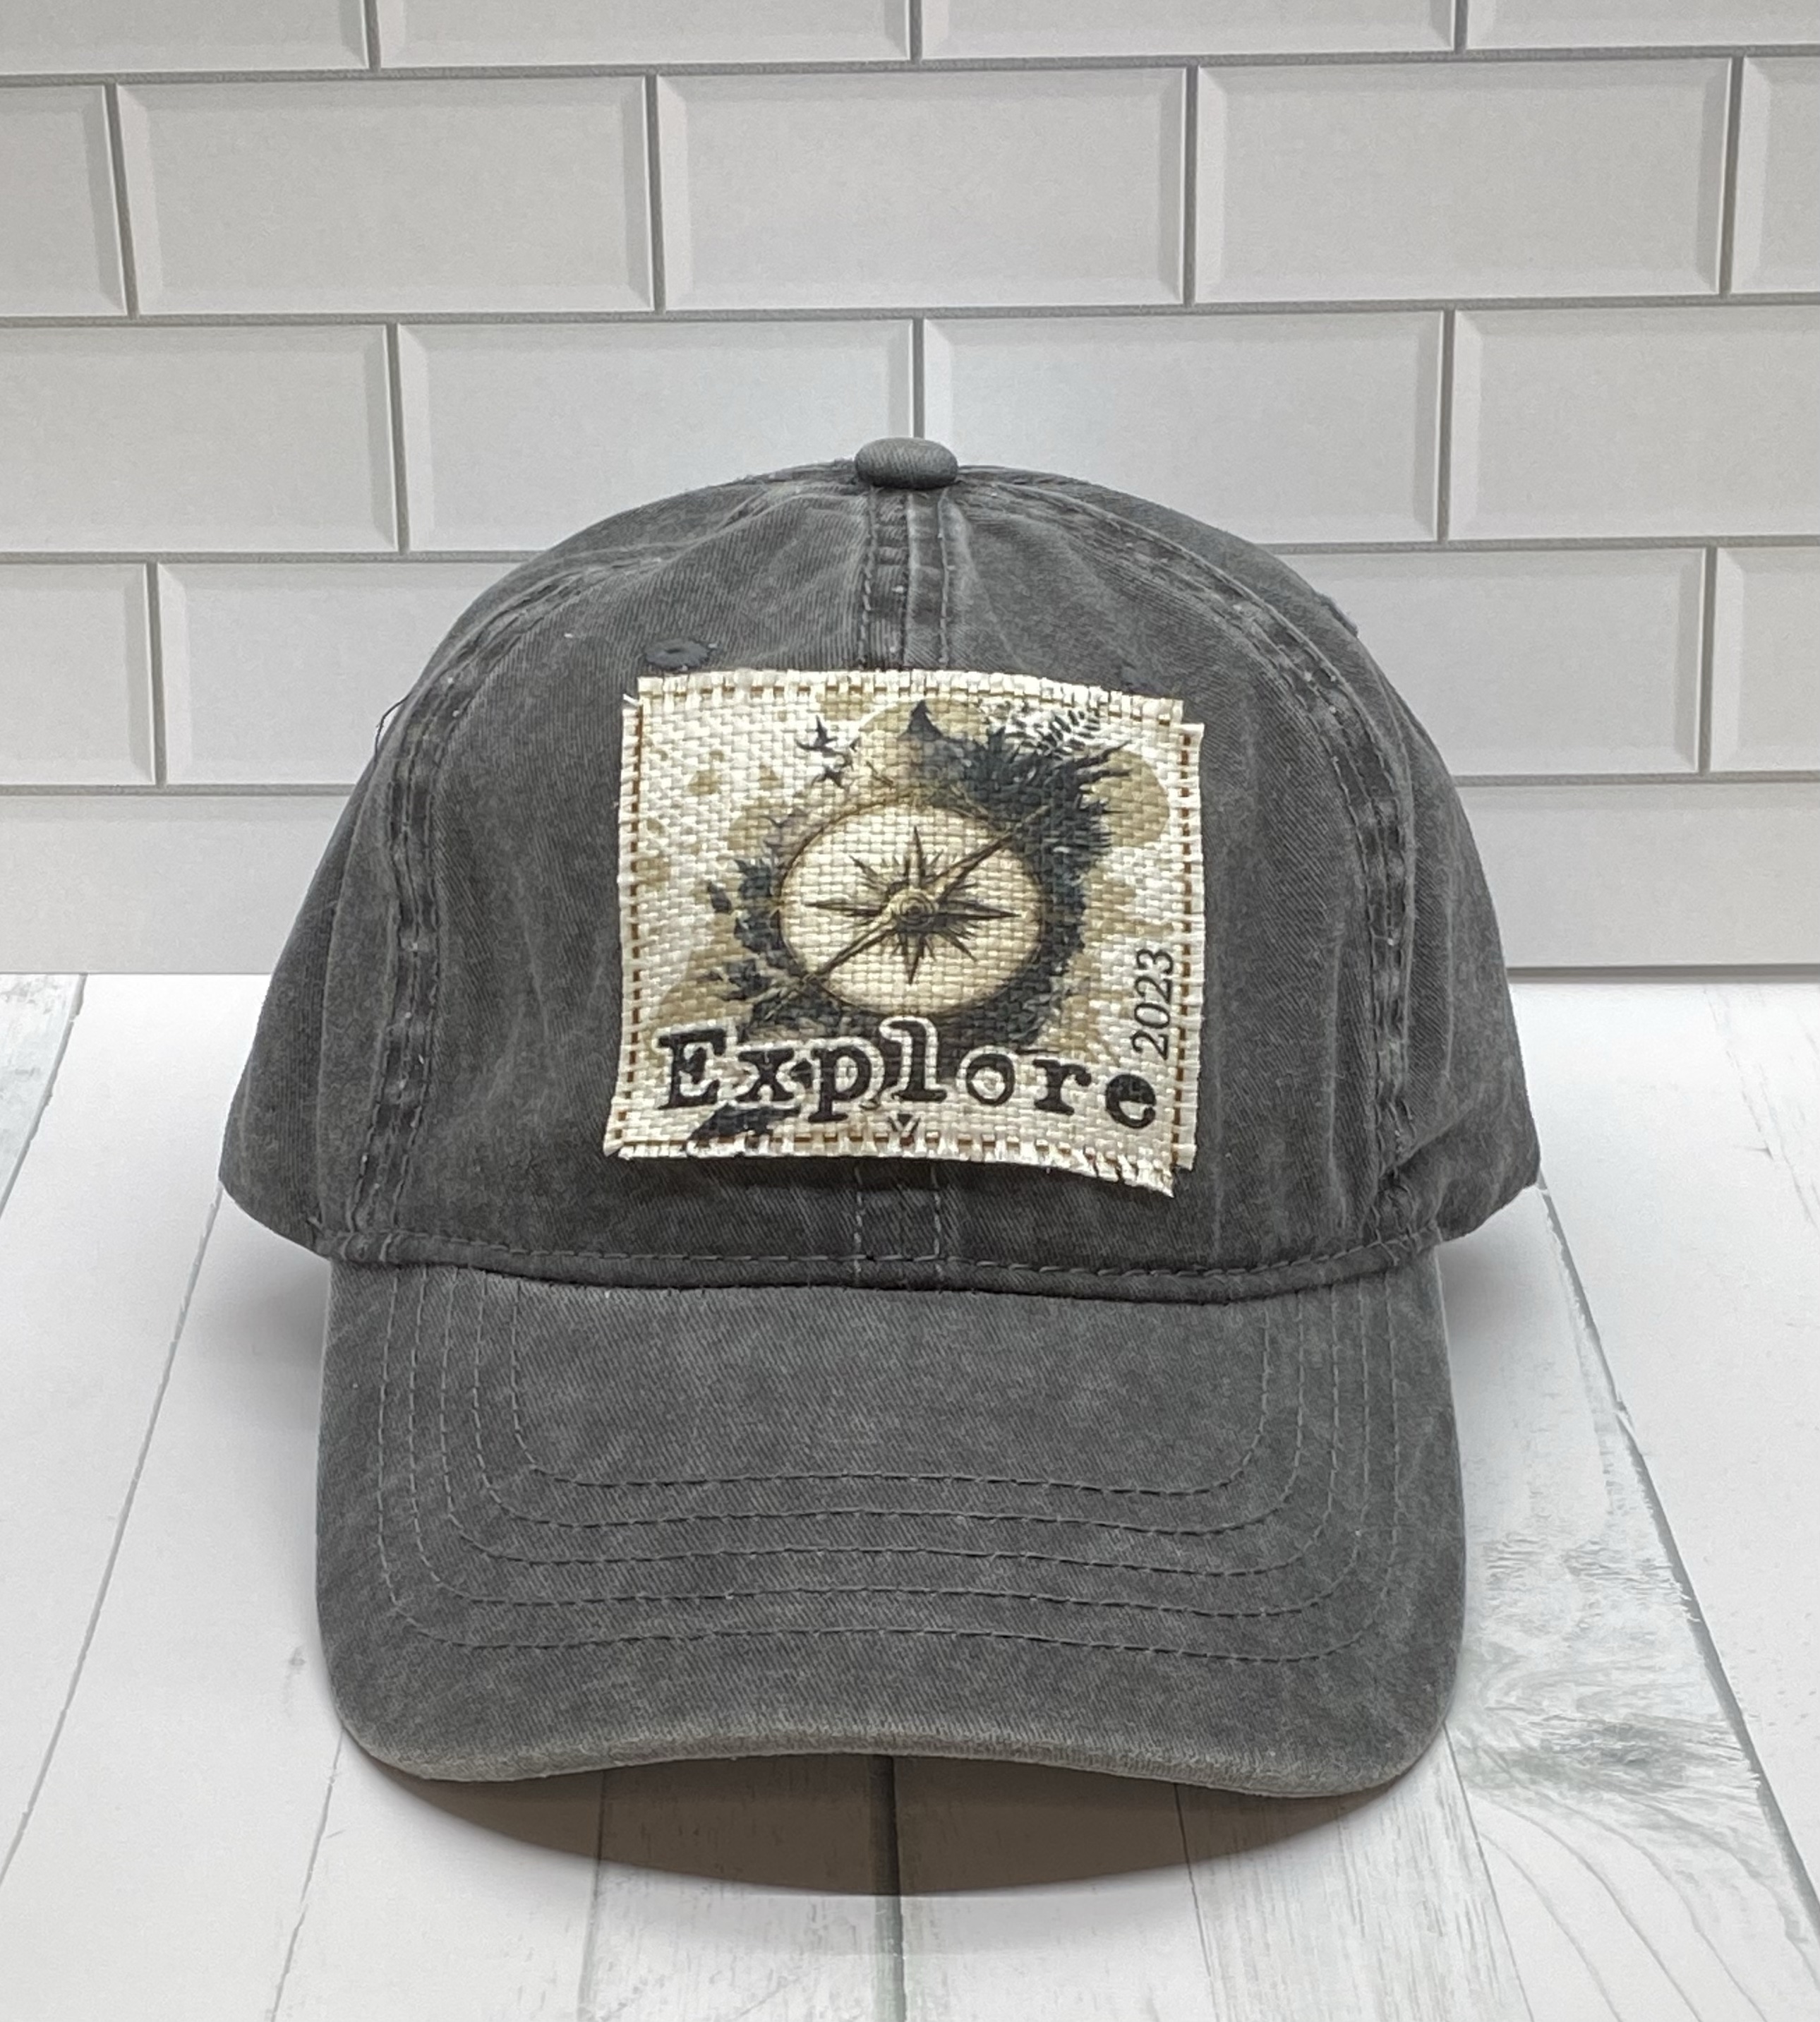
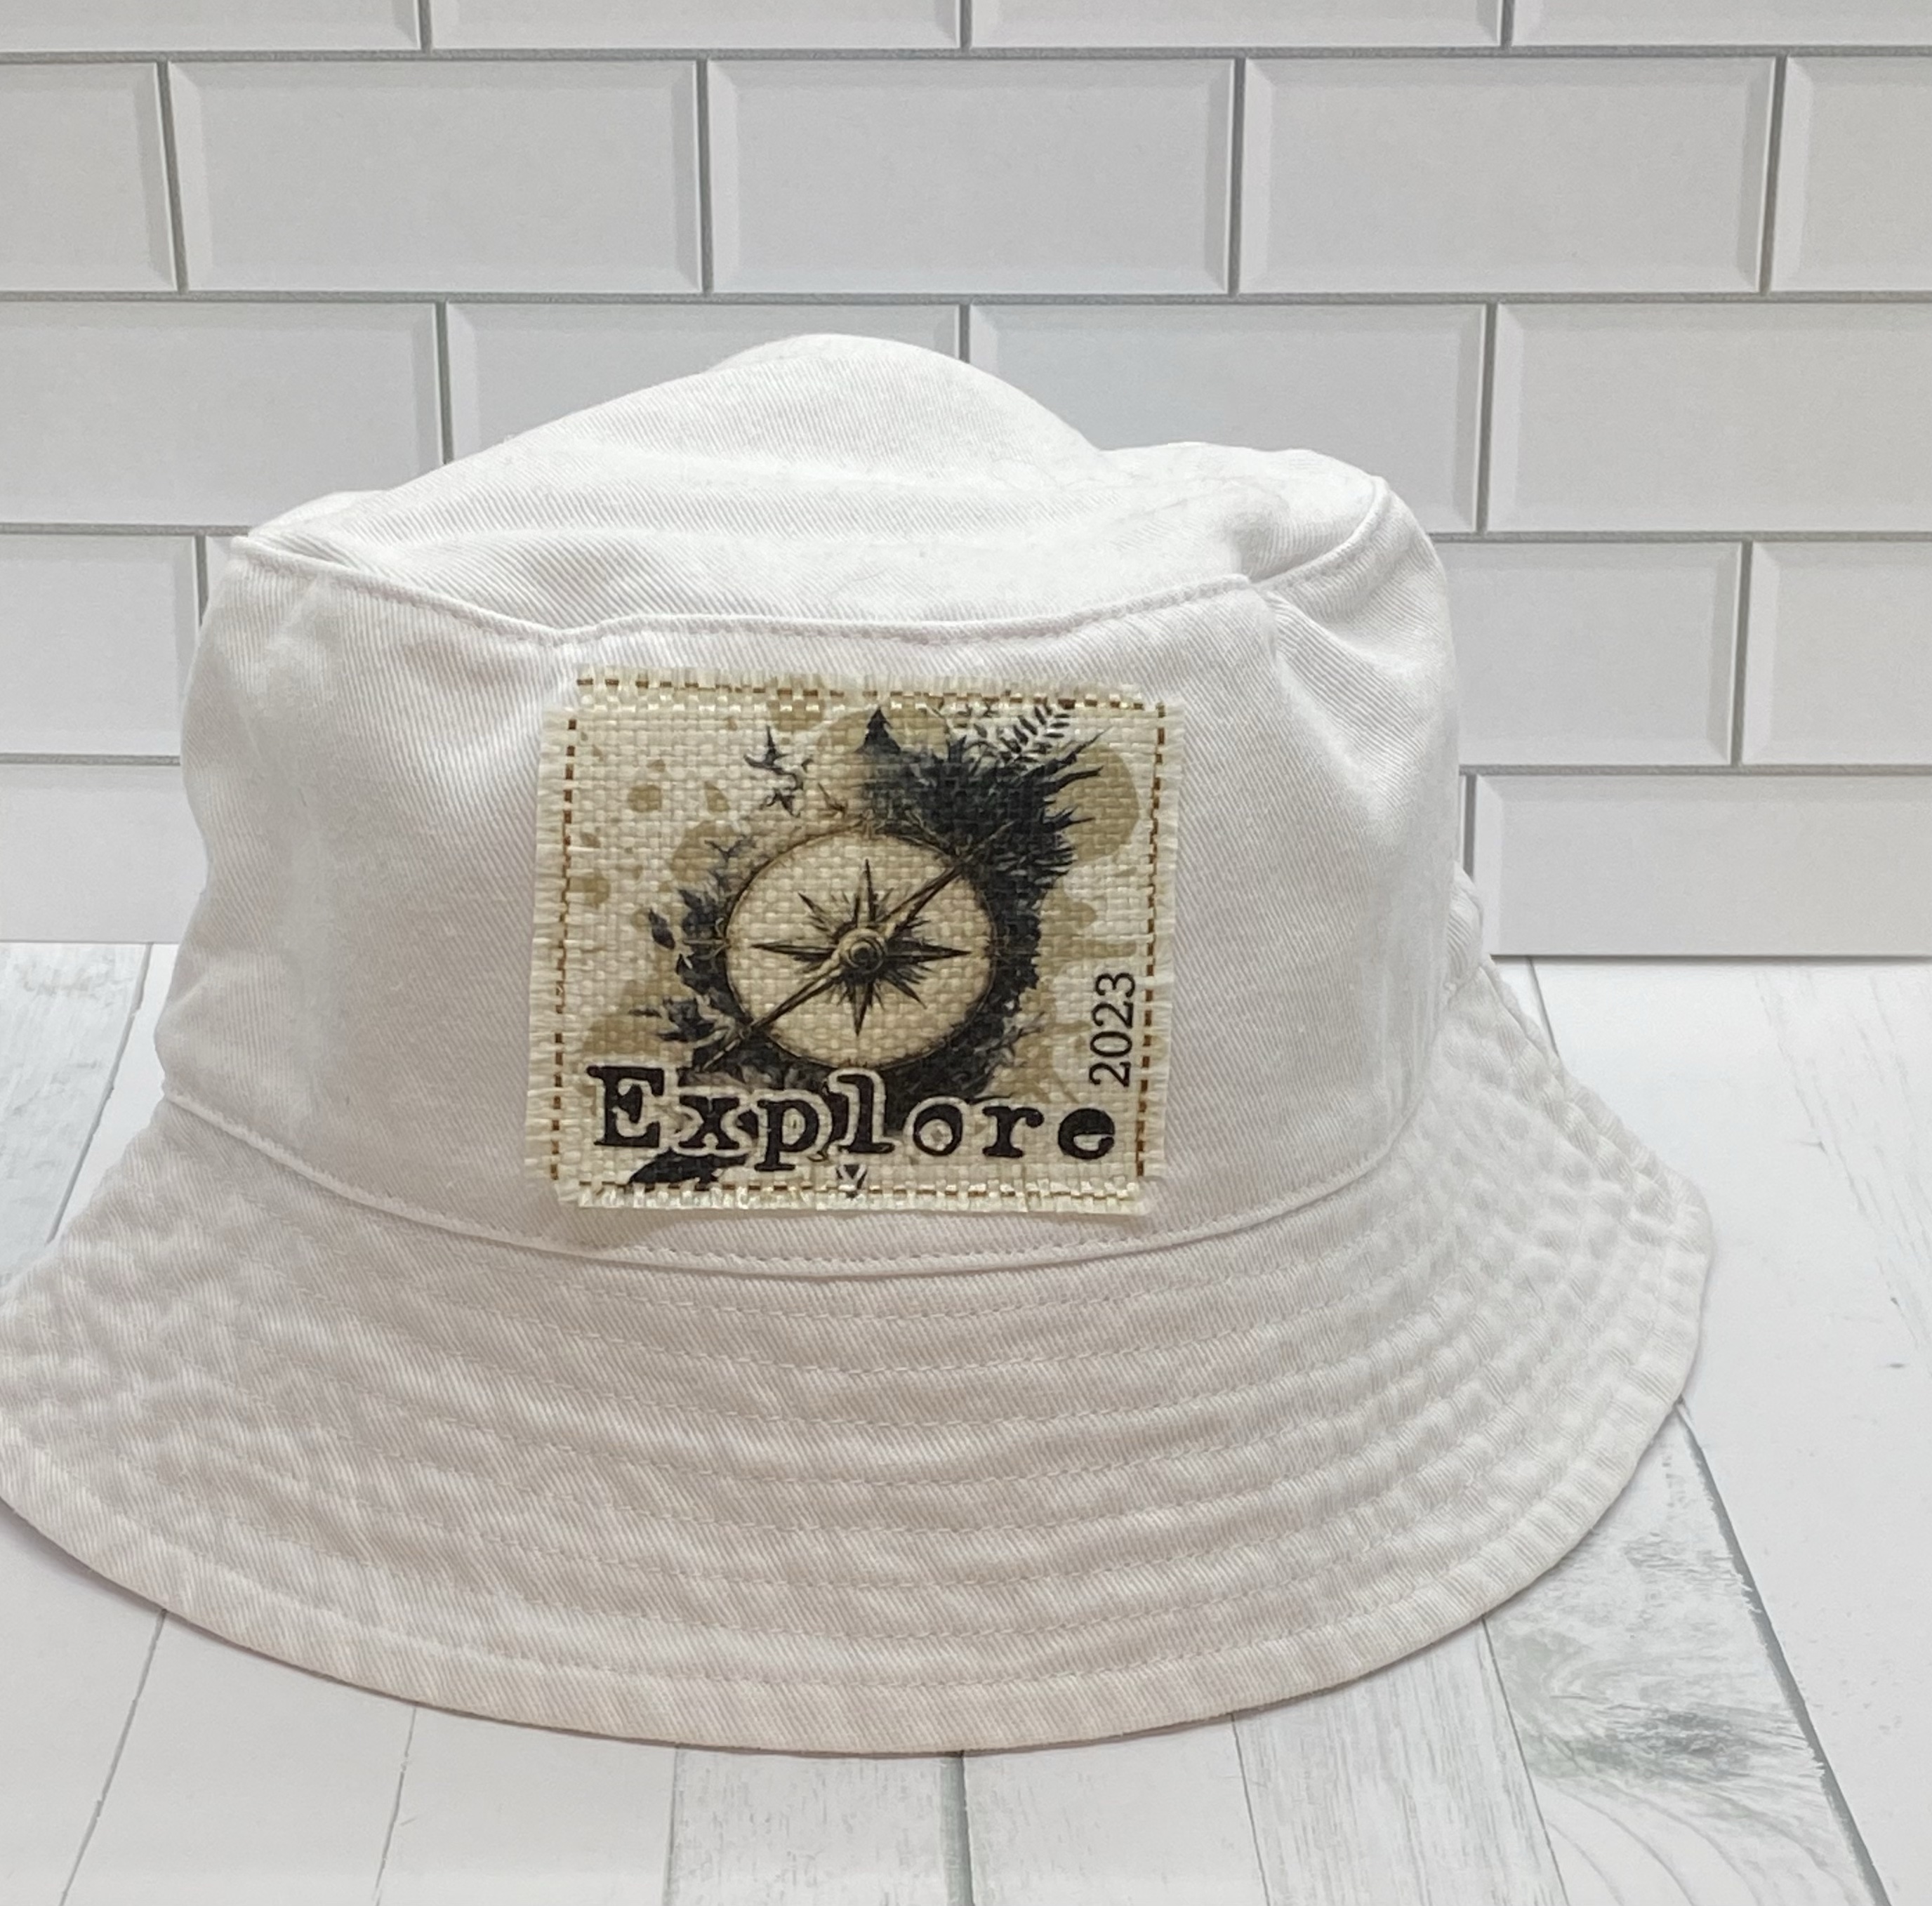
So, here you go. Custom hat patches onto a variety of colors of baseball cap and even a bucket hat.
First, I LOVE the way these colors came out. It was a gorgeous image and seemed to be just right for this project.
But, there are definitely flaws and mistakes while I figure stuff like this out lol
But, see the first 😉
❤️❤️❤️
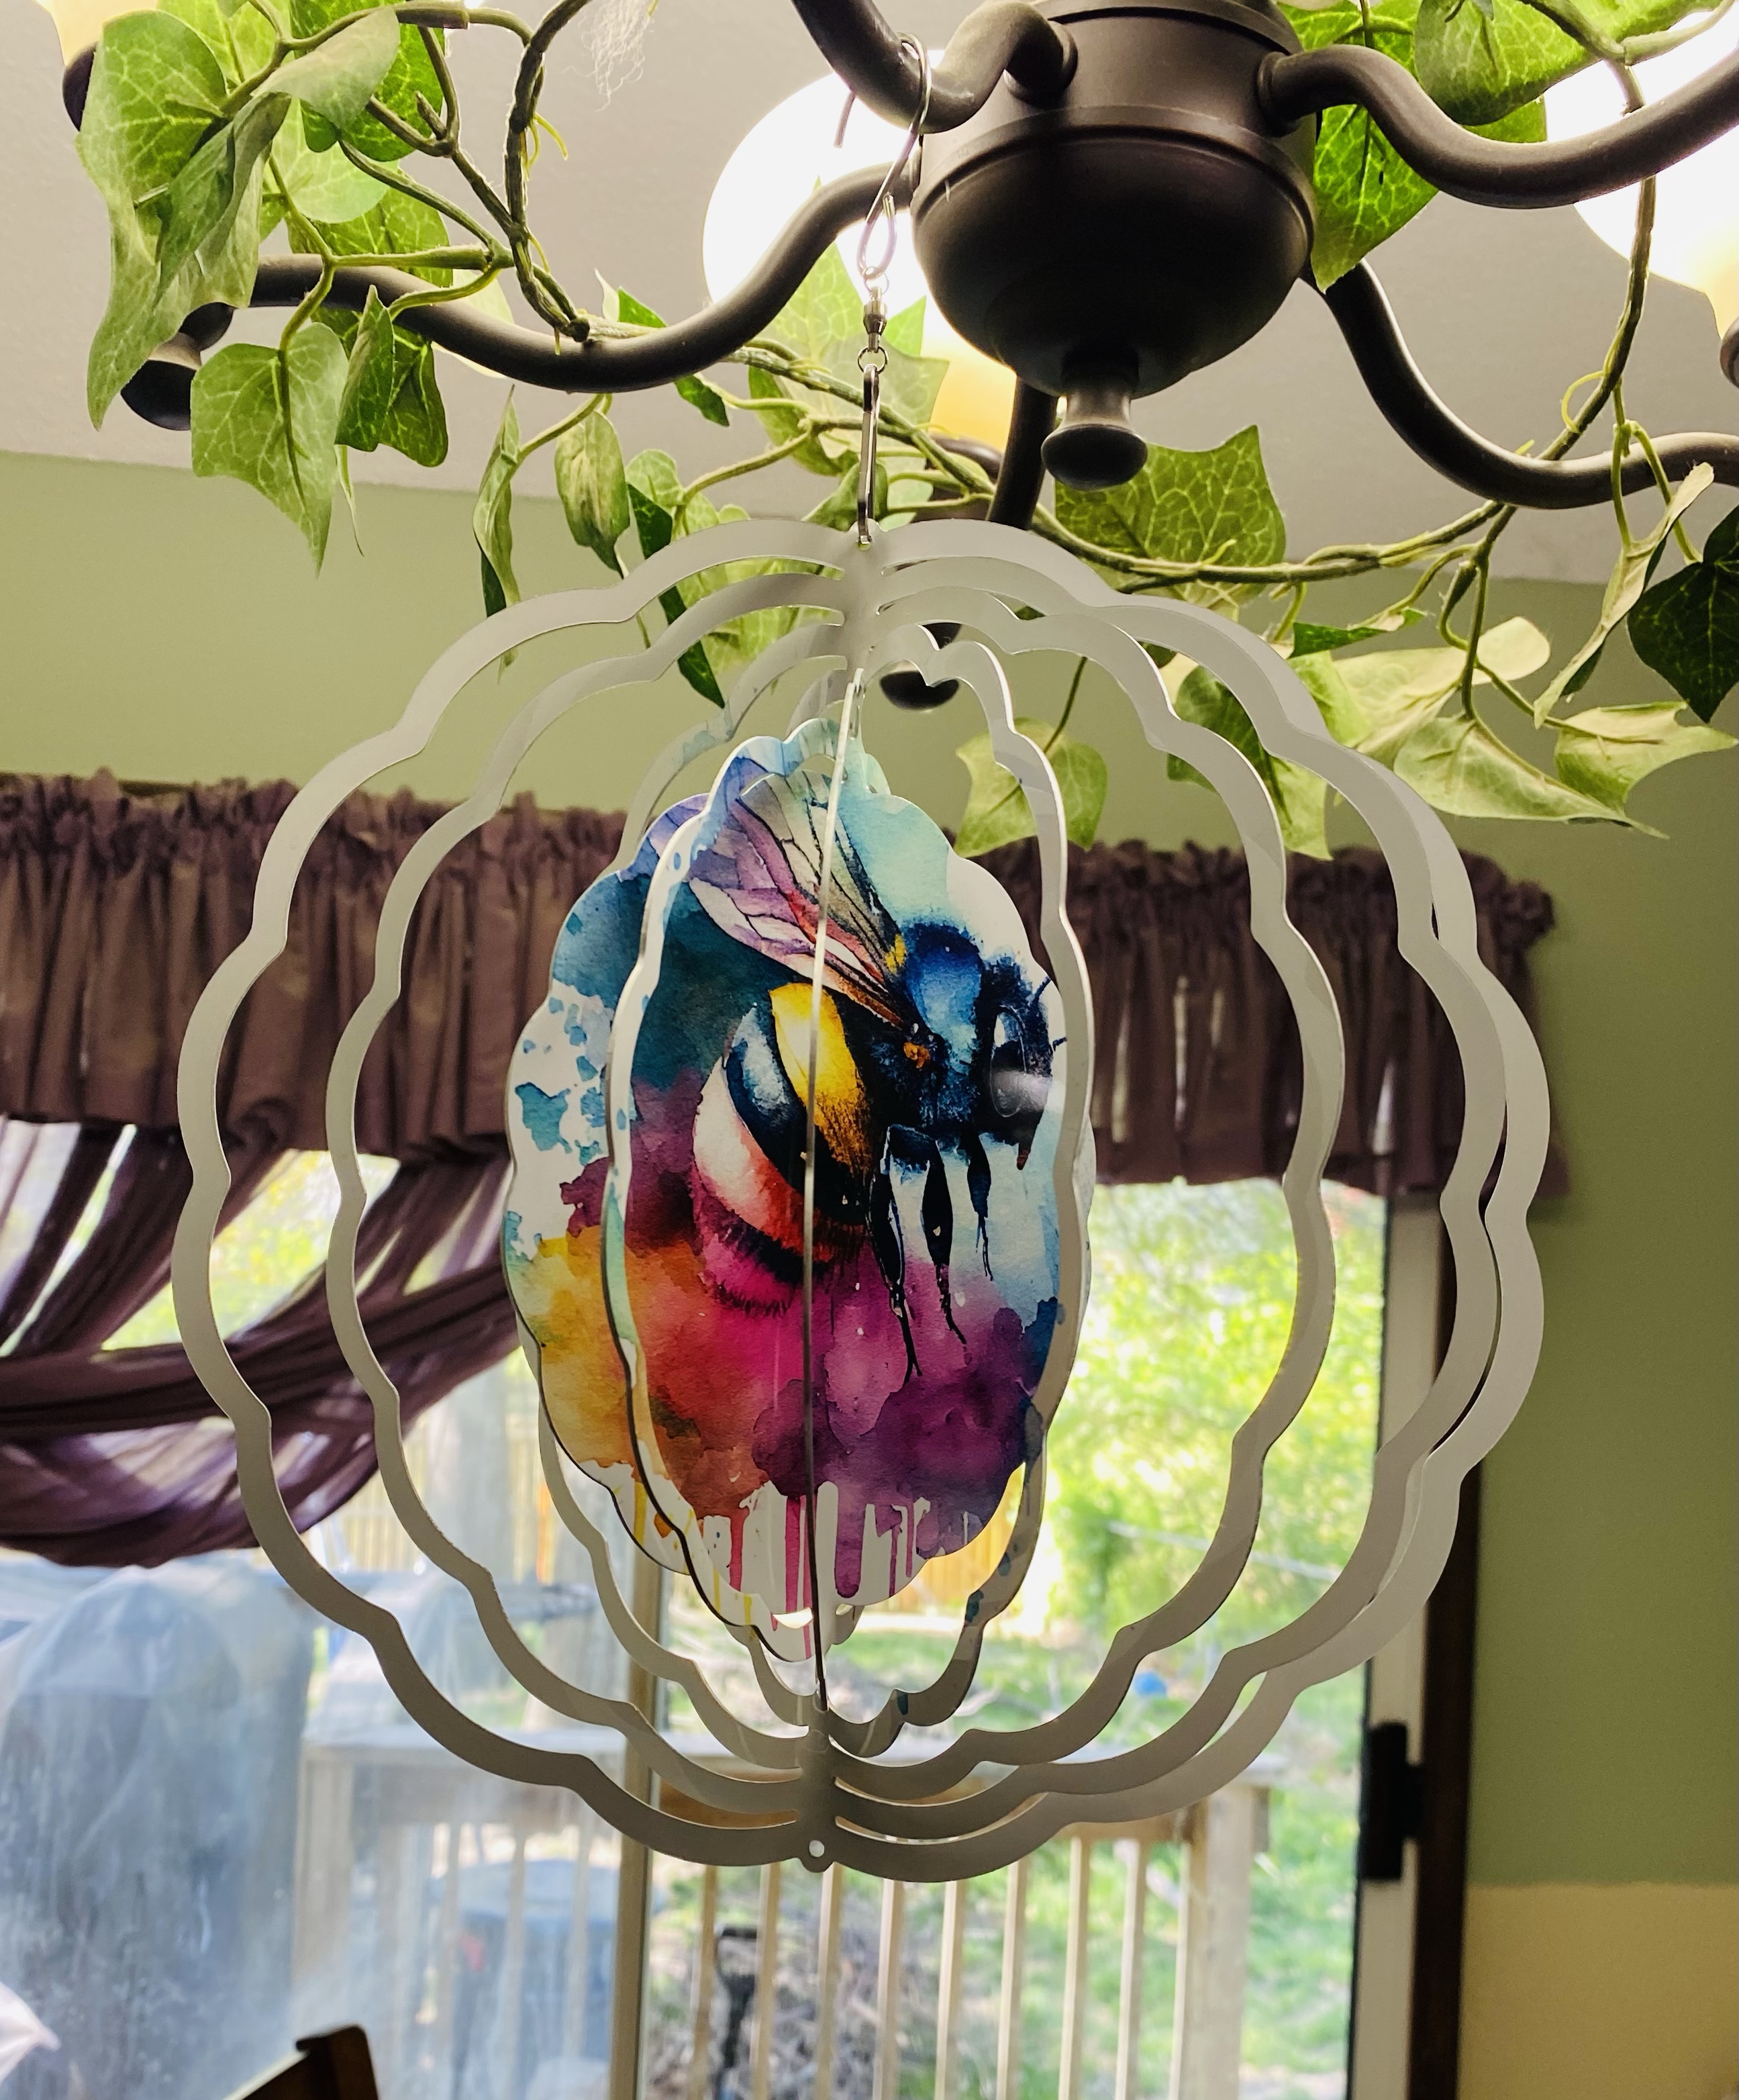
I think these are great spring/summer/fall/garden fun. They’re mesmerizing and hypnotic. A great way to relax. I can’t wait to hang mine and see how my little guys react. Hoping this a great way for them to calm outside when they need to ❤️
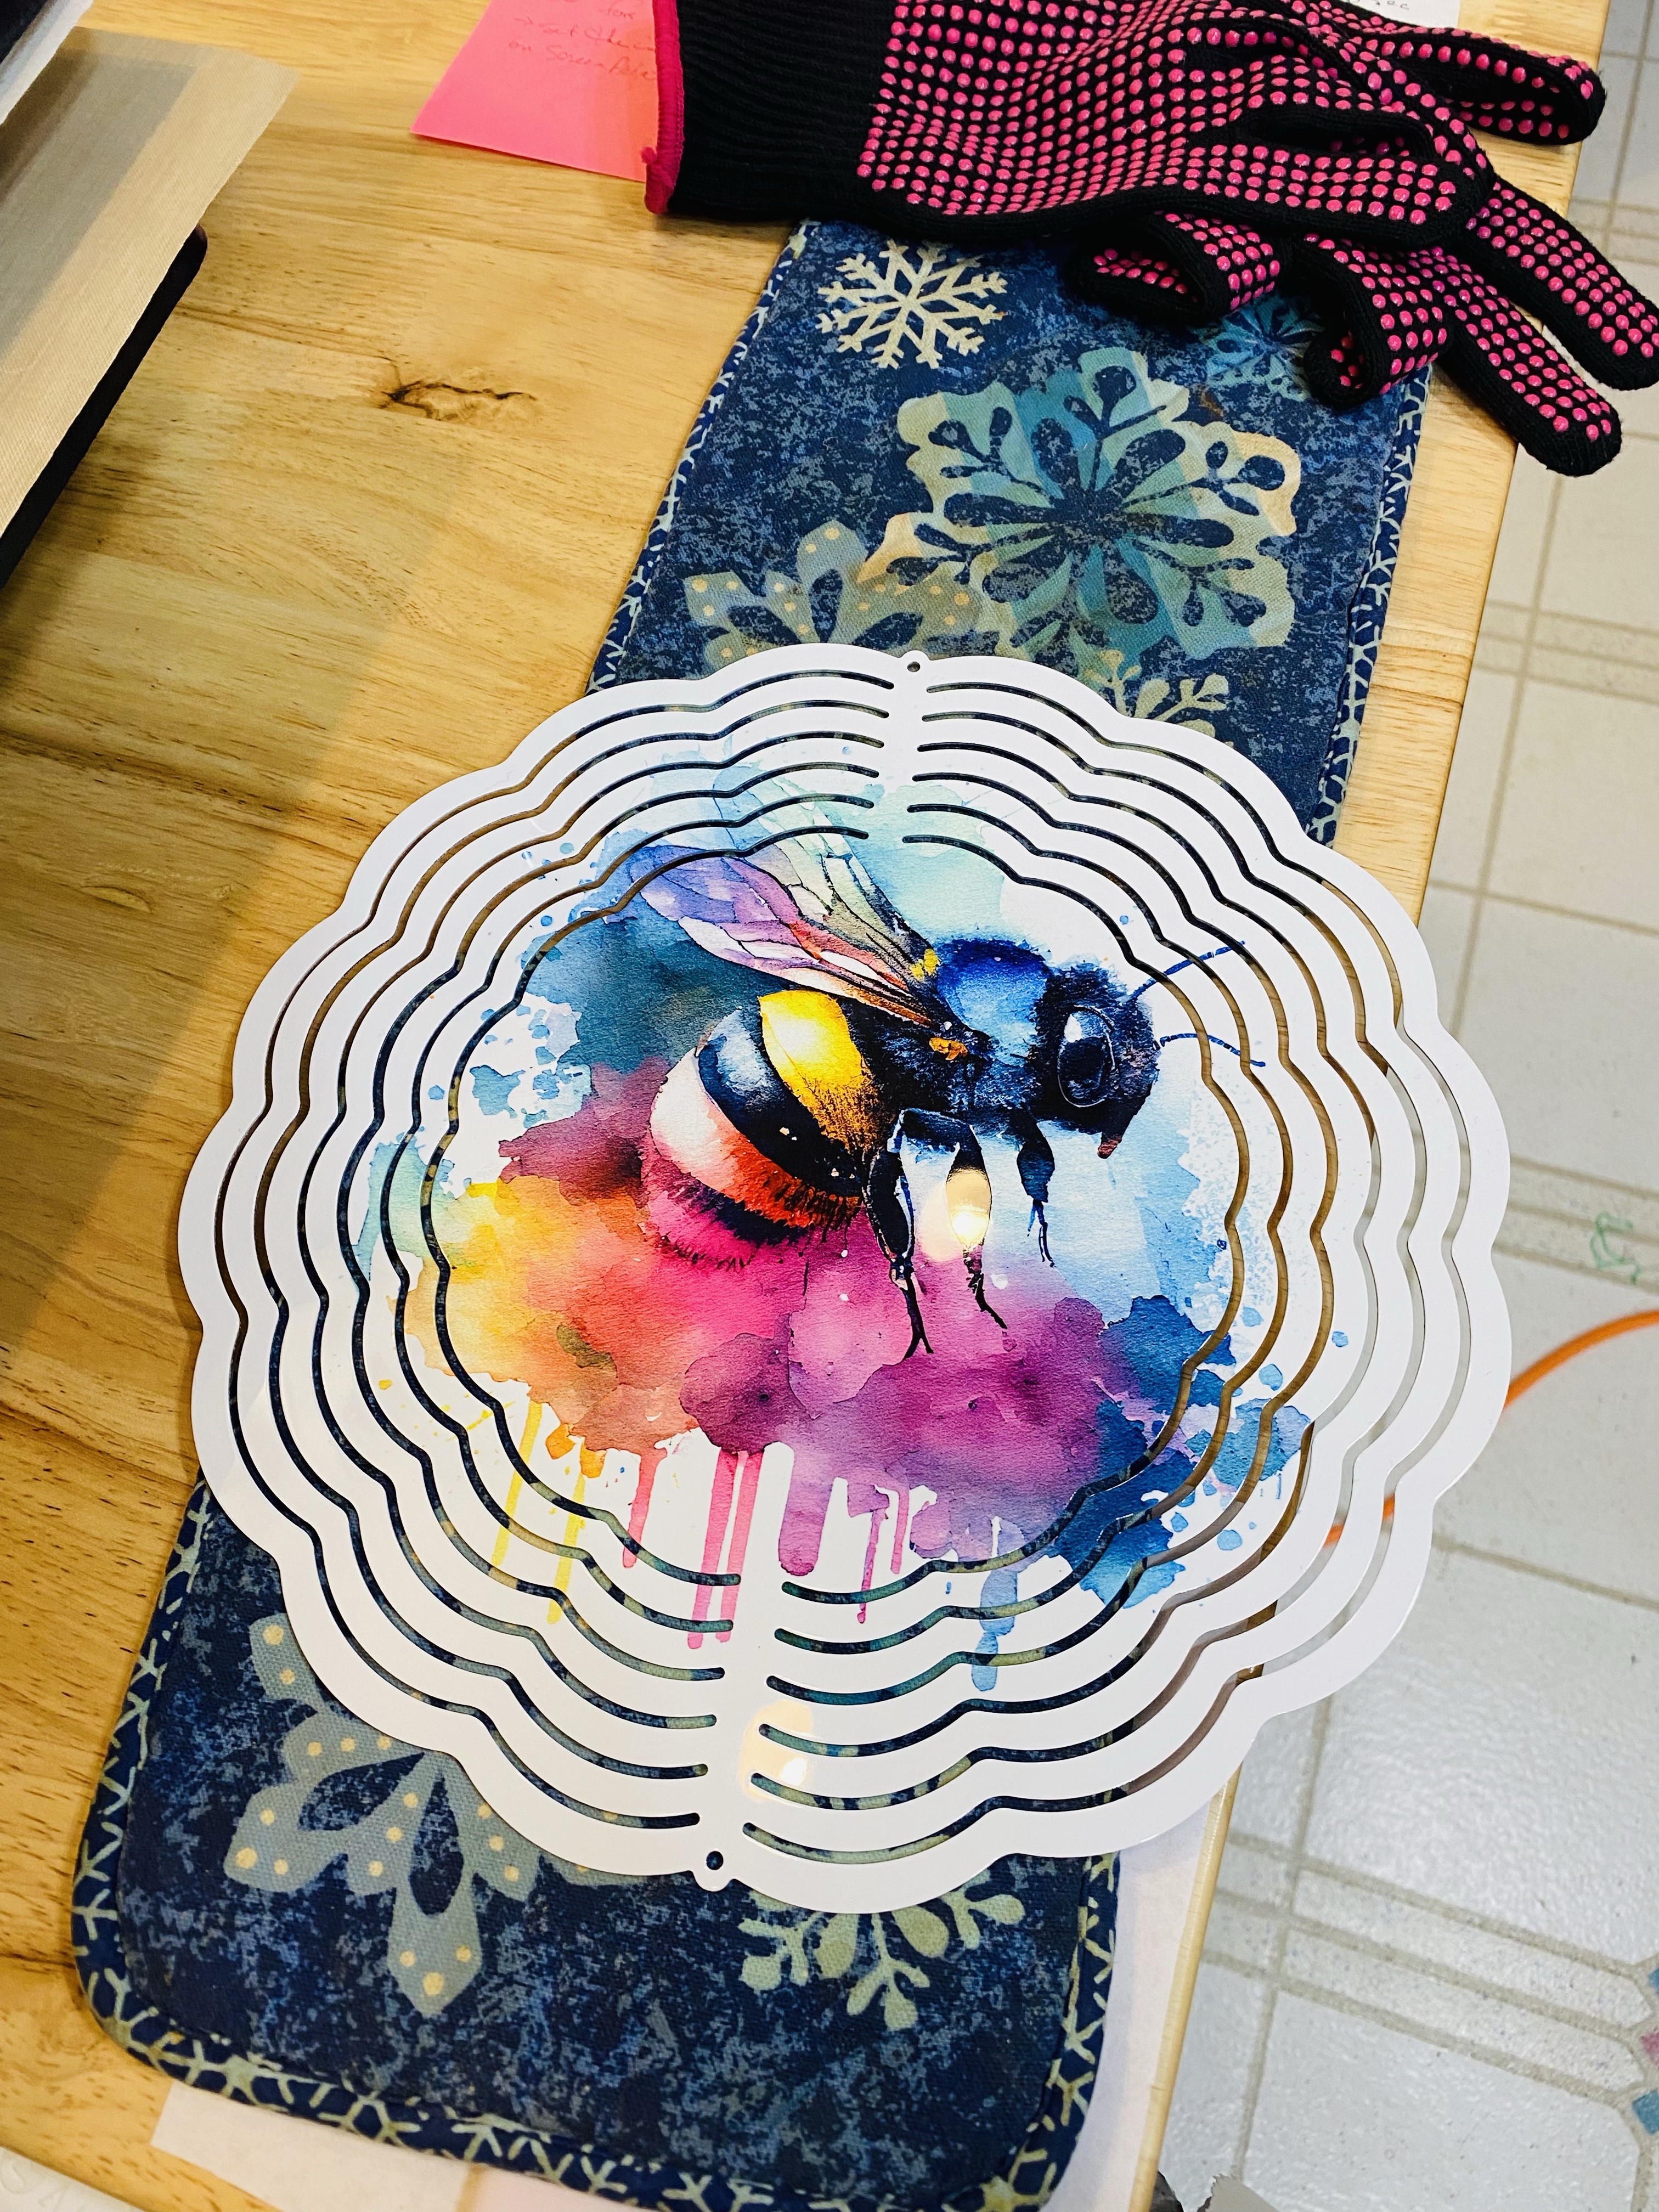
I’m doing wind spinners for a $20 donation to Paws 4 Autism. Again, it’s things like this that help us raise money for our service dog and the other pups in the program to help keep it going. This is a 10 inch spinner, but I might be switching to 8 in spinners so I don’t have to piece papers together lol
If you’re interested in a wind spinner, please message me and we’ll make it happen 😀
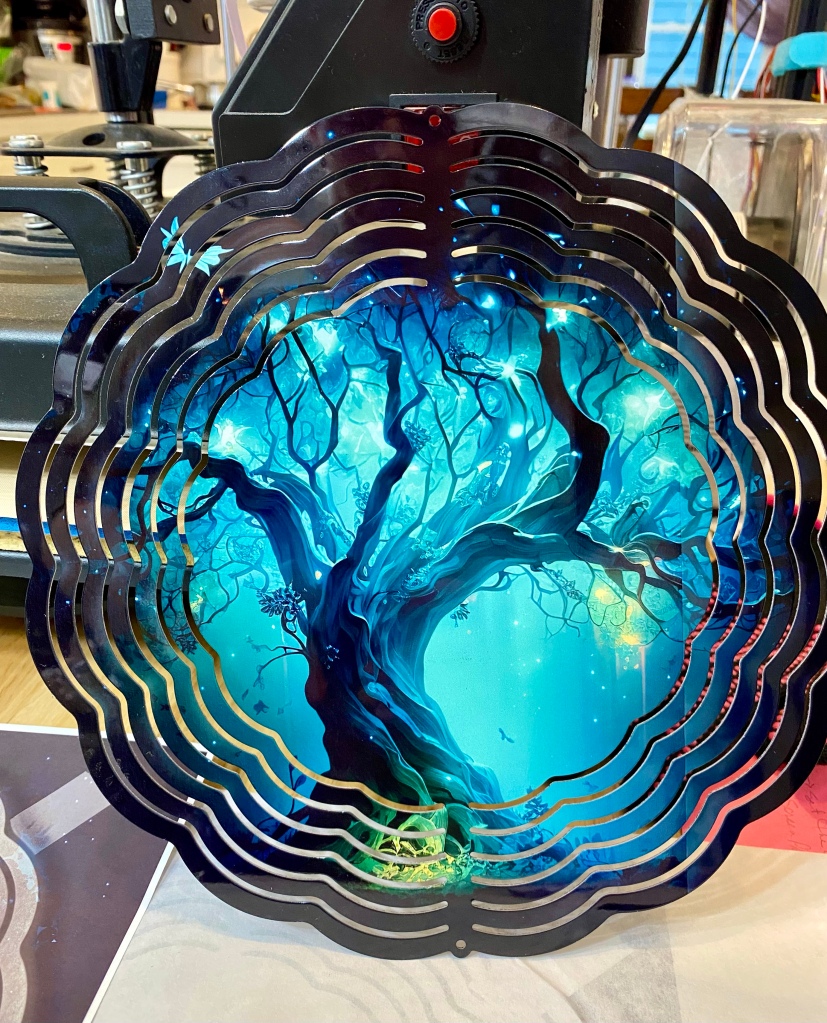
I just started playing around with wind spinners, and I might be a little in love lol
This is the first one. I see places I need to adjust for next time, but my mind is swirling with ideas now 😀
Also, numbers are hard. And I don’t always consider them when buying items like this. So I bought 10 inch wind spinners, but my printer can only print about 8.25 inches wide. So now I get to learn how to piece together images to make one large one so I can fill the entire wind spinner 😀
I’m thinking about using something like this for Mother’s Day, but I also think something like the 4th of July would be really cool on these, too. But this one is going in my garden ❤️
I wish I could post videos, because it’s really neat to watch it spin. It’s kind of mesmerizing 🙂 Maybe I need a YouTube channel for videos to link to, lol
Anyway, thanks for stopping by!
XOXOXO
I make these for a $20 donation to Paws 4 Autism. If you’re interested in one, let me know and we’ll make sure you get one. I can put all sorts of things on these 😀
To check out our organization, go here: AWESOME DOGS
If you’re interested in donating to our fundraising, go here: EVEN MORE AWESOME KID, the donation section is at the bottom of the page.
In my catch up blog, I said I would post some of the projects I’ve been working on when I have a few spare minutes.
So, today, I’m posting the mugs I’ve been working on. These are the types of things I do as fundraisers for Paws 4 Autism and Bandit
To do these, I started learning how to sublimate. I looked easy, and theoretically it is. But it’s the small stuff that trips me up lol
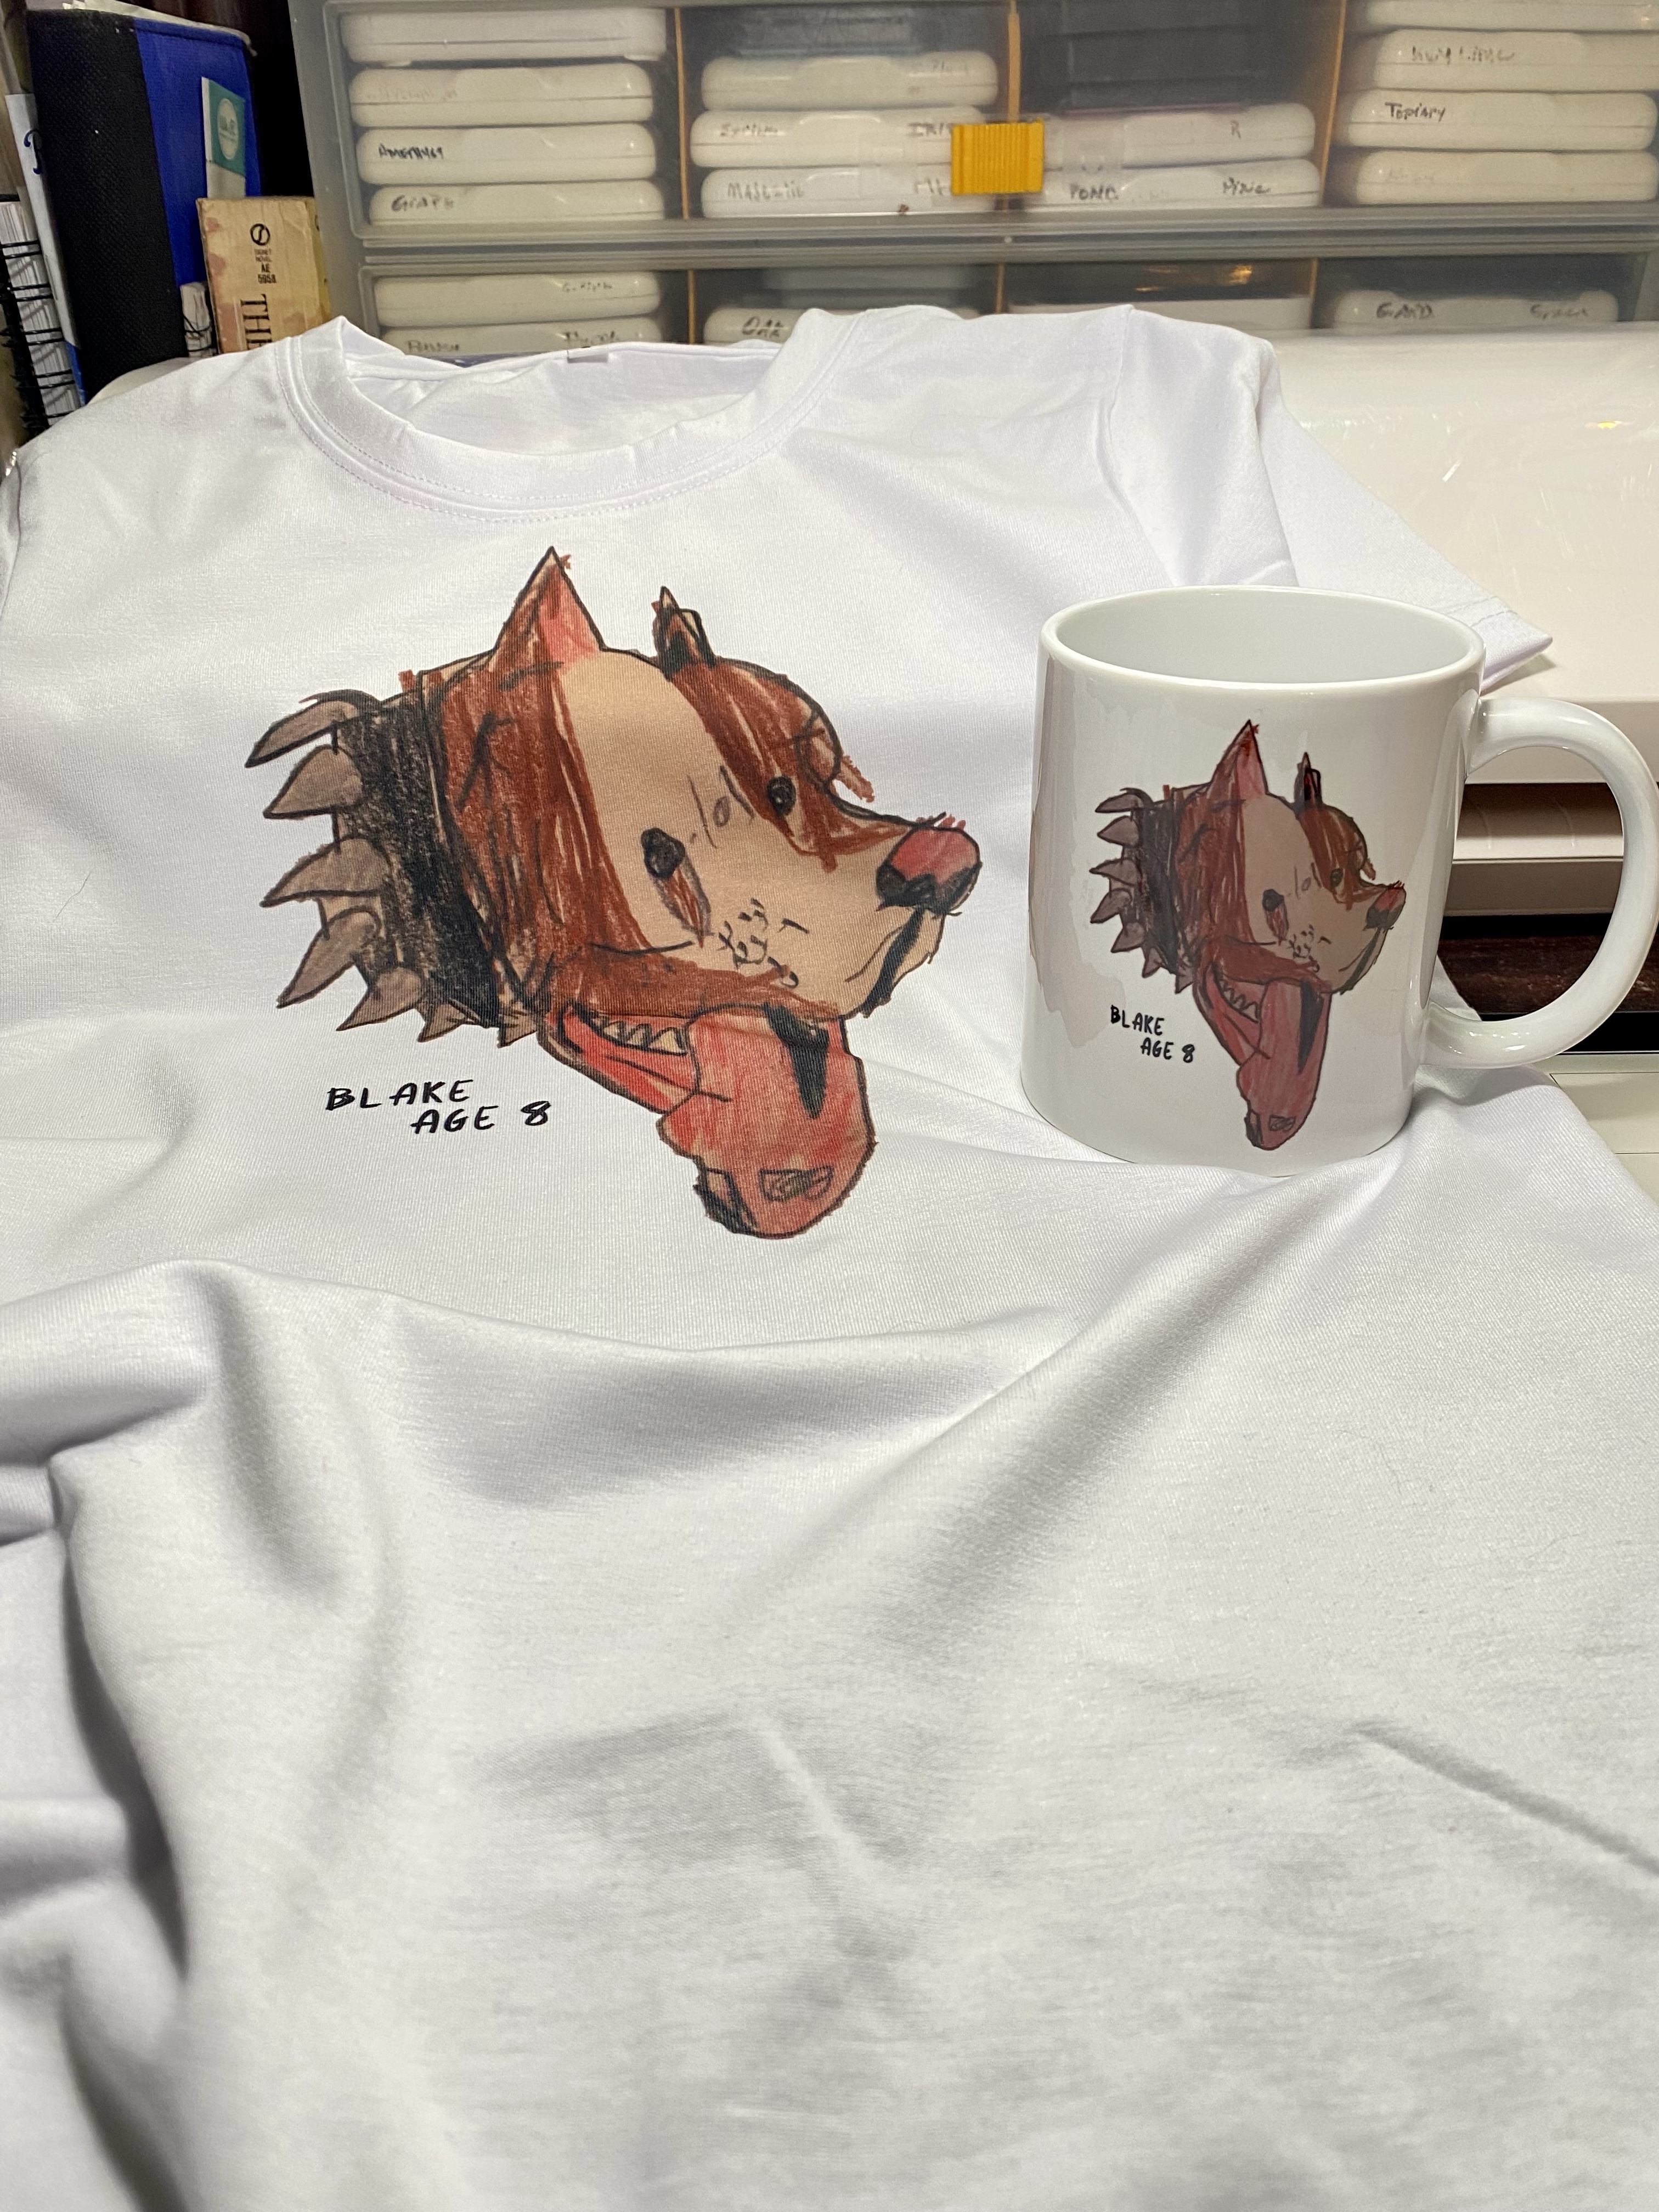
This is a fun idea. I took a child’s artwork and put it on a shirt for him and a mug for his mom. It’s like fridge art – but better!
I’m also able to put pictures of cuties like this onto mugs. This particular grandma needed a mug with her granddaughter on it. It was so much fun to do ❤️ Can you imagine waking up to this smile in the mornings?
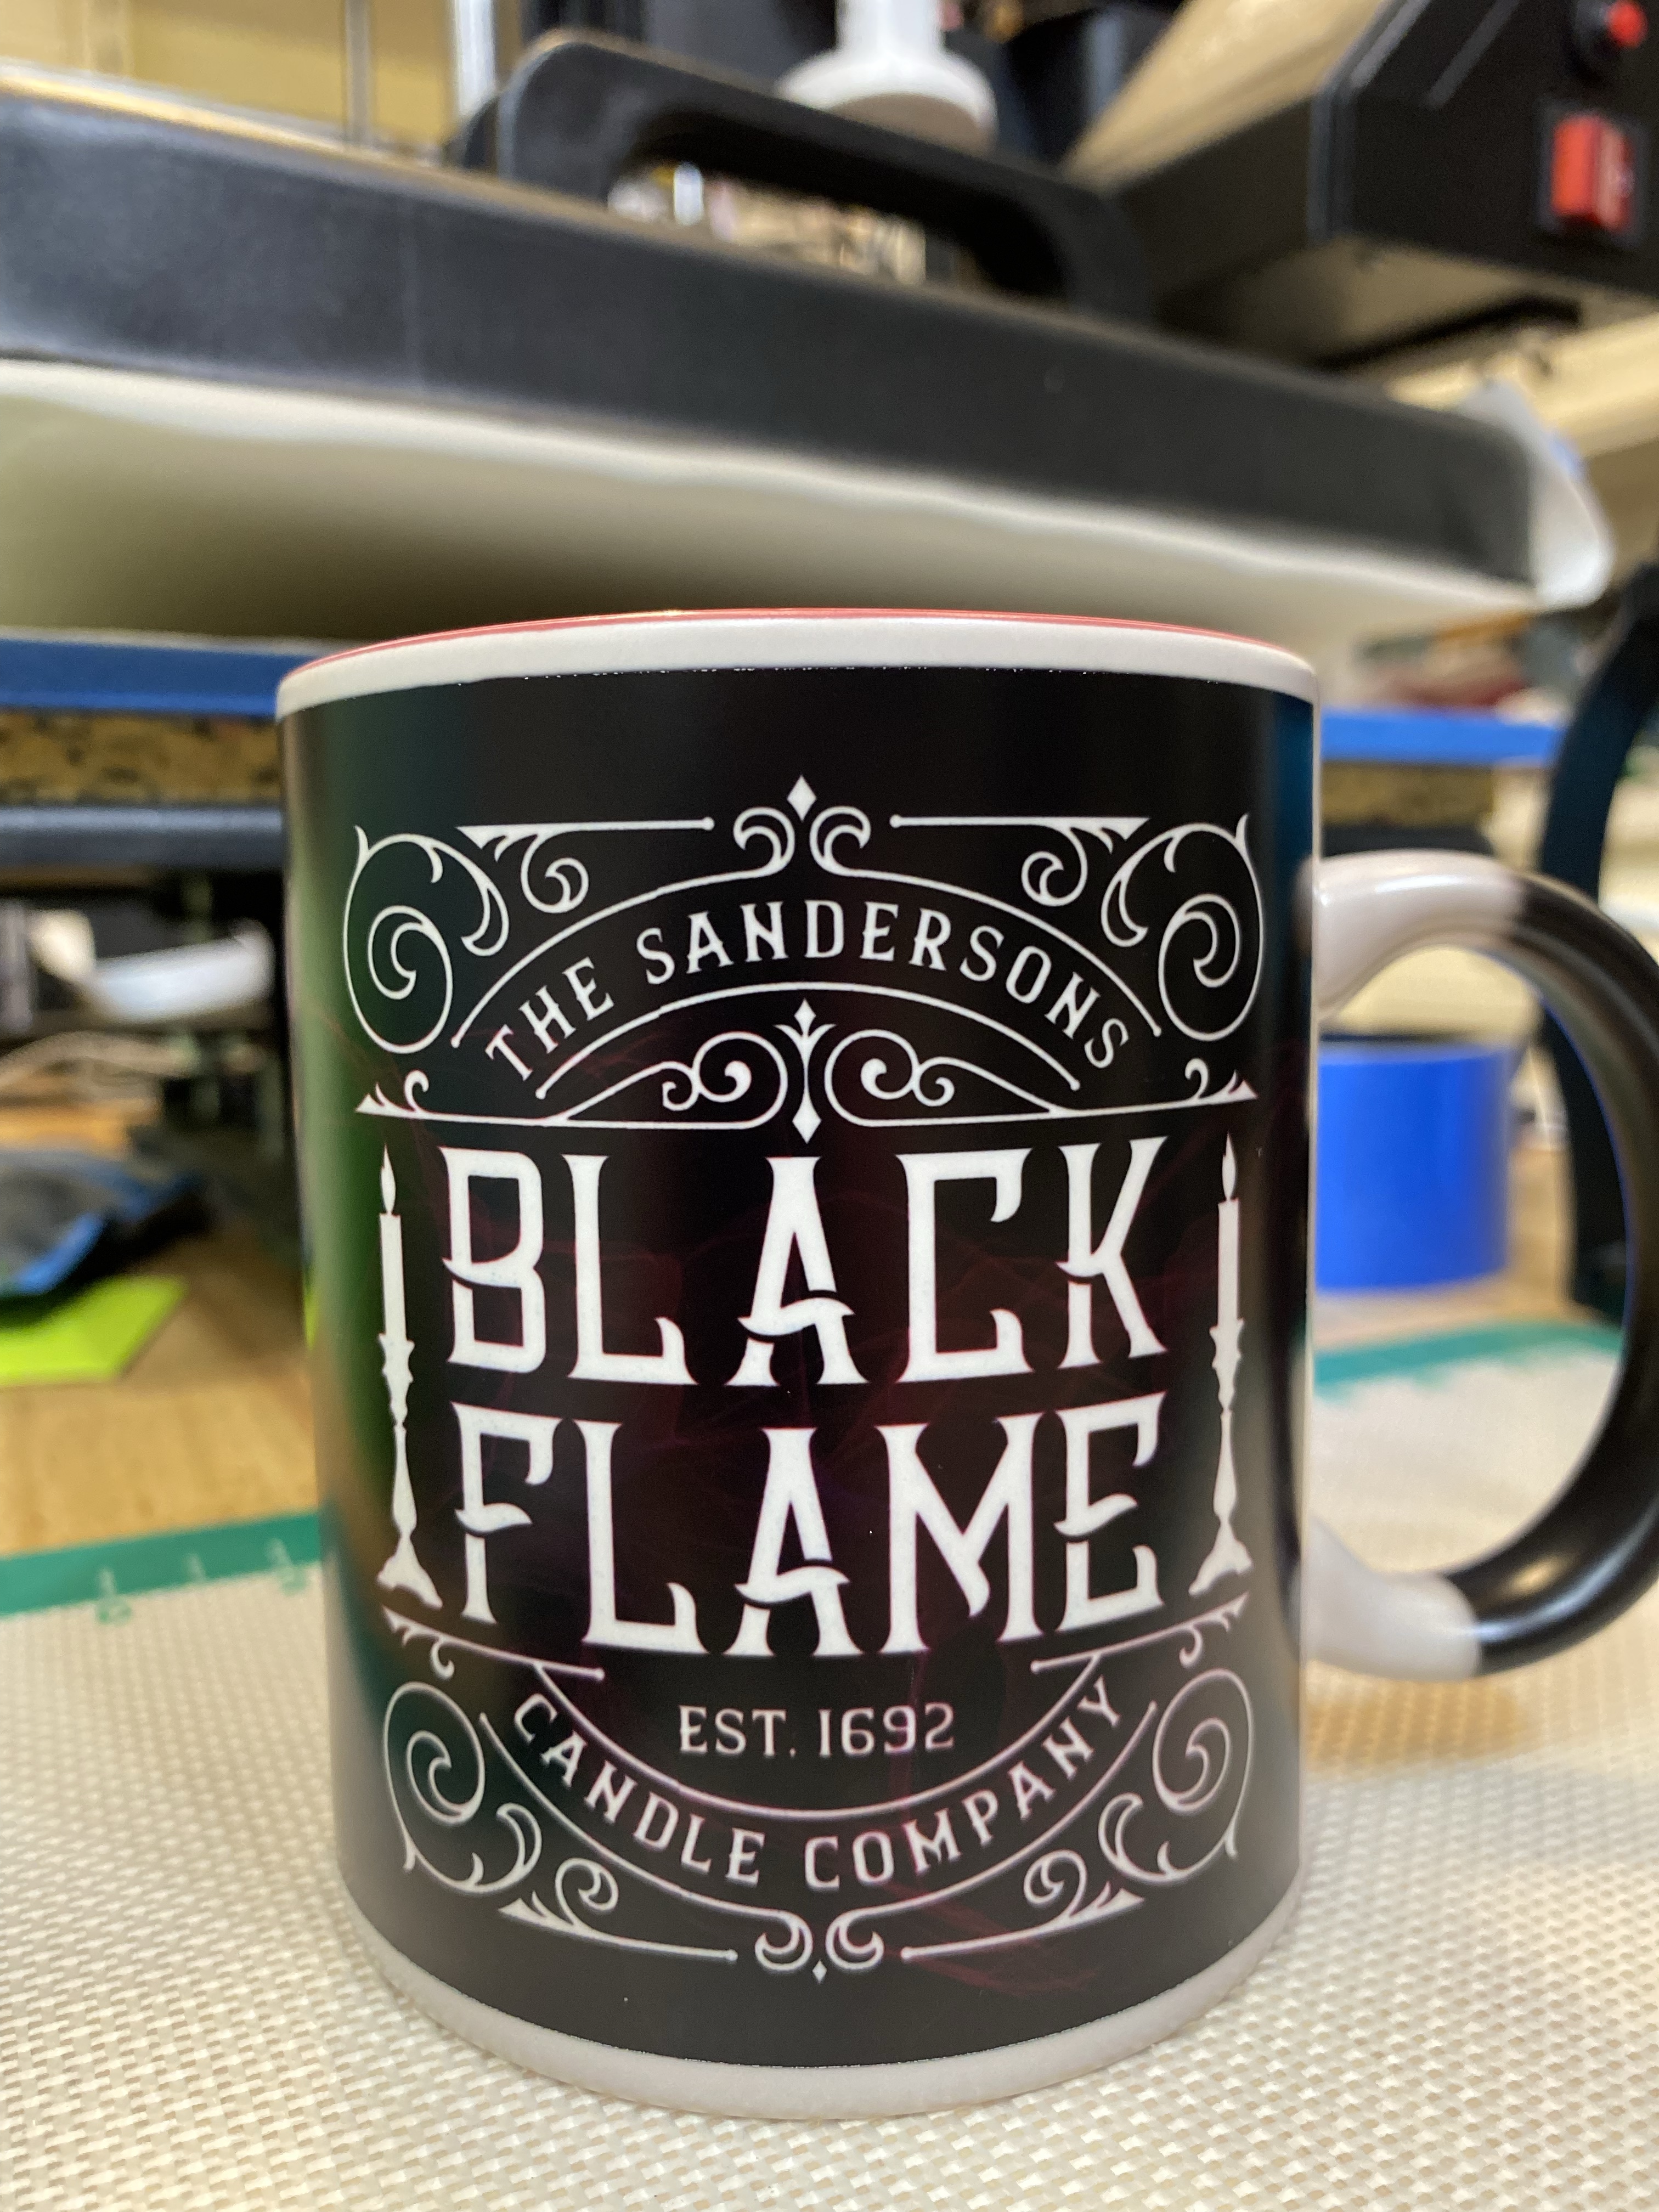
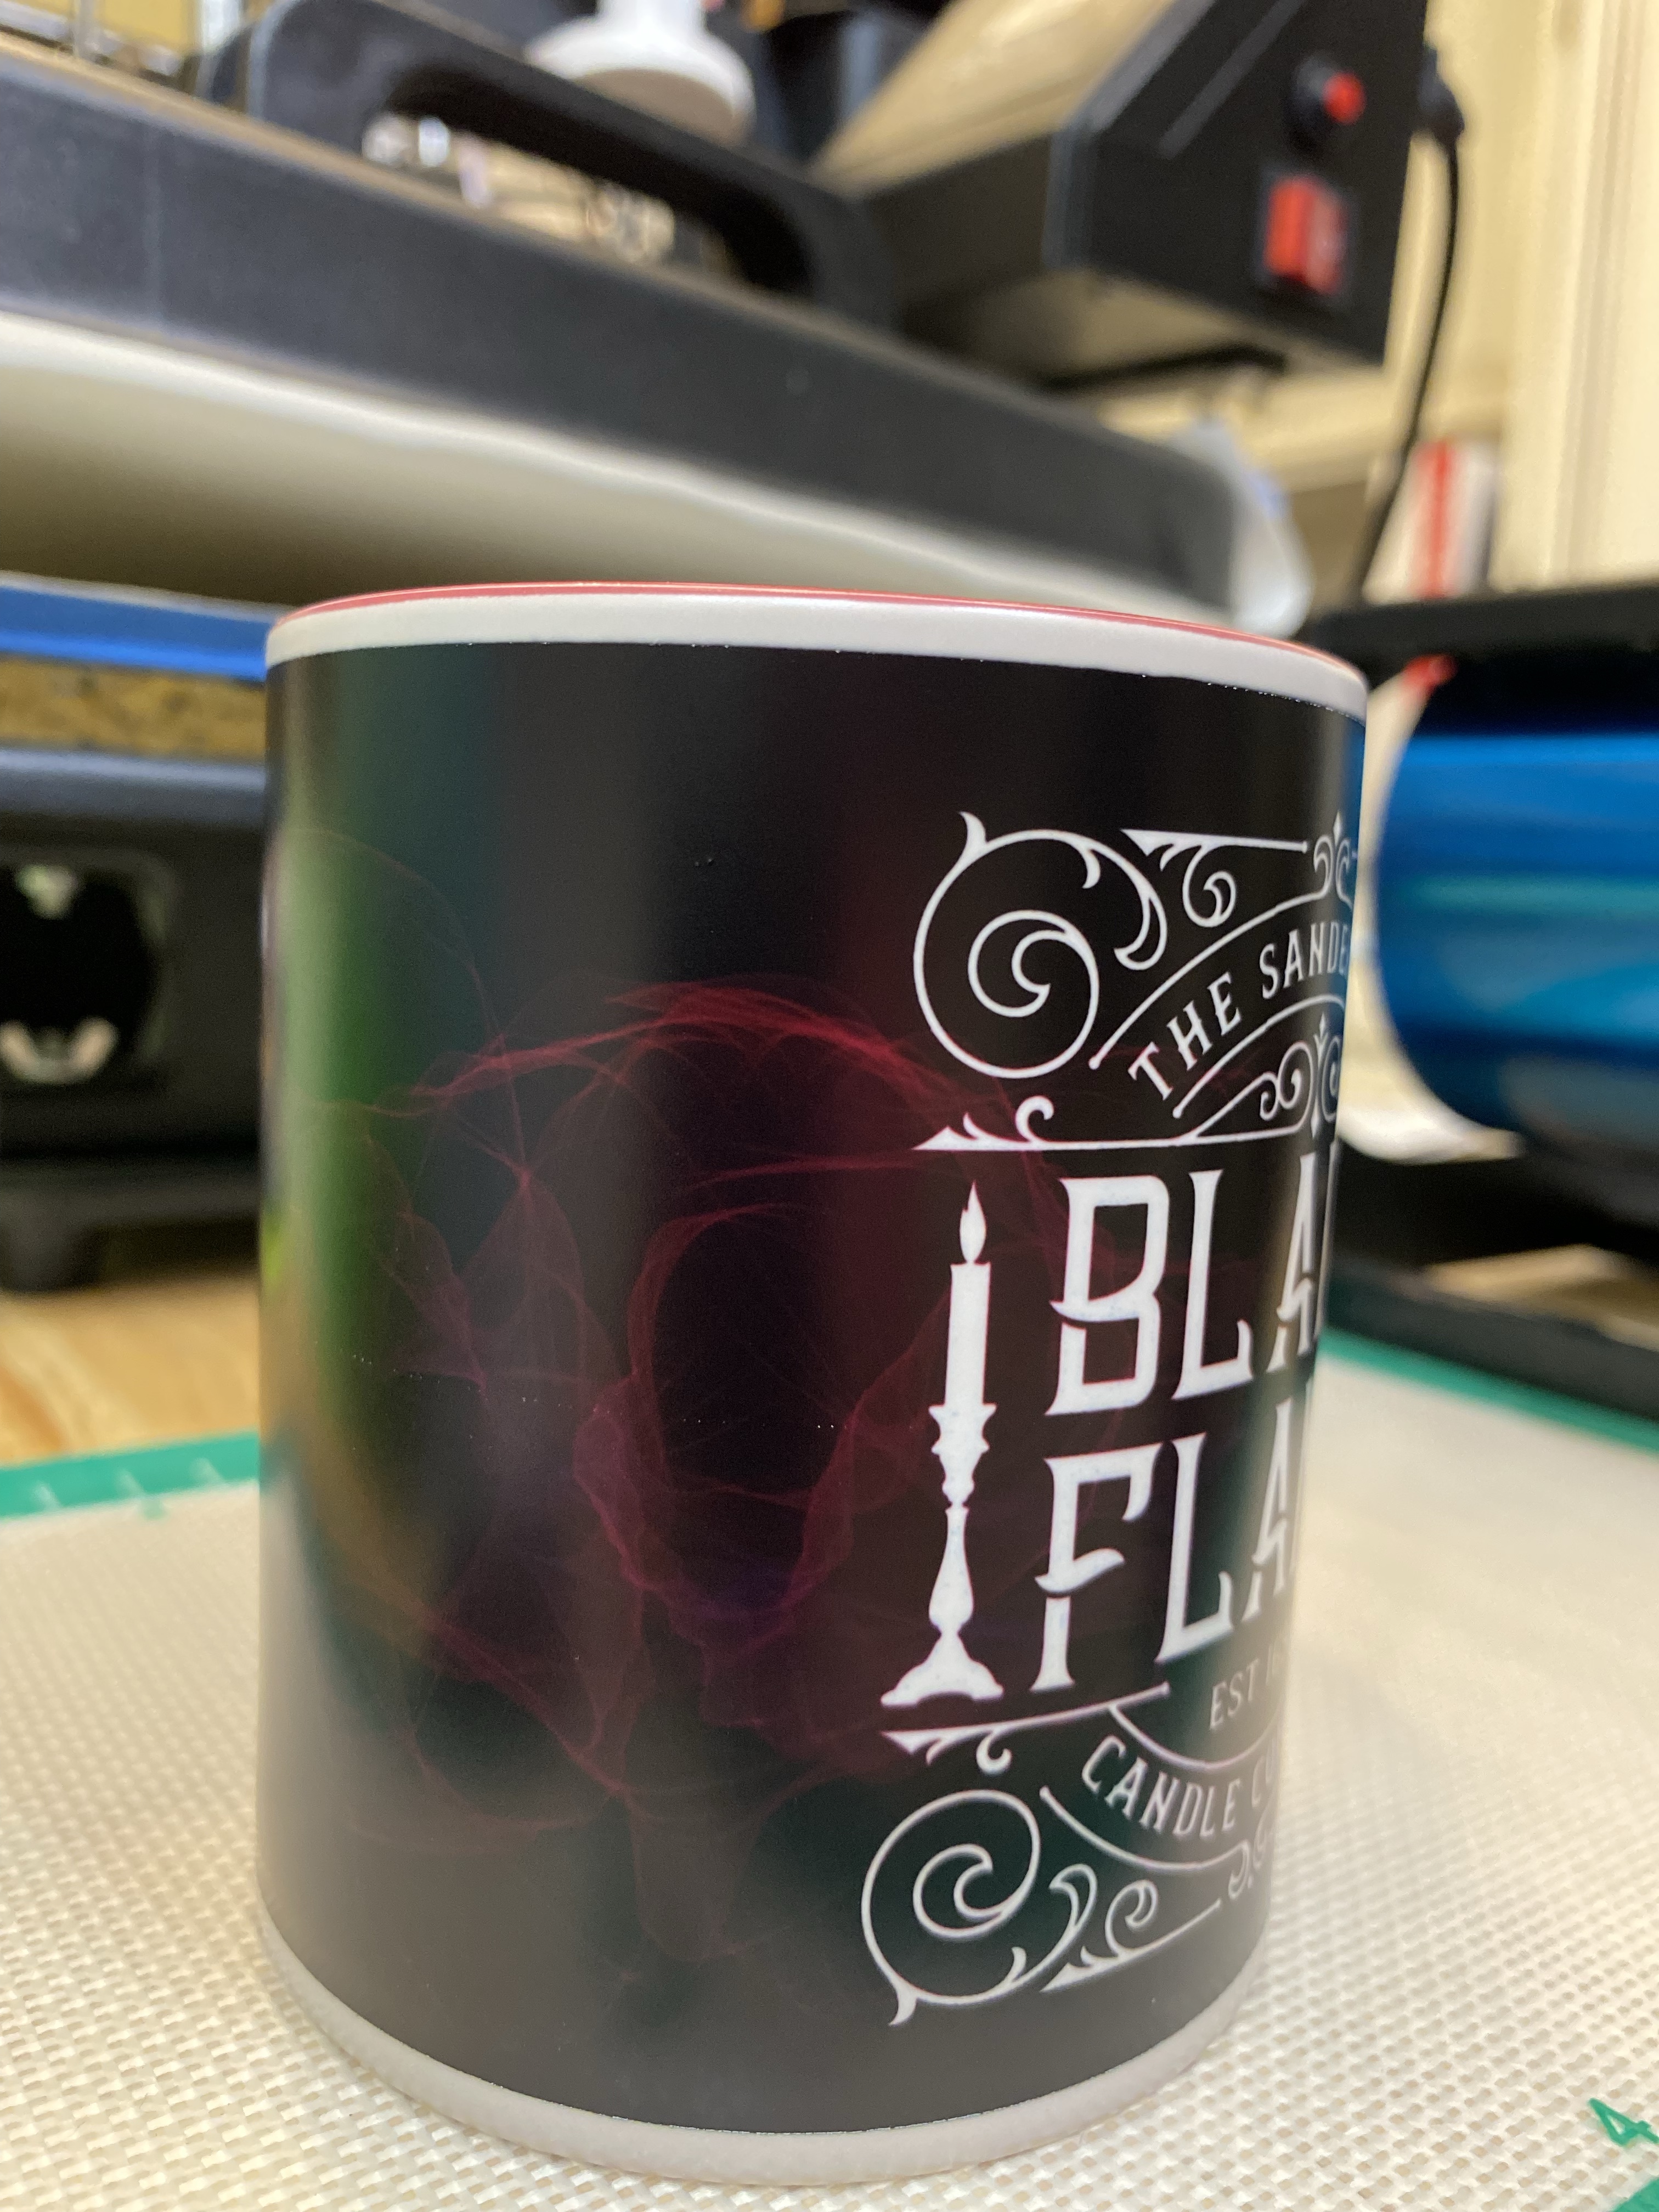
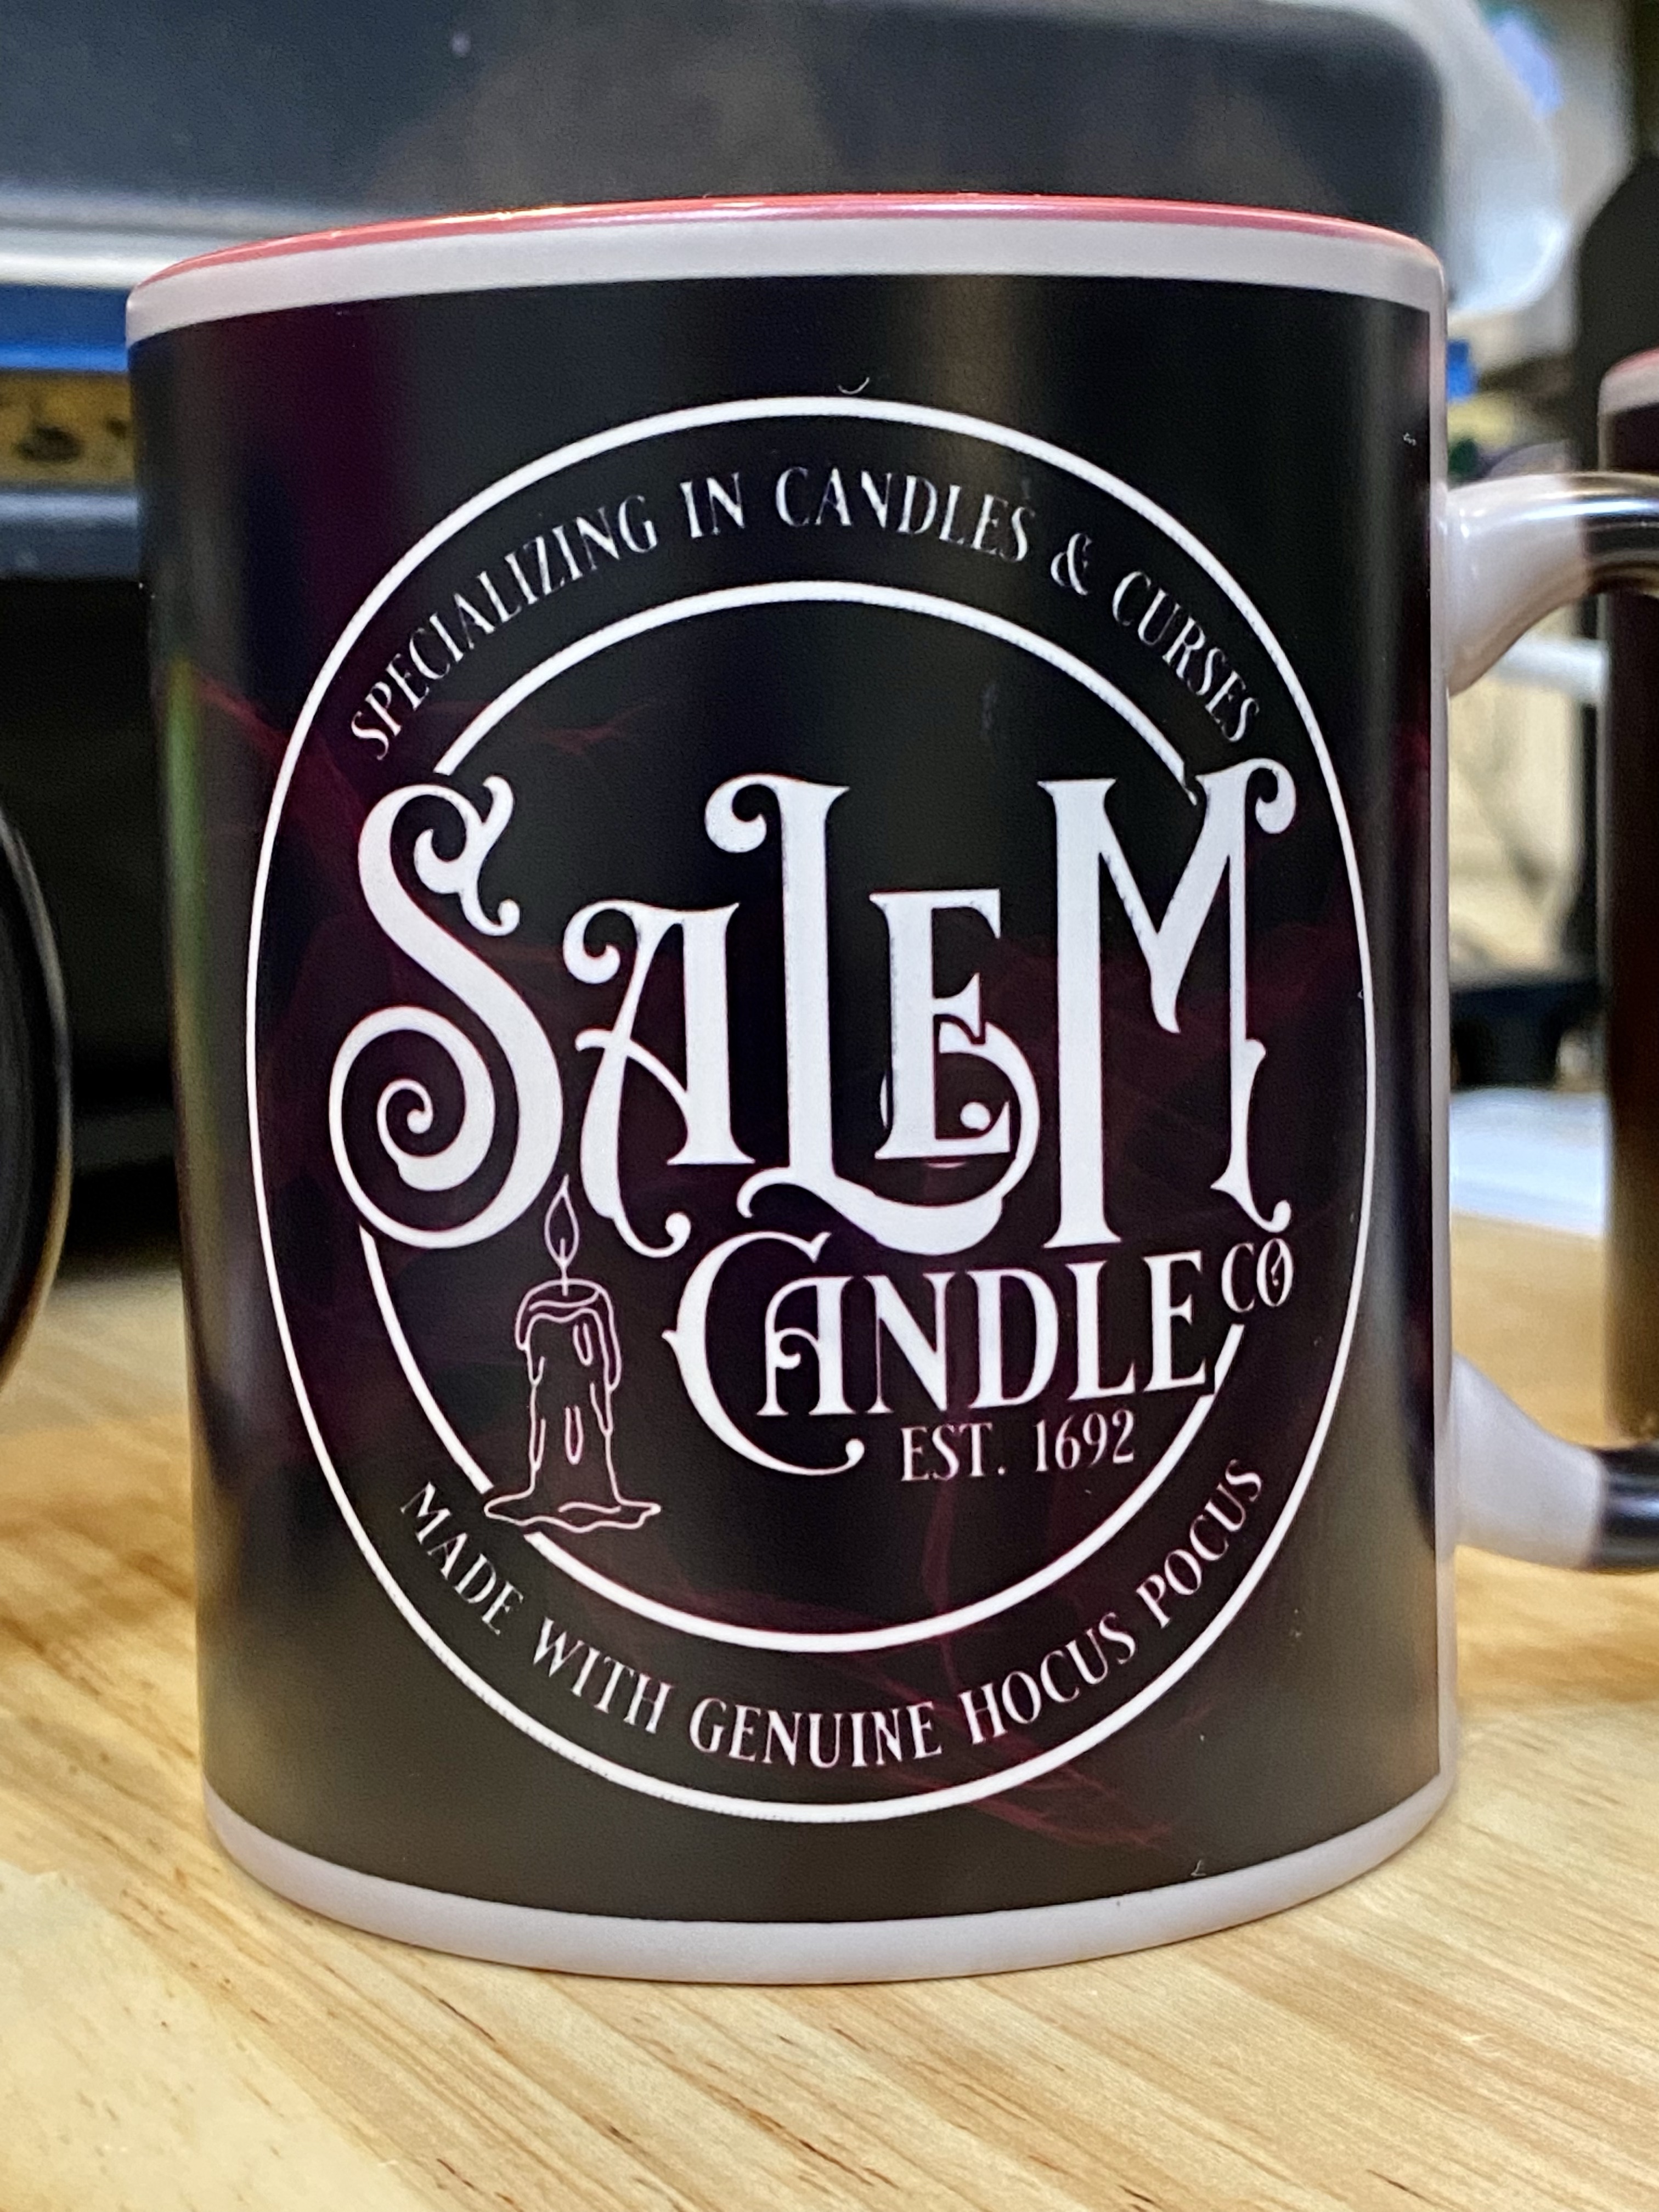
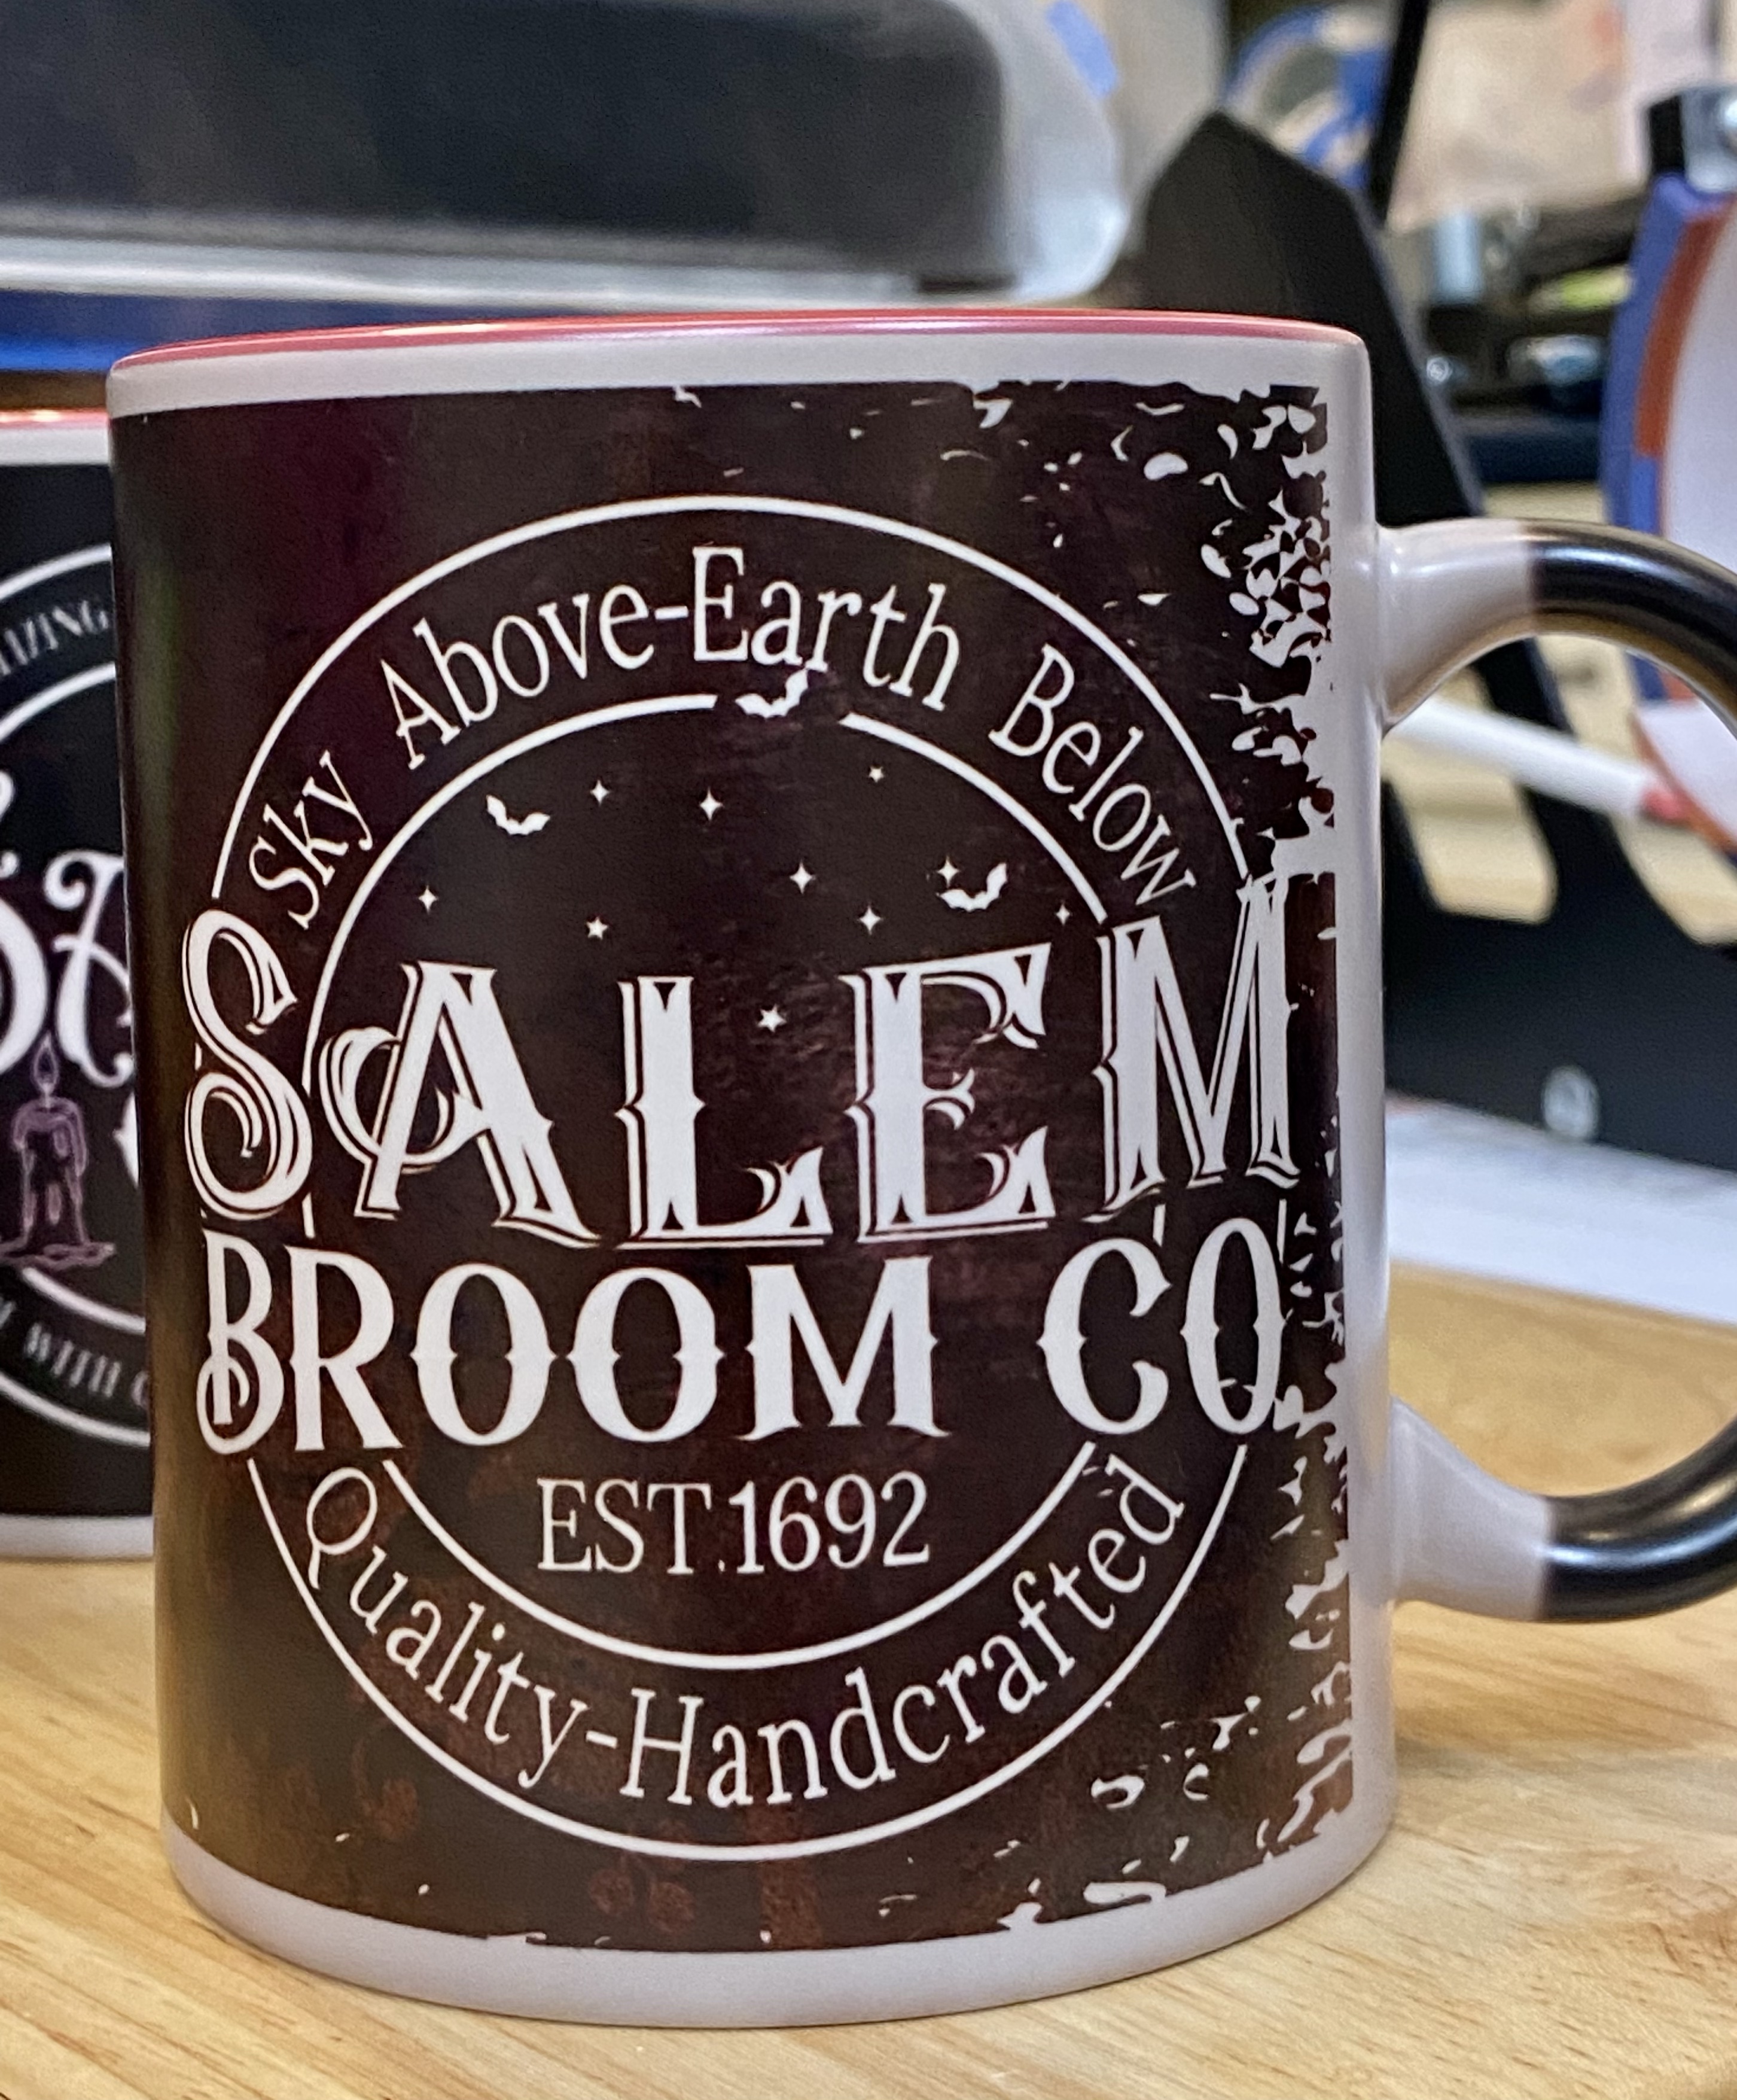
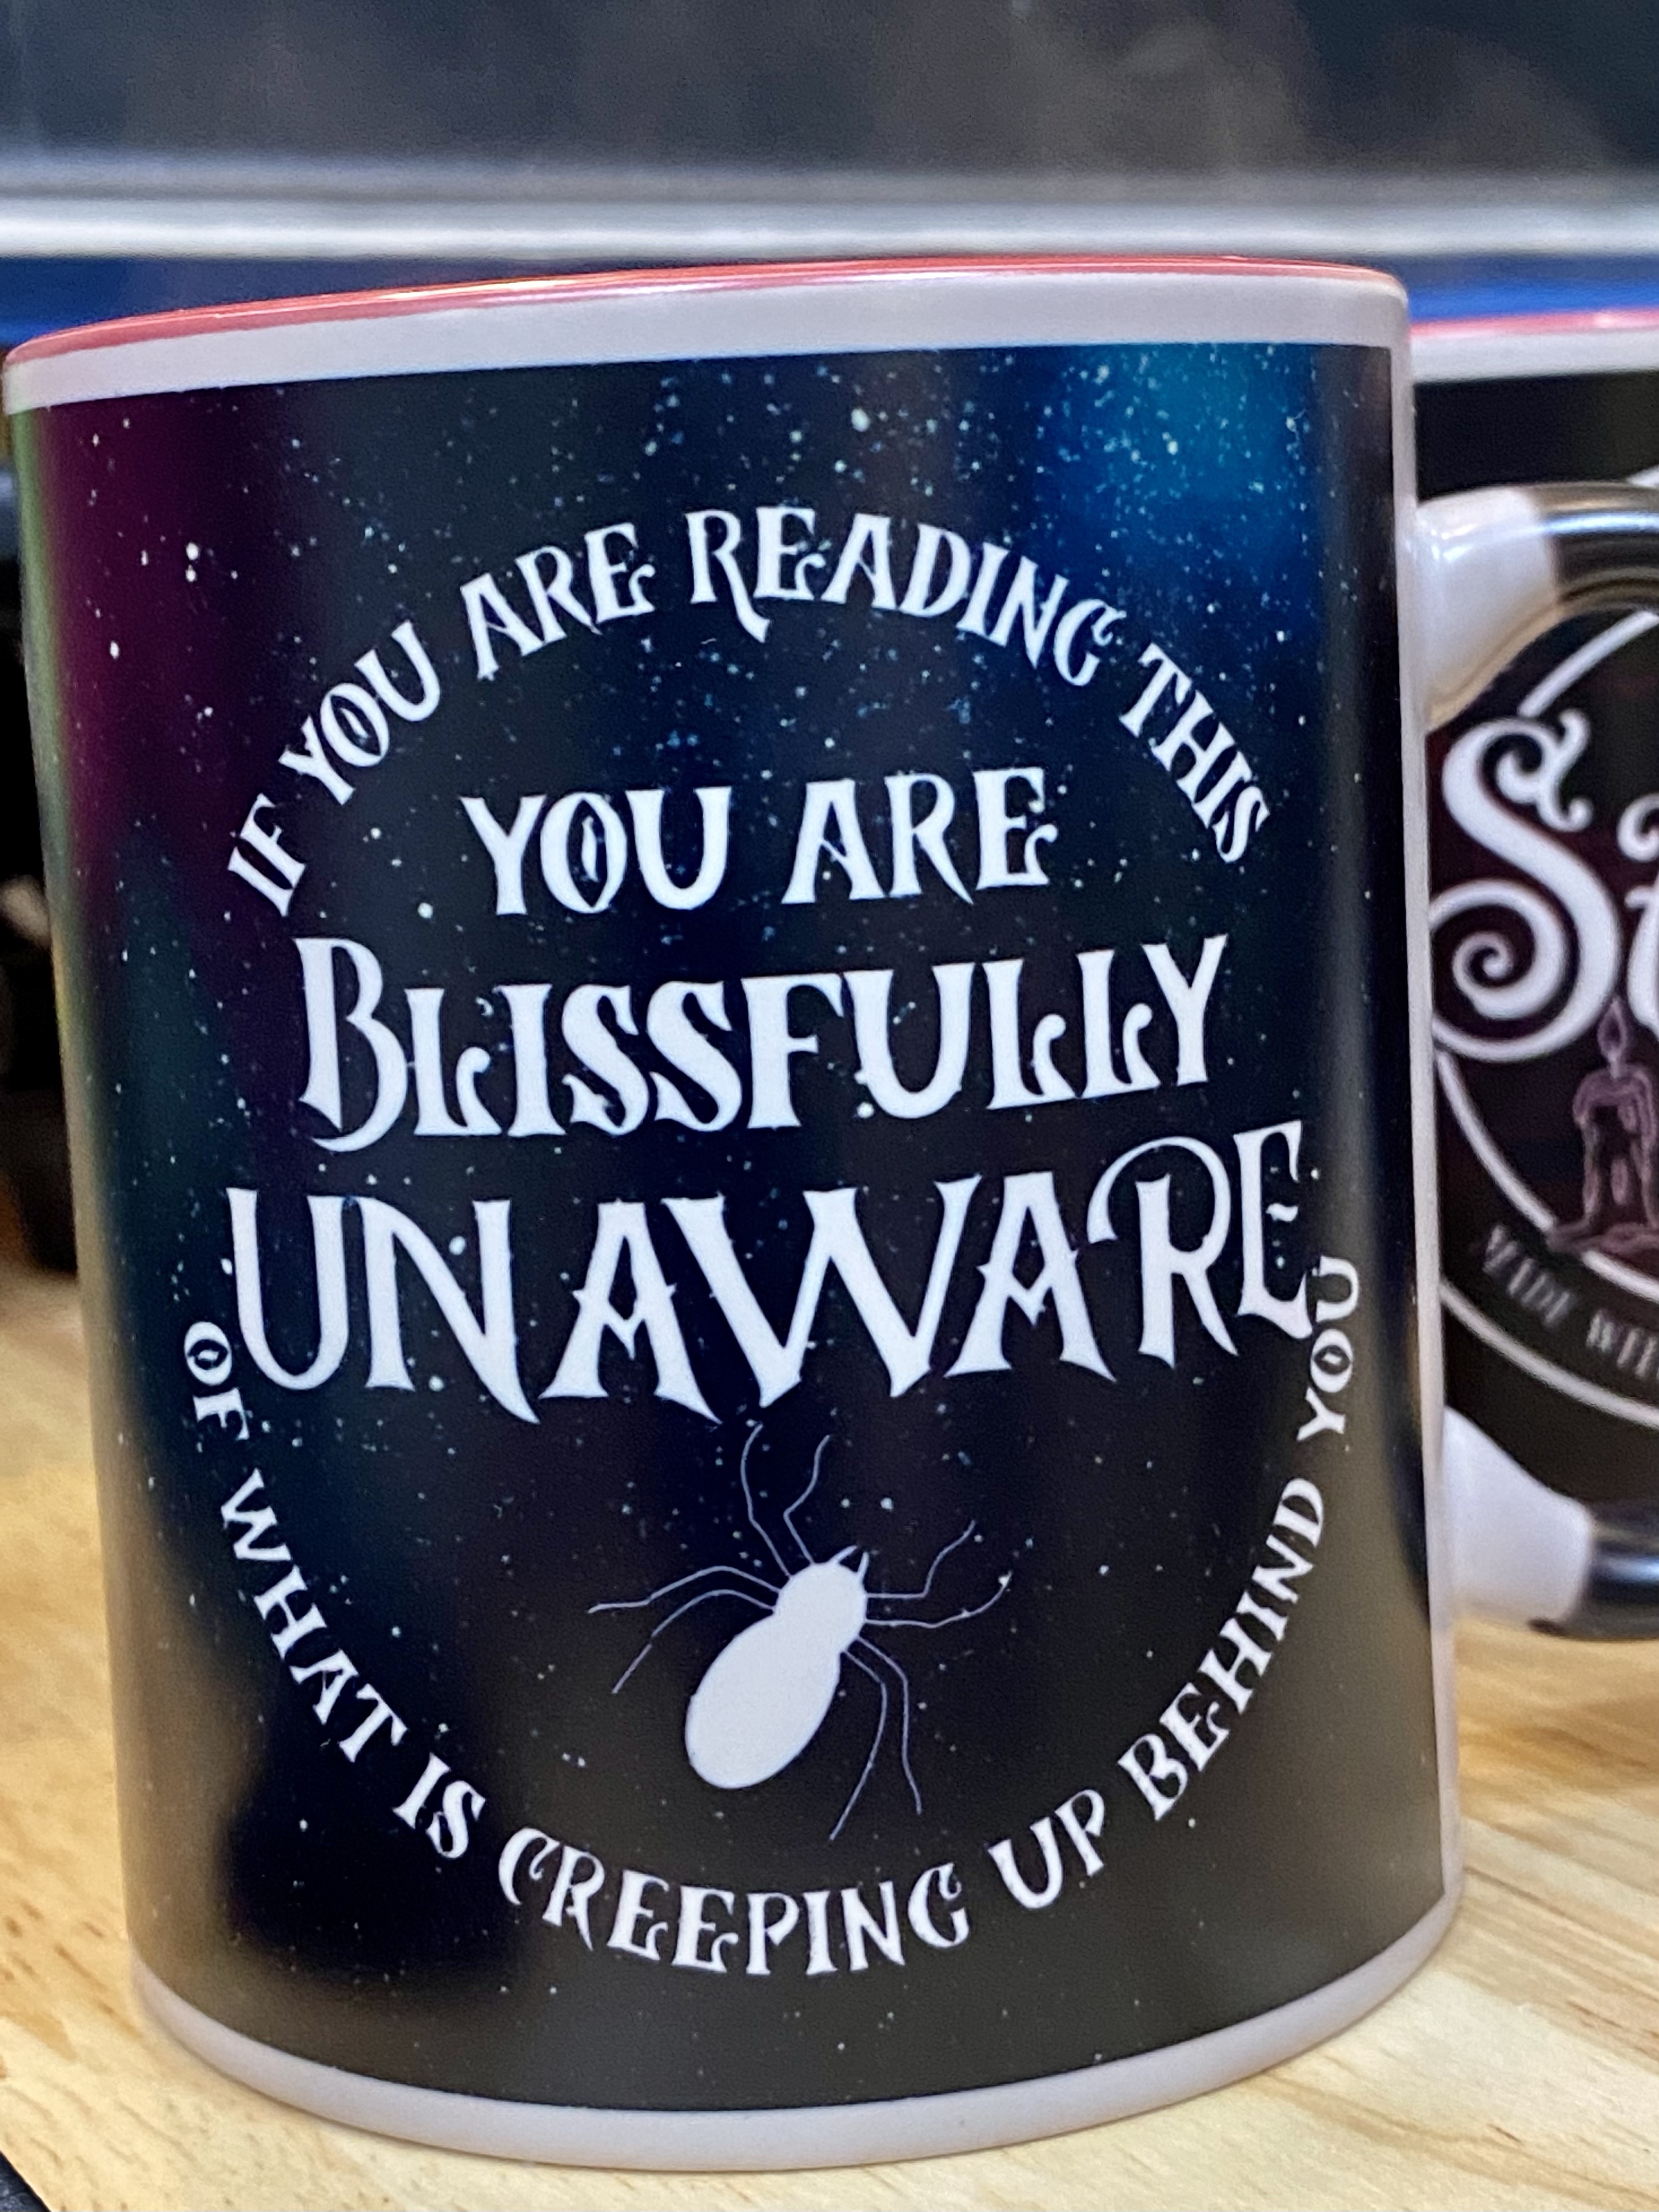
For Halloween, I had a BLAST making color changing mugs. We call them magic mugs. I need to figure out how to post a video here, but for now, trust me, they’re cool. They start out black. When you add hot water, the black disappears revealing and image under it.
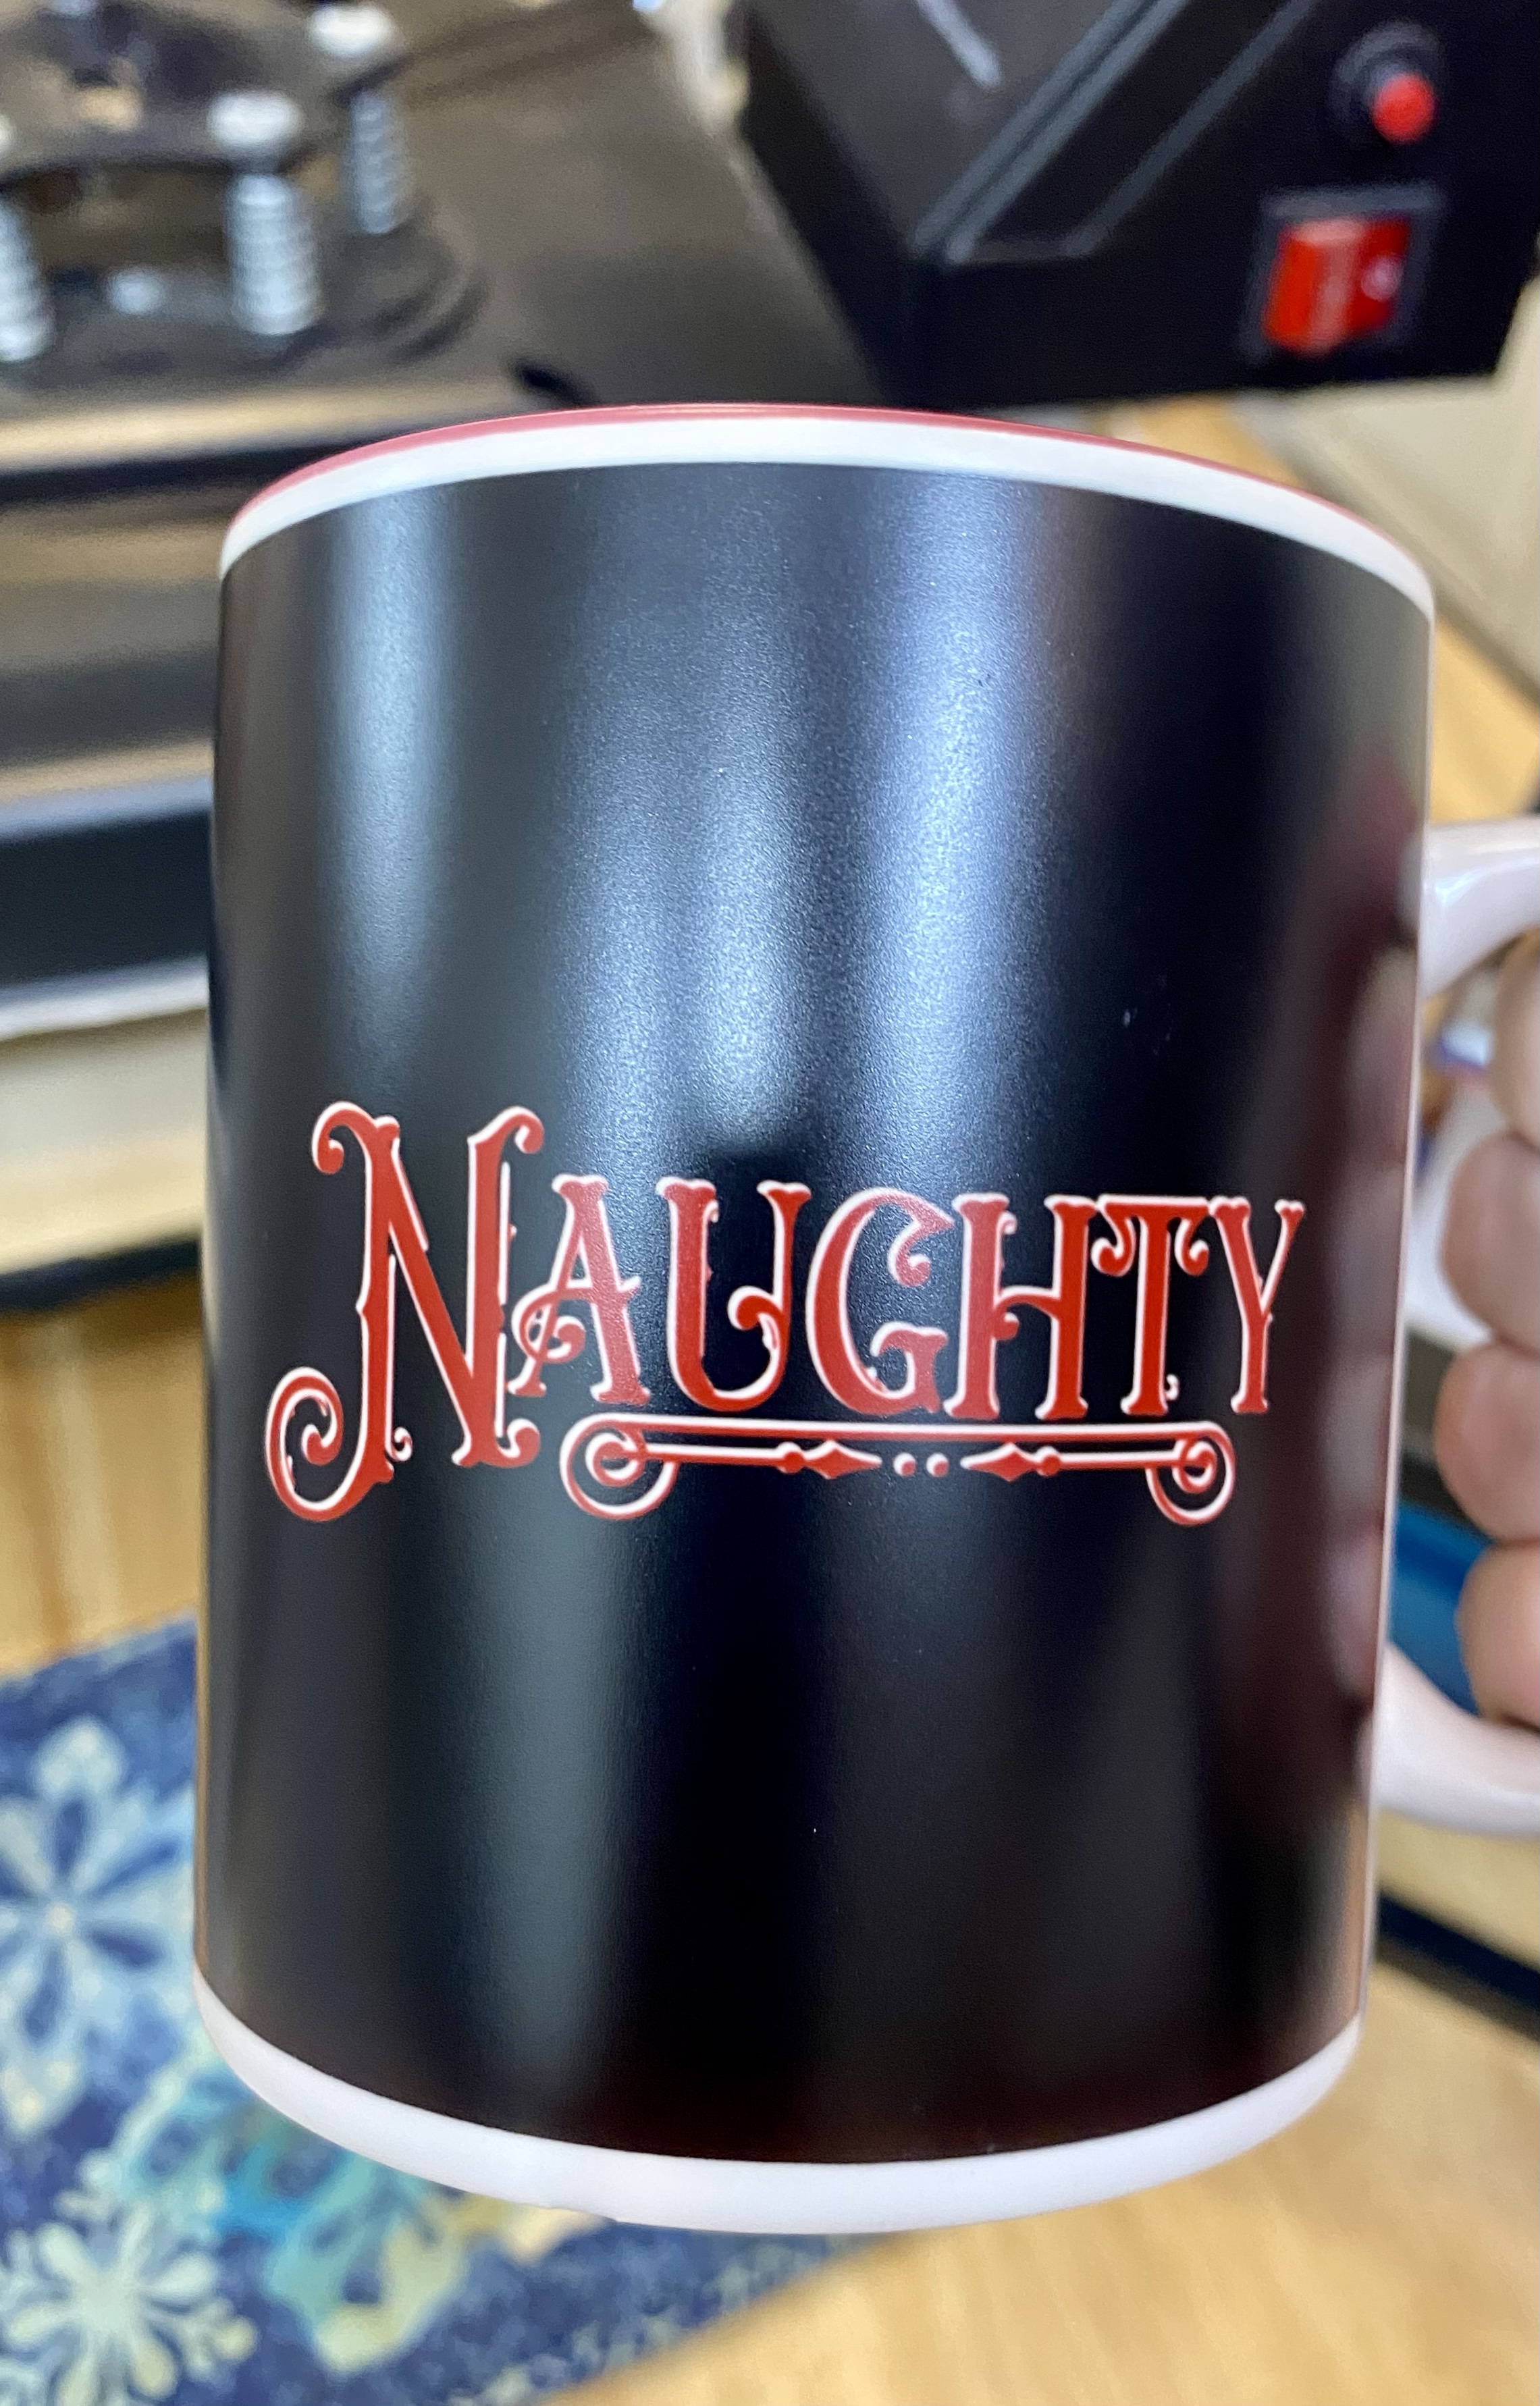
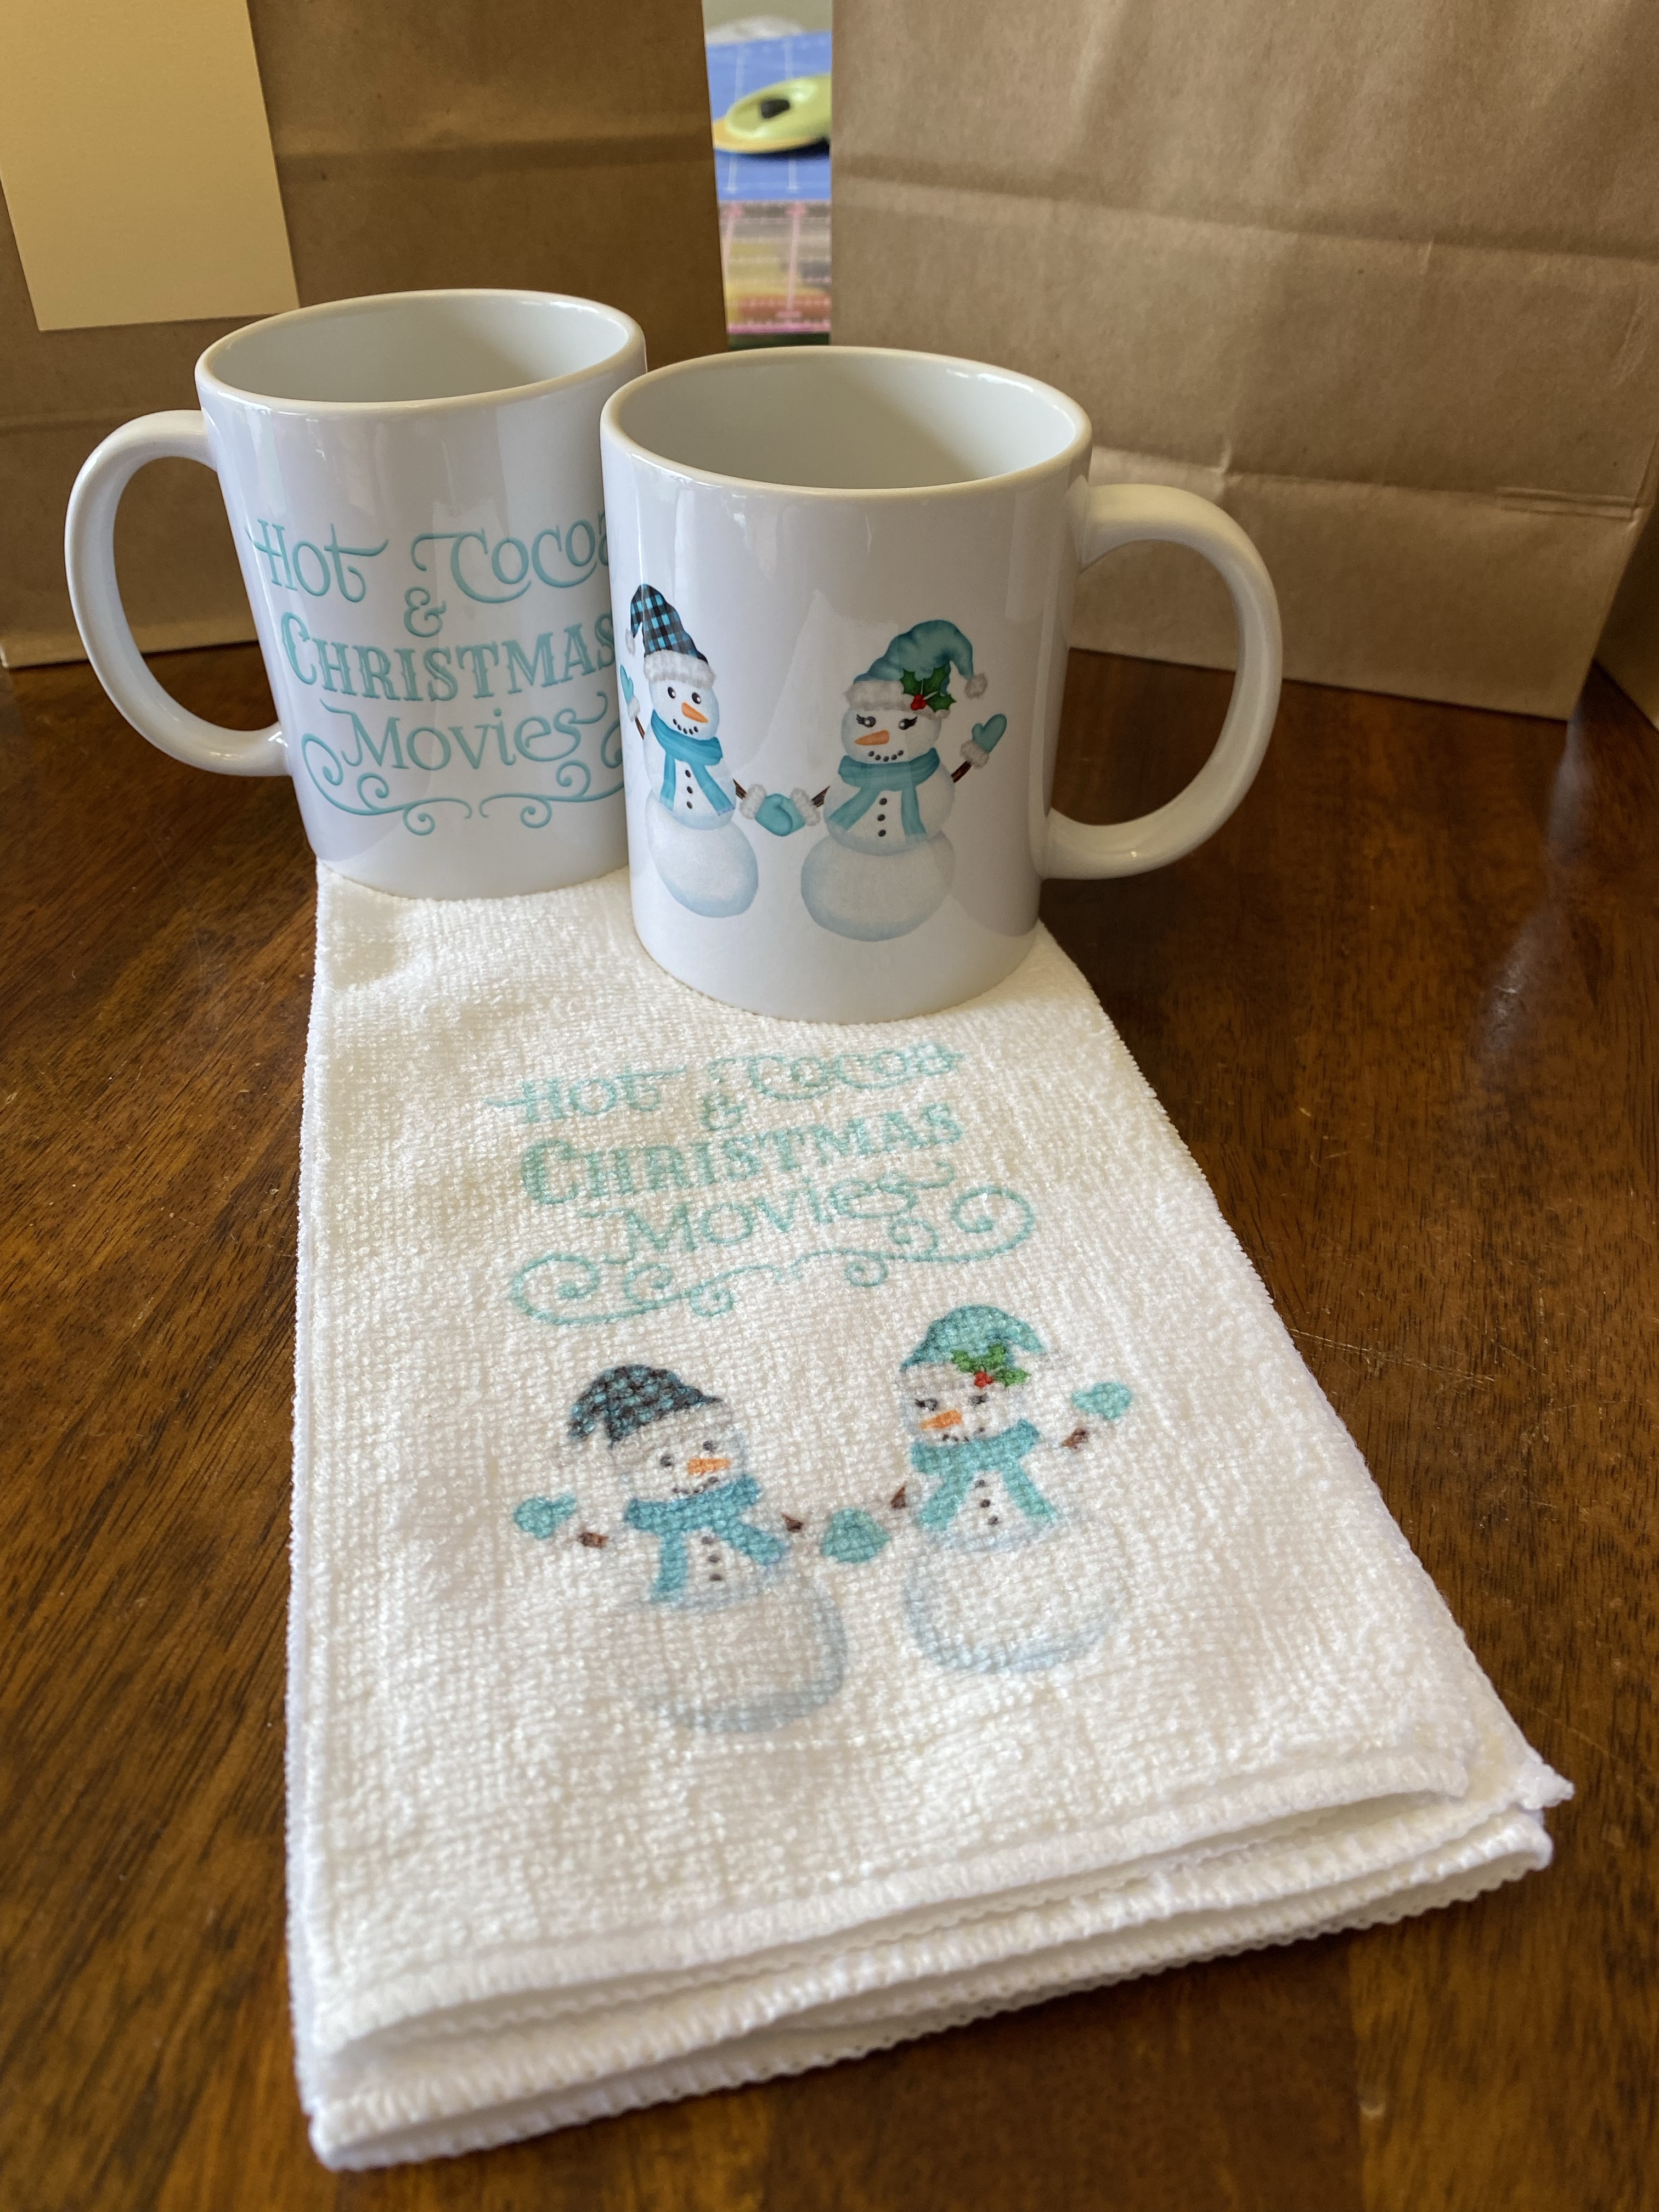
And before we knew it, it was Christmas time. I did a Naughty/Nice Magic mug (because I LOVE them lol) and also did a set of matching mugs and kitchen towel set.
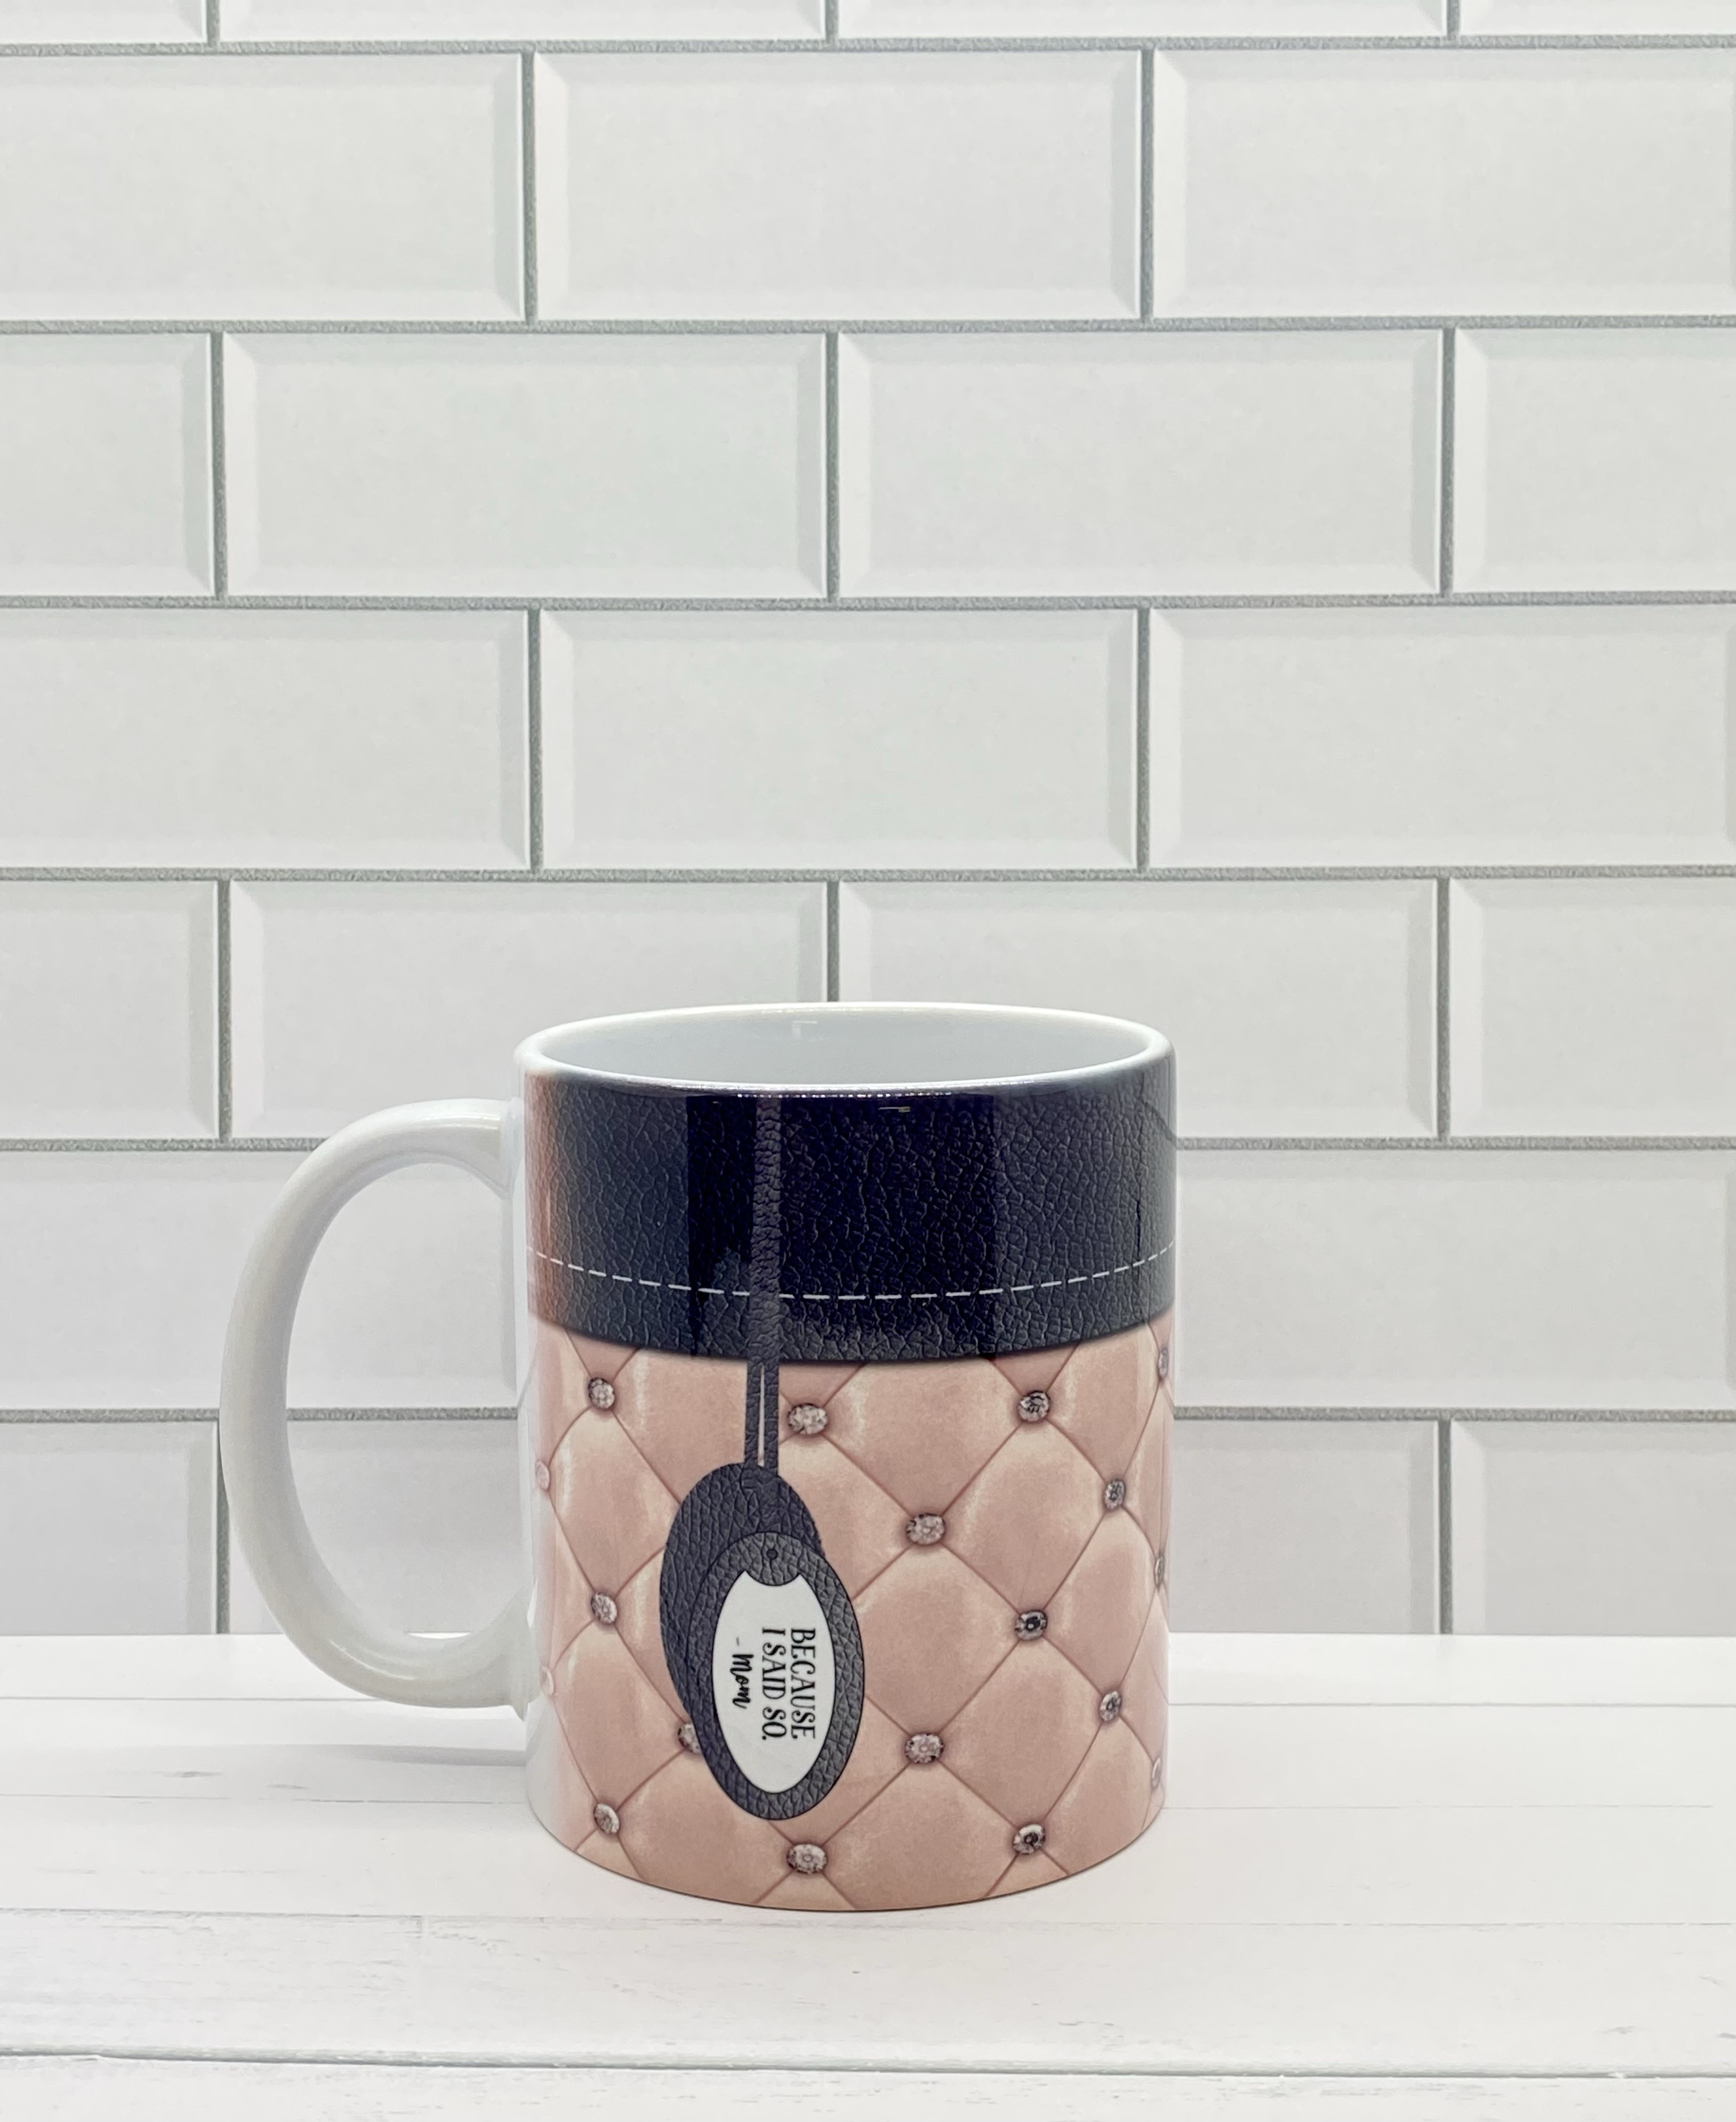
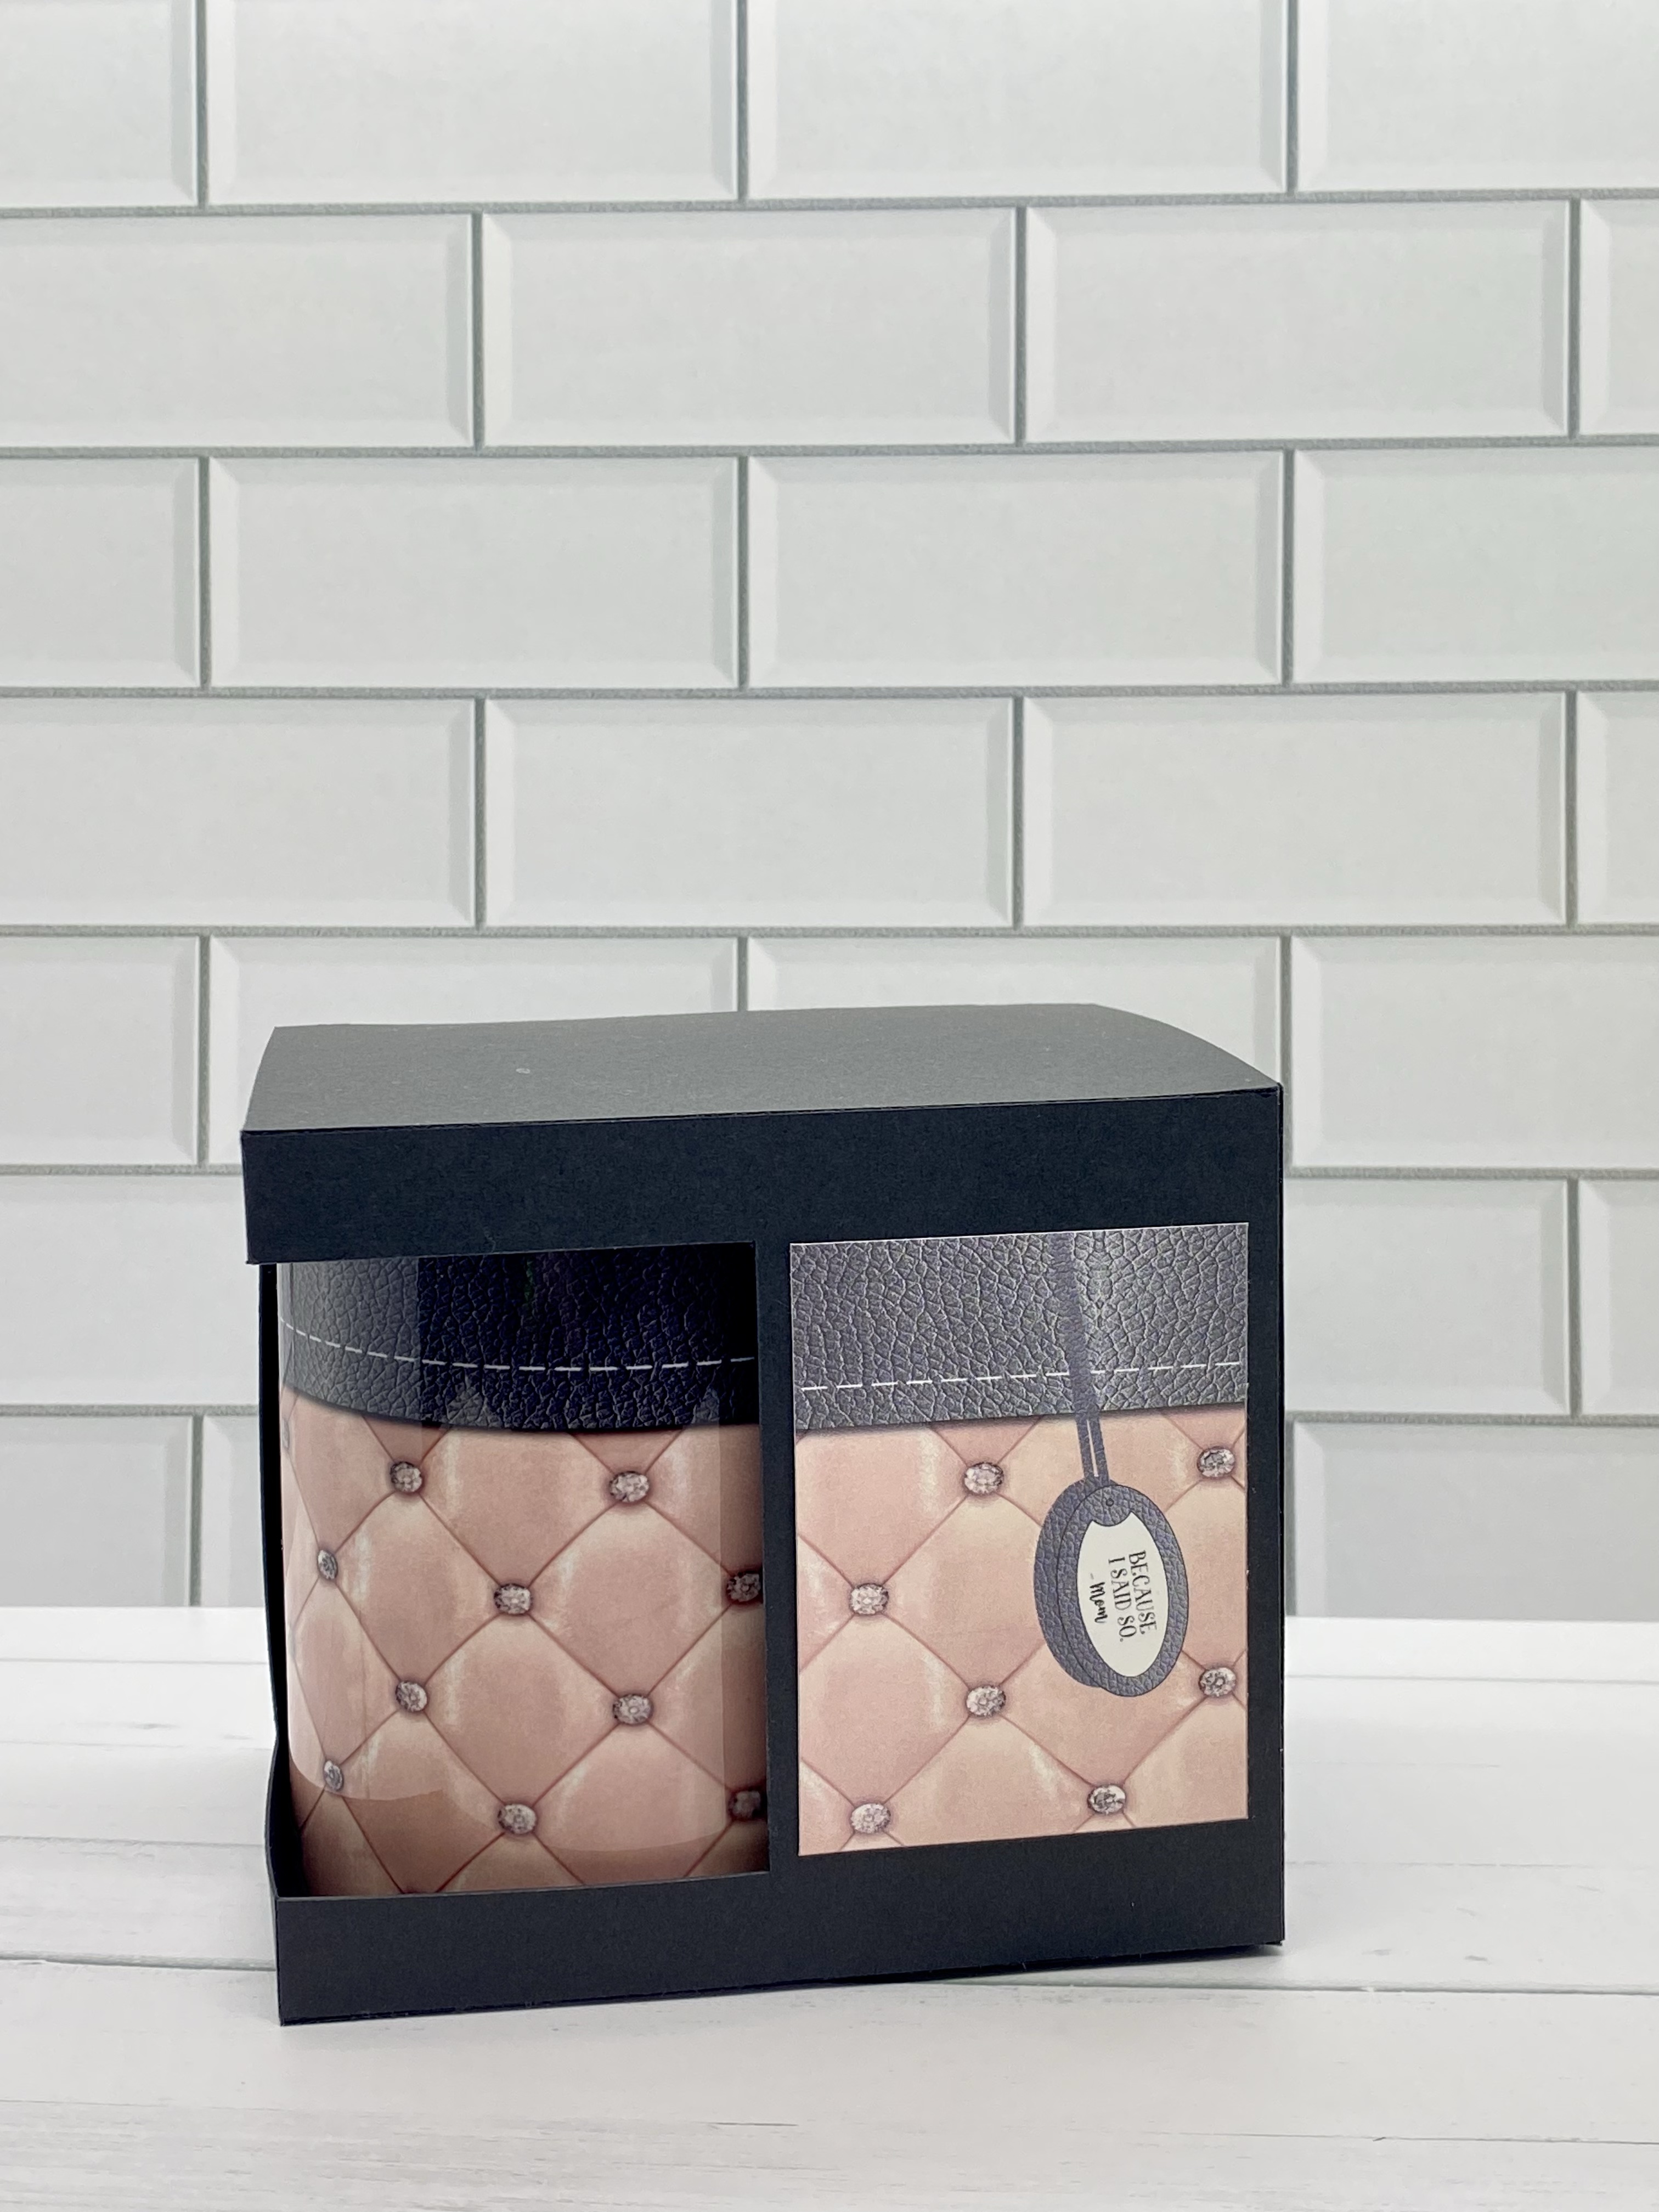
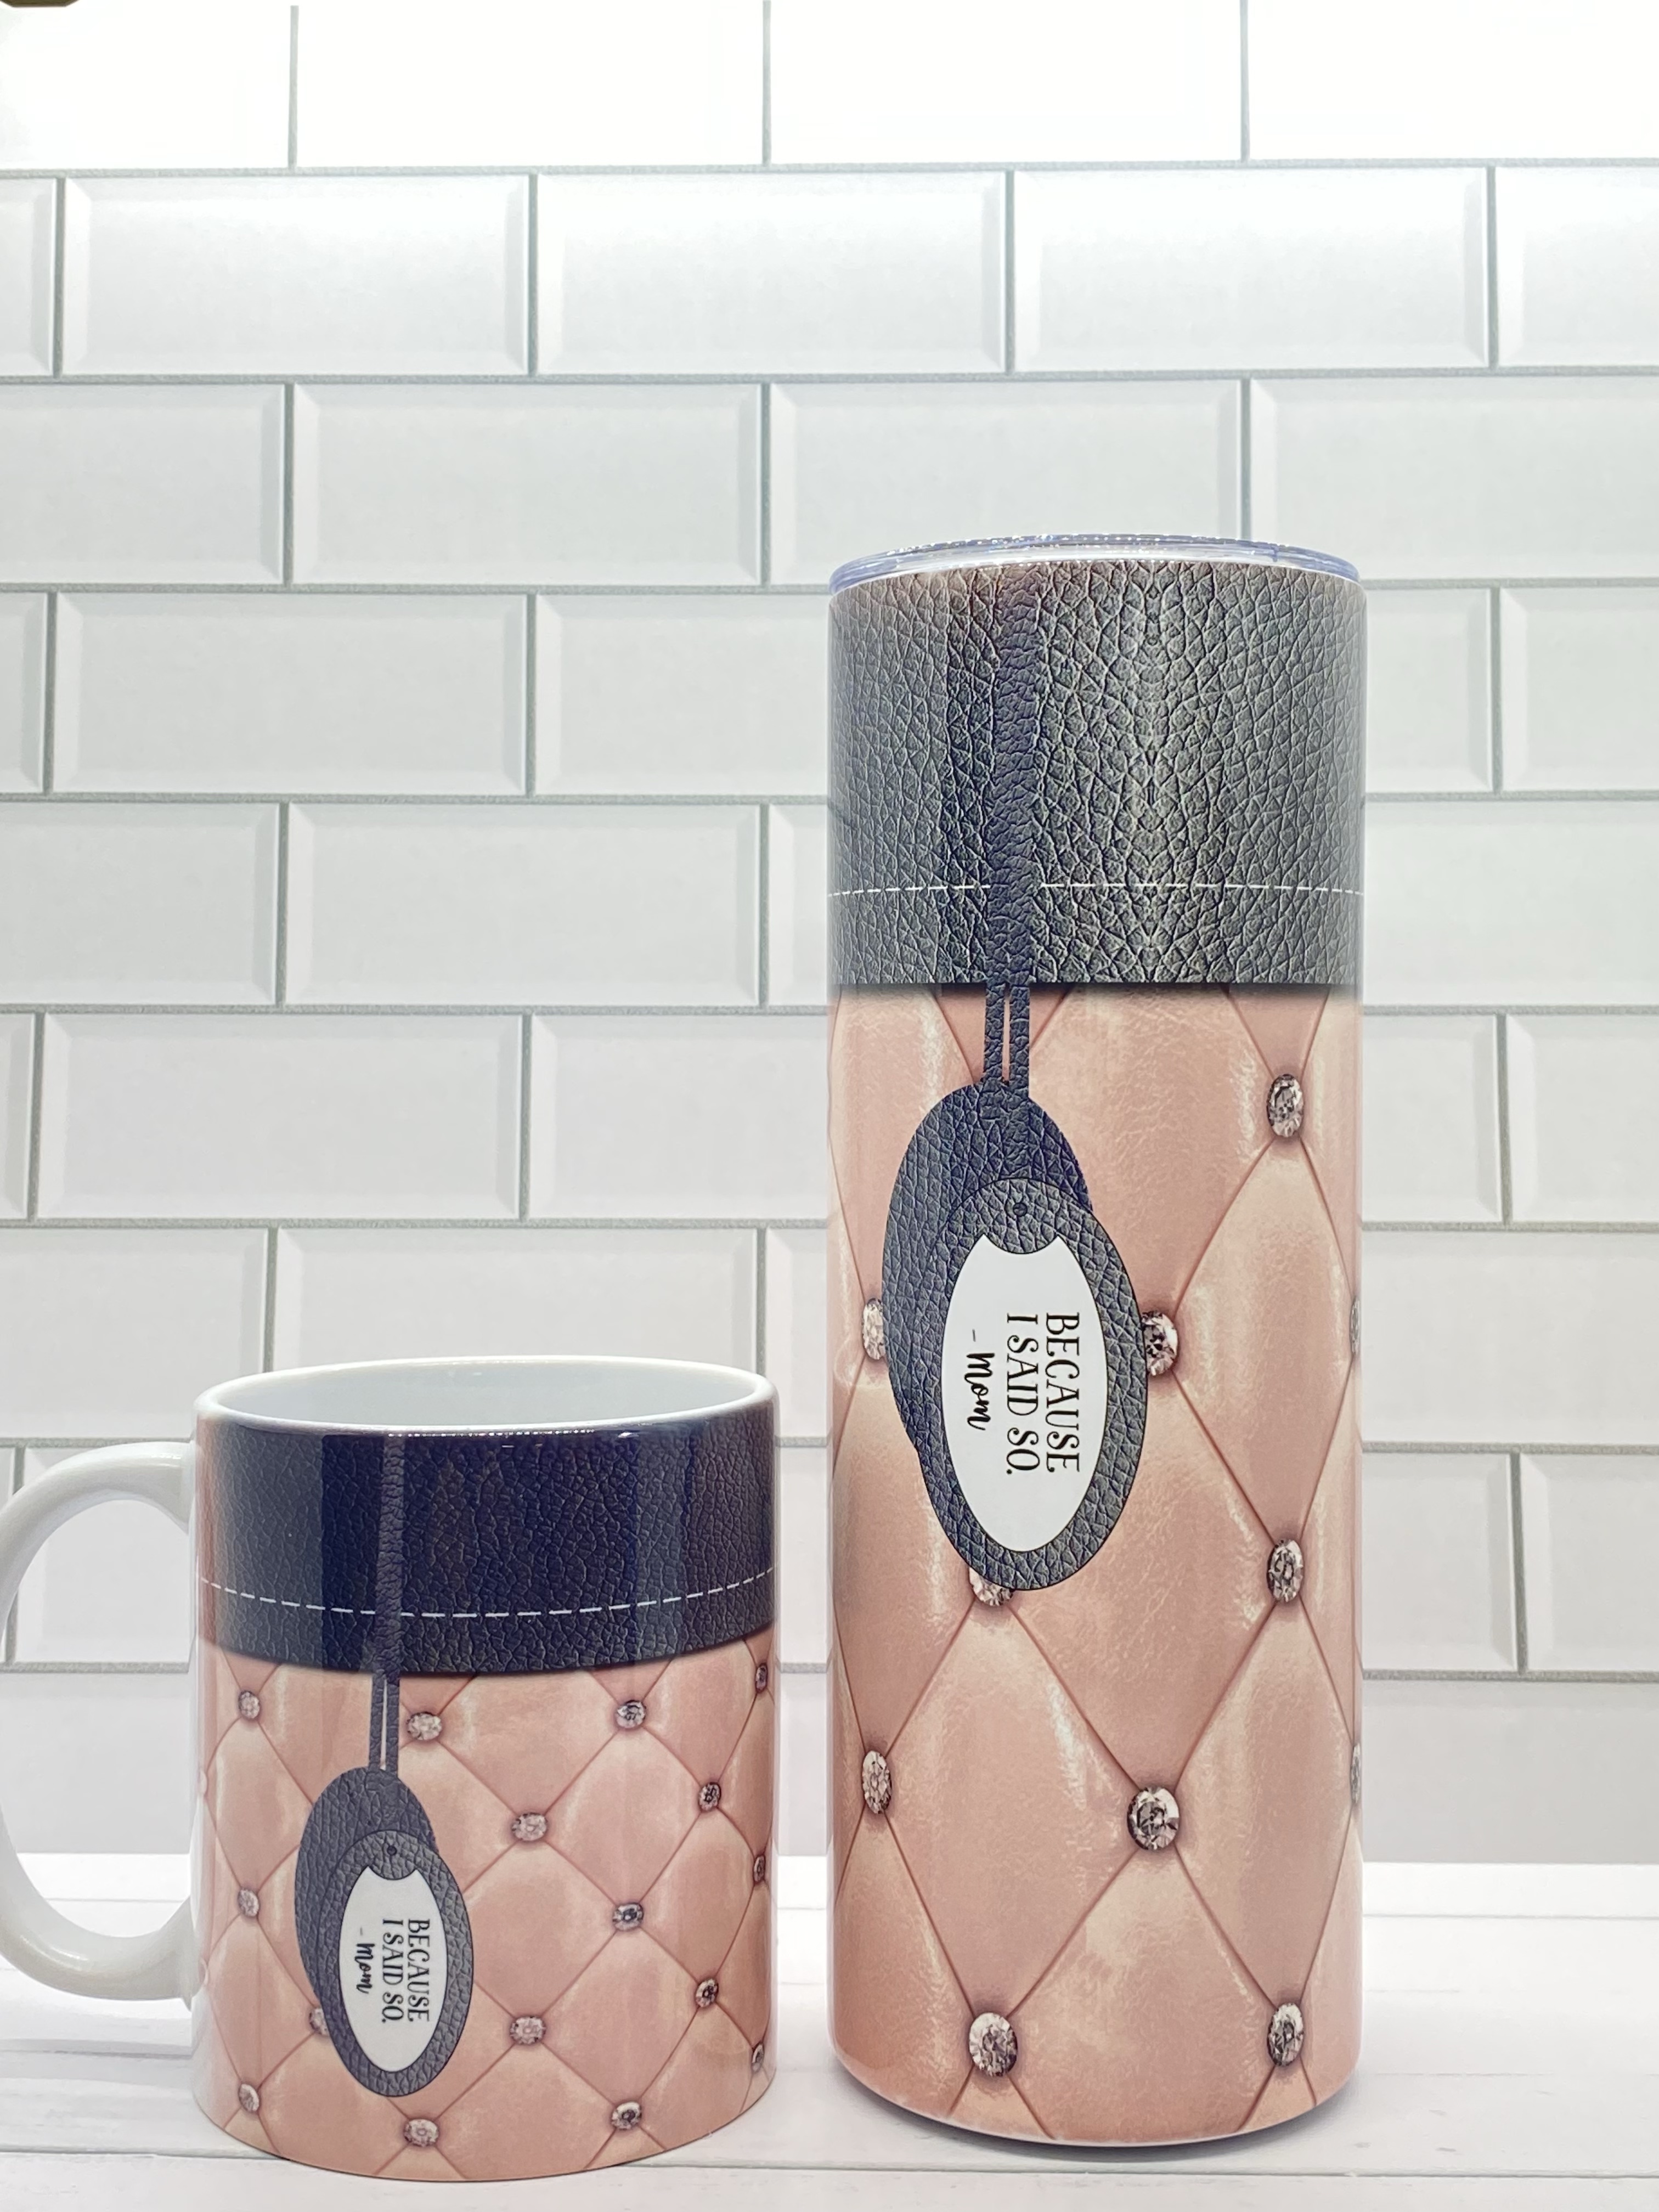
And then, I saw a pattern that I really liked, but couldn’t find, so I got to design some things using just a few images and tricks to recreate and refine the look I’d seen. I also did a matching tumbler 😊 I think this would be fun for Mother’s Day ❤️
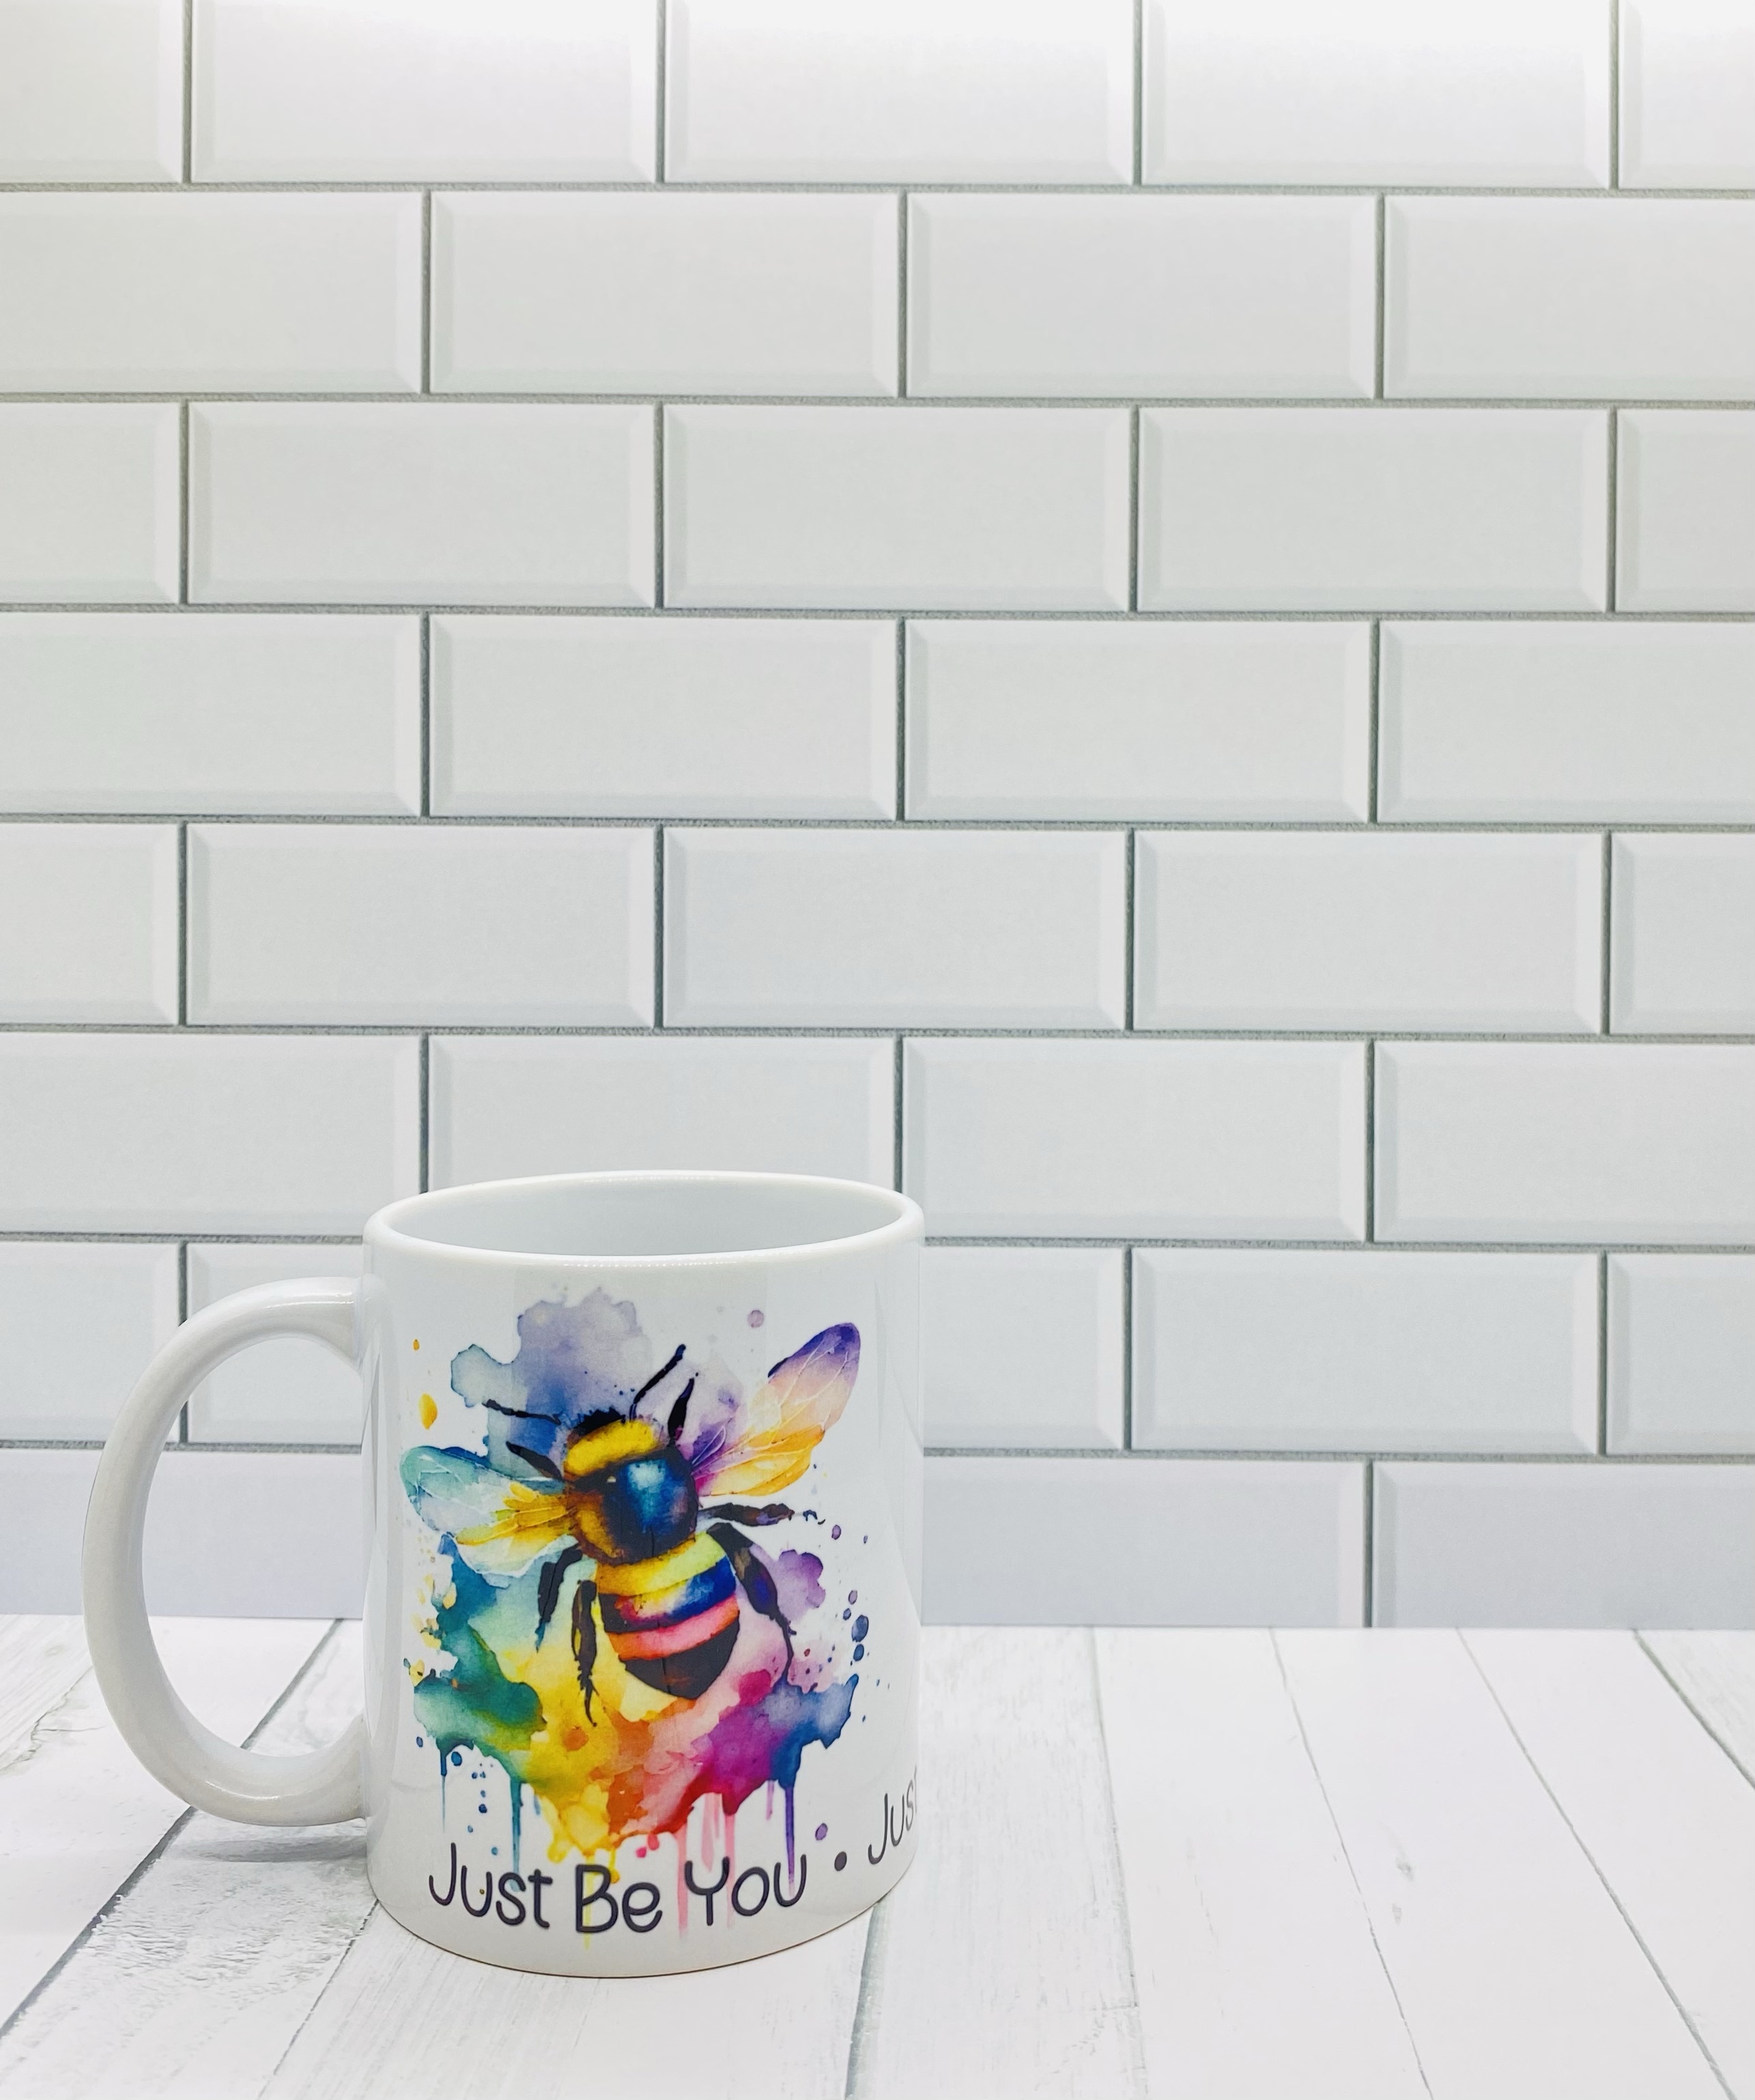
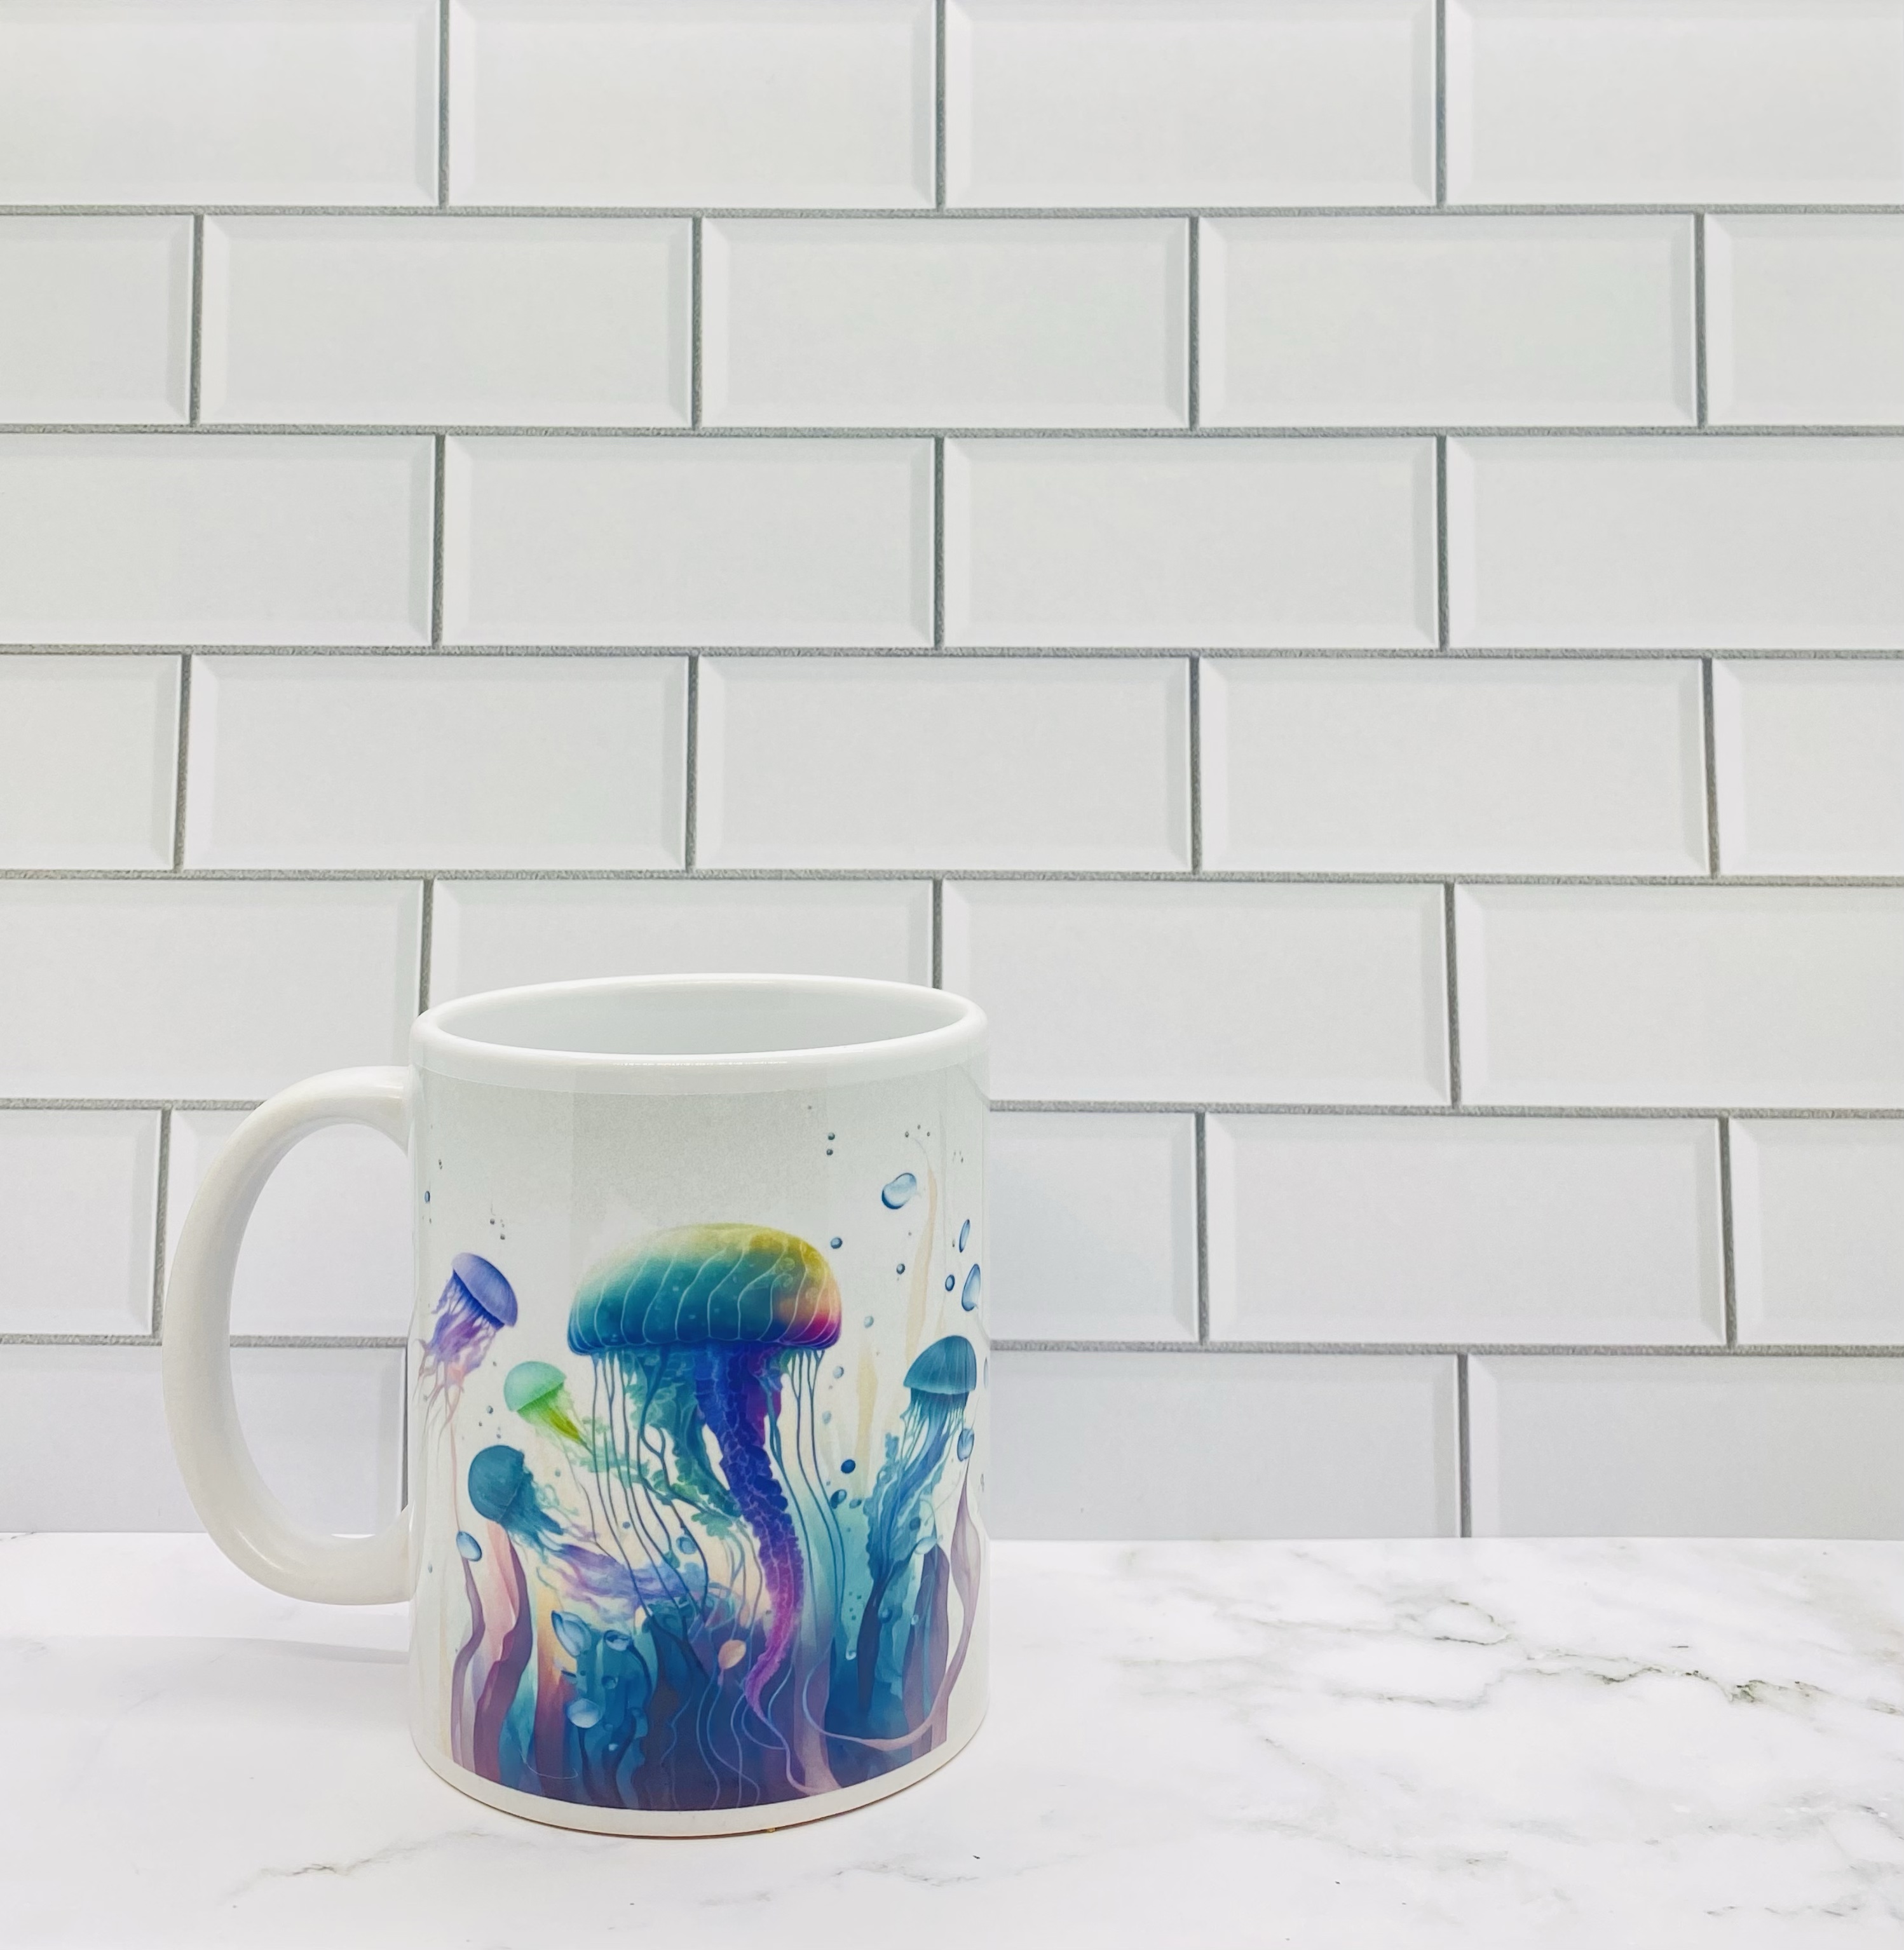
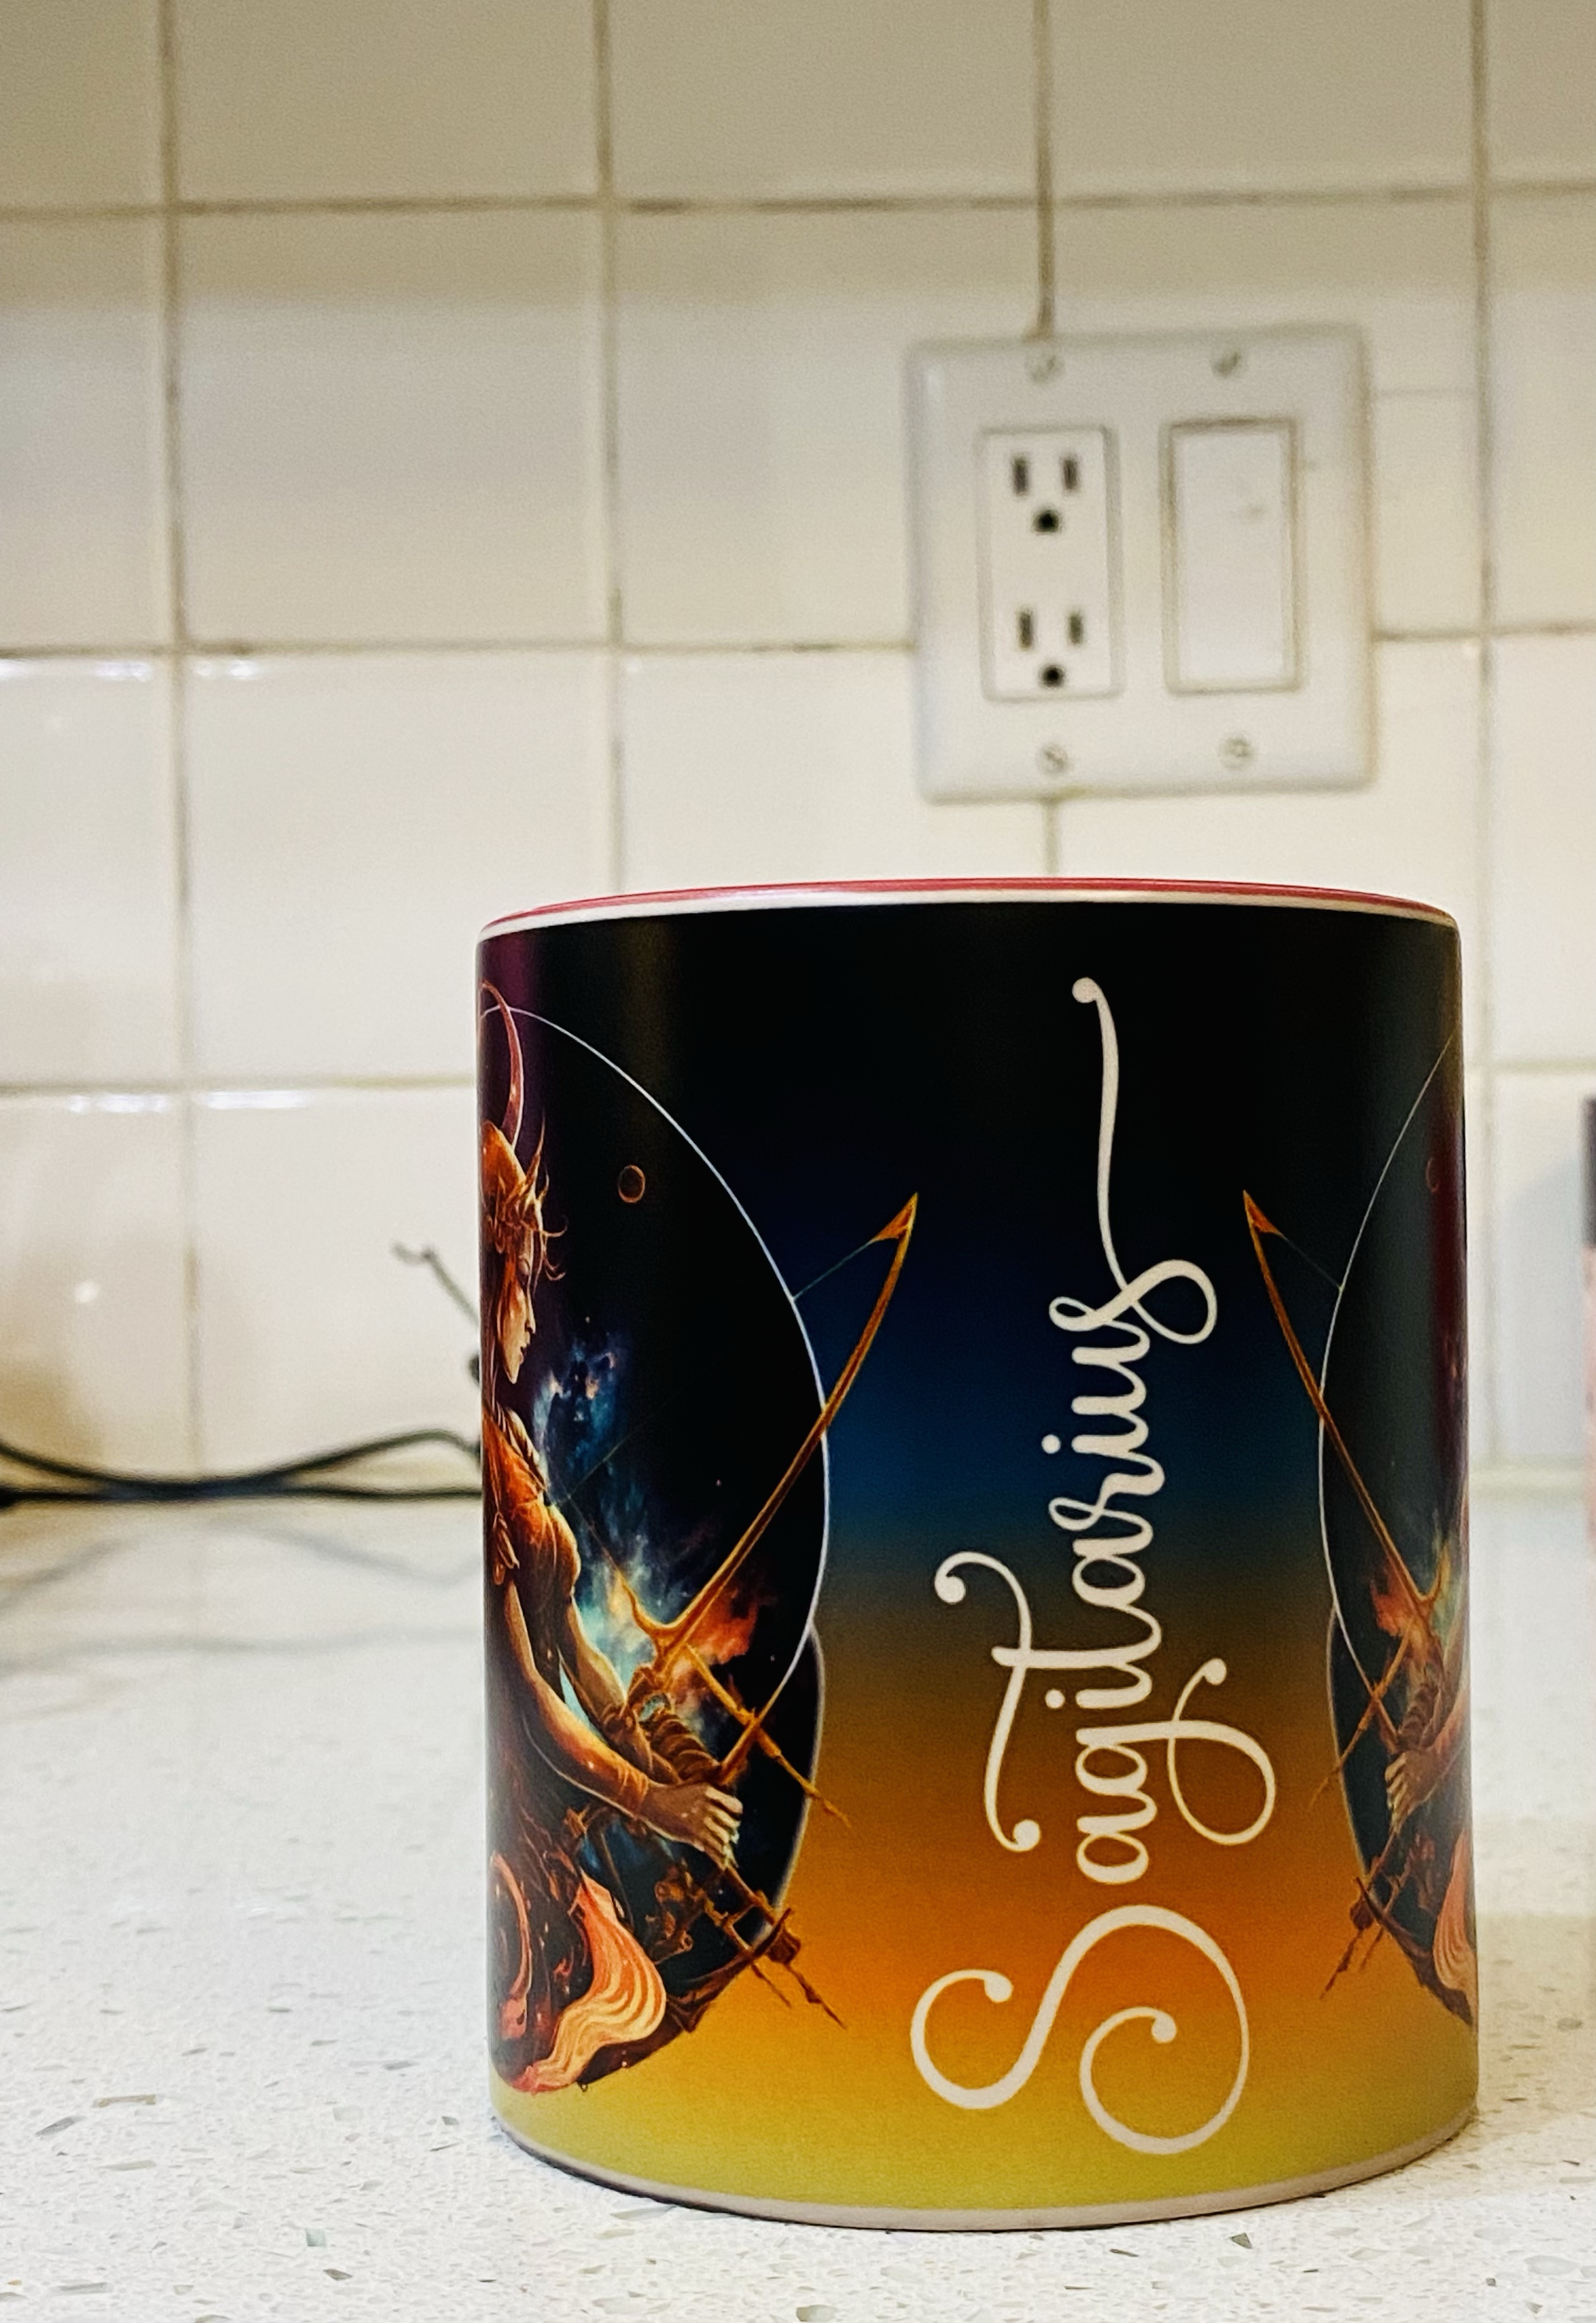
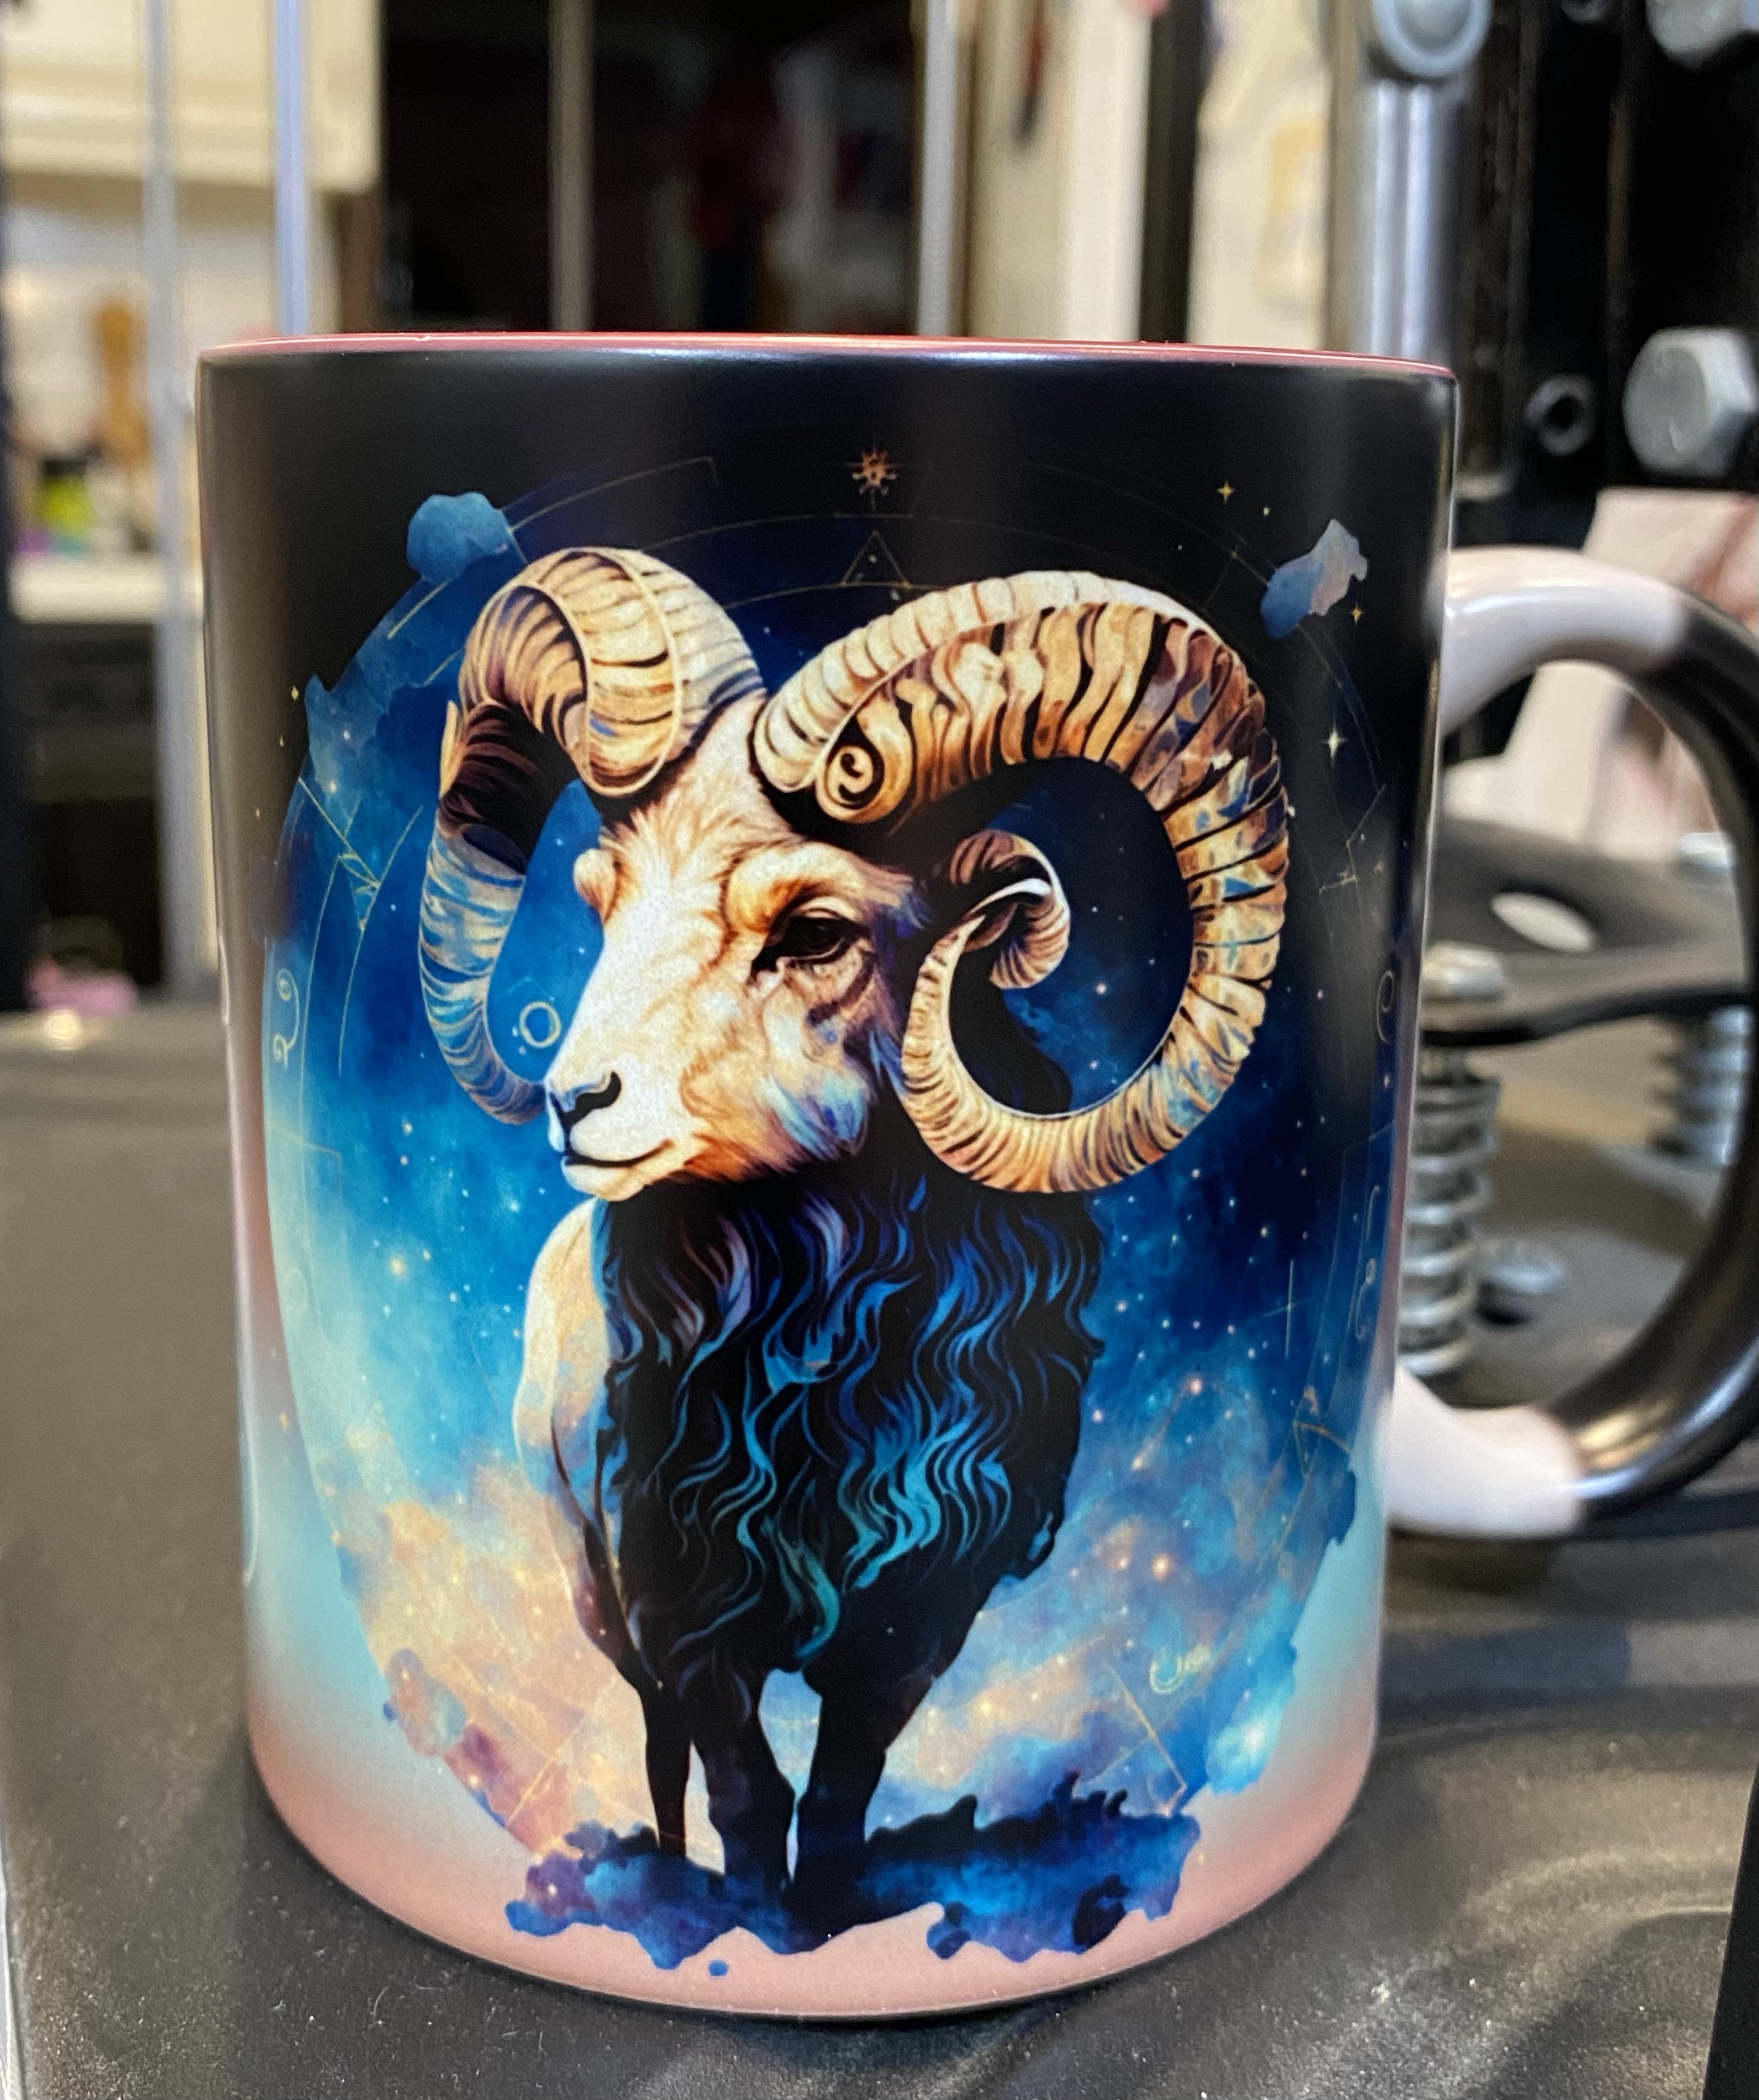
This last set of mugs I did because I found images I fell in love with. A friend suggested they might work well as Magic Mugs. And I agree!
I did the Sagittarius mug for me (and I just noticed I misspelled it, so I will be fixing that right away!)
The Aries mug is for a friend of mine and I LOVE how the colors came out on this 💕
So those are some of the mugs I’ve been working on. There are some missing so there will be a Mug post part 2 coming soon.
As I mentioned at the beginning, these are the types of things I’ve been doing for fundraisers for Bandit and Paws 4 Autism.
For more information about Paws 4 Autism, click here: AWESOME DOGS
There’s a lot of sad in the world right now. From world events, to national, to local, and right down to the people in our lives.
And I’m an emotional sponge. I soak in emotions. The easy emotions get released pretty easily. The laughter and smiles, that’s the easy stuff.
The hard ones…those are the emotions I keep in. I hold those close because I don’t WANT to give them to others. I don’t WANT others to feel those same things. So I keep them. I process them. I deal with them.
One of the ways I deal with them is art. But I don’t keep the art. The process and the thought behind the art is where the healing is for me, but that’s not the end of it. The end of that dealing with and healing from comes when I find the person that work belongs to. Sometimes it’s easy, if someone has been on my mind. Sometimes I have to wait and see who comes my way. But every single time I’ve been able to do something like that for someone, that’s really what healed my soul and filled my heart.
My therapist didn’t understand at first when she asked me what I did for ME. The answer is, I make things for someone else. And even if it didn’t fit her idea of what that meant, she realized that it worked for me.
So this last week I spent some time playing with paper because I needed to feel better. And I had a very specific project in mind. I needed the message it created. It didn’t come out exactly like I hoped, but I use the good stuff and once it was in place, that was it, lol.
The design took eight layers of paper to complete. I fell in love with the design right off the bat, and I absolutely love the colors and how they came out. It was tricky trying to get it to look like I wanted it to in the shadow box, but I got it figured out. The only part I’m not too keen on is the wording. I needed to use a lighter color of vinyl, but like I said, this stuff isn’t coming off easily lol.
Anyway, the words say, “You are Always Enough” I just wish I’d done it in white 🙂
Here it is, out of the shadow box, which takes the glare off of it. The designer did a beautiful job and this file was so nice to work with 🙂
But there is value in making mistakes, if we’re willing to learn from them.
I was playing with an idea to sublimate Bandit’s name onto a few things. I’m trying to put together an emergency bag for him that’s ready to go, including first aid items. We live in Tornado Land and it is that time of year. But we’ve also had ice storms in the winter that knock out power for four days. Gas leaks. People sitting in front of our house watching it…and more, I’m sure, because my life is NOT boring lol.
I found these bags at a good price, so it was worth experimenting with, especially because this one would stay in the basement unless we needed it. And if we need it, it will have character 🙂
Here’s what I learned:
Nylon straps melt at high temps. I’m sure I would have remembered if I’d taken time to think about it. In the future, I’ll just cut off this particular strap. I’ll get a better image that way, too. But I do have to clean the melted nylon glob off my heat press. Luckily, I have a teflon sheet attached to it. If I can’t clean it off, I can replace it. You can see some of the melted strap I’ve already scraped off on the silicone mat.
2. I learned that not only does the nylon strap melt, it impedes the transfer of the image. You can see that on the right hand side of the picture. In this set up, there was no way to move it far enough out of the way for a good transfer. But then again, it also wouldn’t have mattered since the strap melted. On the other hand, I also learned that I CAN sublimate on these bags, and the temp and time seem to work.
3. I also learned that the melted strap I hadn’t gotten off the teflon, was over further than I thought…Maybe I should have tried harder to clean it off, but I thought I had enough room to do the last transfer. I should have paid more attention to exactly where the glob would land. Because some of it got on to the other piece I was sublimating lol. You can see where it transferred on the bottom left. But again, this is an emergency bag, so this gives it character 😉 And I now have a matched set 😀
In addition, the transfer on the bottom left is a little light. So I learned I need to move the image up just a little more to stop the seam from interfering.
4. I learned that the top inside of this bag…melts a little 🙄
When sublimating, it’s usually wise to use some blow out paper on top of the image and under the substrate you’re sublimating on to, to catch any of the ink that could transfer to somewhere you don’t want it to go. The white part inside the zippered pouch…that’s the blowout paper. It’s stuck to the top of the bag now because the material above it melted a little. You can also see the blue tape I used to keep the blow out paper in place…it may also be a permanent part of the bag now lol. But now I know.
I learned I was right to use another teflon sheet inside that zippered pouch. It was placed after the blow out paper, because I wasn’t sure about the material there and how it would react to heat. If it *did* melt a little, I didn’t want it sealing off this pocket and limiting the options I have for this bag.
I learned a lot. Not everything I did was a failure, I saved some of the project by making smart decisions. But other parts, I really messed up on, and learned from them. Knowing what NOT to do can be as important as knowing WHAT to do.
I have another bag like this. It’s for use in the car or for traveling so the labeling will be similar, but a little different. Now, I can take my mistakes and the knowledge they created, and apply it to this other bag 😀
Thanks for stopping by! Bandit and JJ appreciate everyone’s support on this journey ❤️
To find out more about our organization, you can visit us and check out the pups in our program here: Paws 4 Autism
To find out more about JJ and Bandit, you can find their page here: JJ’s Magic
My sweet sister-in-law lost her mother this week and I play with paper so I made a card for her. This is the first time in a LONG time that I’ve absolutely fallen in love with a card I’ve made. But let’s be honest, I just don’t have that many chances to sit and make a card anymore. At first, I wondered if I’d forgotten how, because it wasn’t working. I regrouped, tried something different and got this. I did really like the chance to make my son’s wedding invitations, but those weren’t “mine” as much as they were “theirs”. An awesome opportunity, but not in the same way.
So after this gushing, I hope you like it, too.
In a few days, I’ll be starting another, and it will be one of the most meaningful, but also the hardest that I think I’ve ever done. We lost my 25yo cousin this week and she earned her wings before she ever left this earth. I’m not sure how to pull this off, but I feel driven to do so. The world lost a light this week, but it seems a little bit of my cousin’s light was left with every person she ever met.
Anyway, here’s this one, and like I said, I’m so happy with how it turned out.
Besides being a mom to some awesome little kids, I’m a mom to some awesome big kids, too ❤️
One of those big kids is getting married next month. It’s a weird place to be. He’s my baby, but he’s not 😔
He was the first little one to call me mom. The first to hold my finger and smile up at me. The first to think I hung the moon.
I really like his soon to be wife. She just fits. So I was very honored to be able to make their invitations. It took some time, there were 150 of them, but every single one of them was made with love and wishes for an amazing future.
I was able to play with wax seals and had an absolute blast coming up with just the right color combinations for the wax.
This is the outside. The band holds everything together and simply slides off to open it.
Once opened, invitations, registry info, rsvp info, and map info can be found inside. And of course, a picture of the sweet couple.
I found the file in the Silhouette design store and cut out the envelope pieces and attached them.
Then I gathered the info, printed it, and cut it out. All of the cutting was done on my Silhouette Cameo. There’s NO way I would have been able to pull this off without that machine. It’s one of the best paper crafting tools I have 😀
One of my favorite things to do is play with paper. I like making it dimensional with color and design. I’m not skilled enough to design something that will be 3D once all the pieces are assembled, so luckily there are places like
SVG Cuts who has some amazing files to play with. I worked with this one, Flower Pail Box Card for this project. If you don’t already know, one of the great things about box cards, is that they fold flat-ish for mailing, then they can be popped open for display, like you see here 🙂 At the tallest point, this card is about 9 inches, and about 3 inches across when open. When folded flat, it’s about 4 inches across the bottom.
The leaves and flowers were cut out of white paper. Then I used markers and pencils to color them. Yes, I could have made this project easier and less time consuming by just cutting them out on colored card stock, but like I said, I like to add dimension through color 🙂
After I cut out and colored everything, I assembled it. I have a nice envelope and I’ll design an address “label”, print it, then cut it out so the card can be sent.