That Time I Added Mugs to My Blog

1 05 2023

In my catch up blog, I said I would post some of the projects I’ve been working on when I have a few spare minutes.

So, today, I’m posting the mugs I’ve been working on. These are the types of things I do as fundraisers for Paws 4 Autism and Bandit

To do these, I started learning how to sublimate. I looked easy, and theoretically it is. But it’s the small stuff that trips me up lol

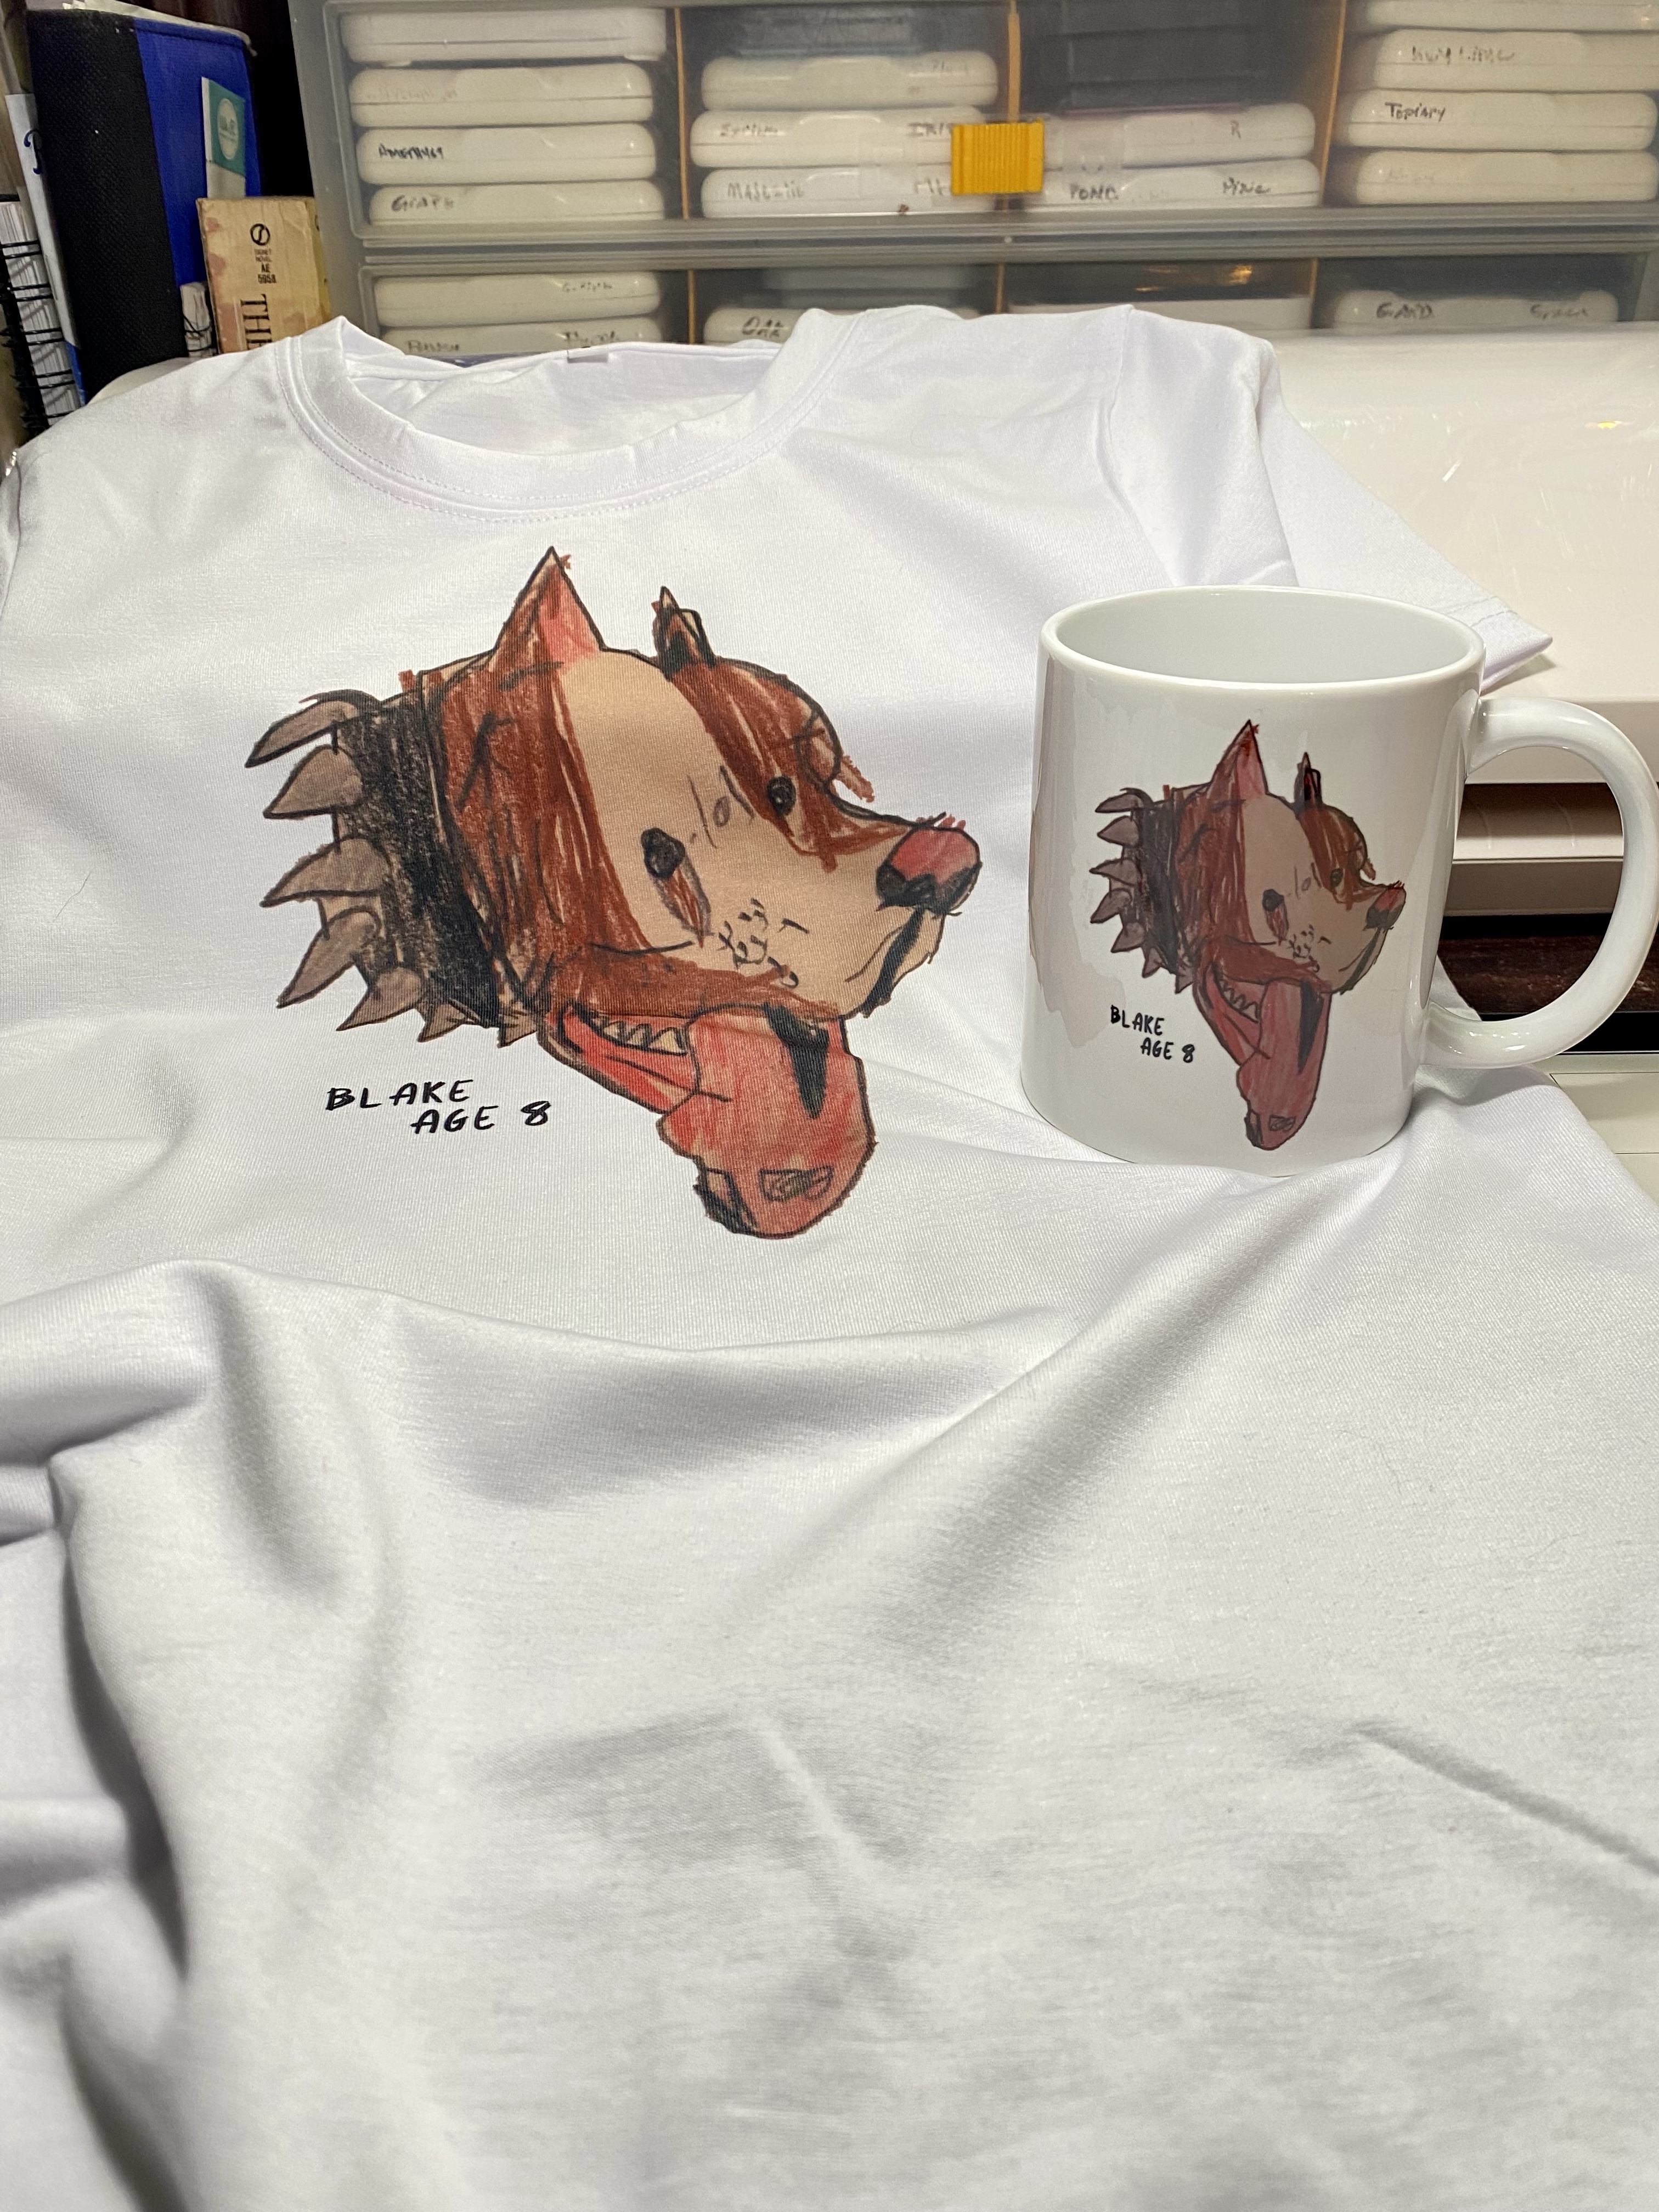
This is a fun idea. I took a child’s artwork and put it on a shirt for him and a mug for his mom. It’s like fridge art – but better!

I’m also able to put pictures of cuties like this onto mugs. This particular grandma needed a mug with her granddaughter on it. It was so much fun to do ❤️ Can you imagine waking up to this smile in the mornings?

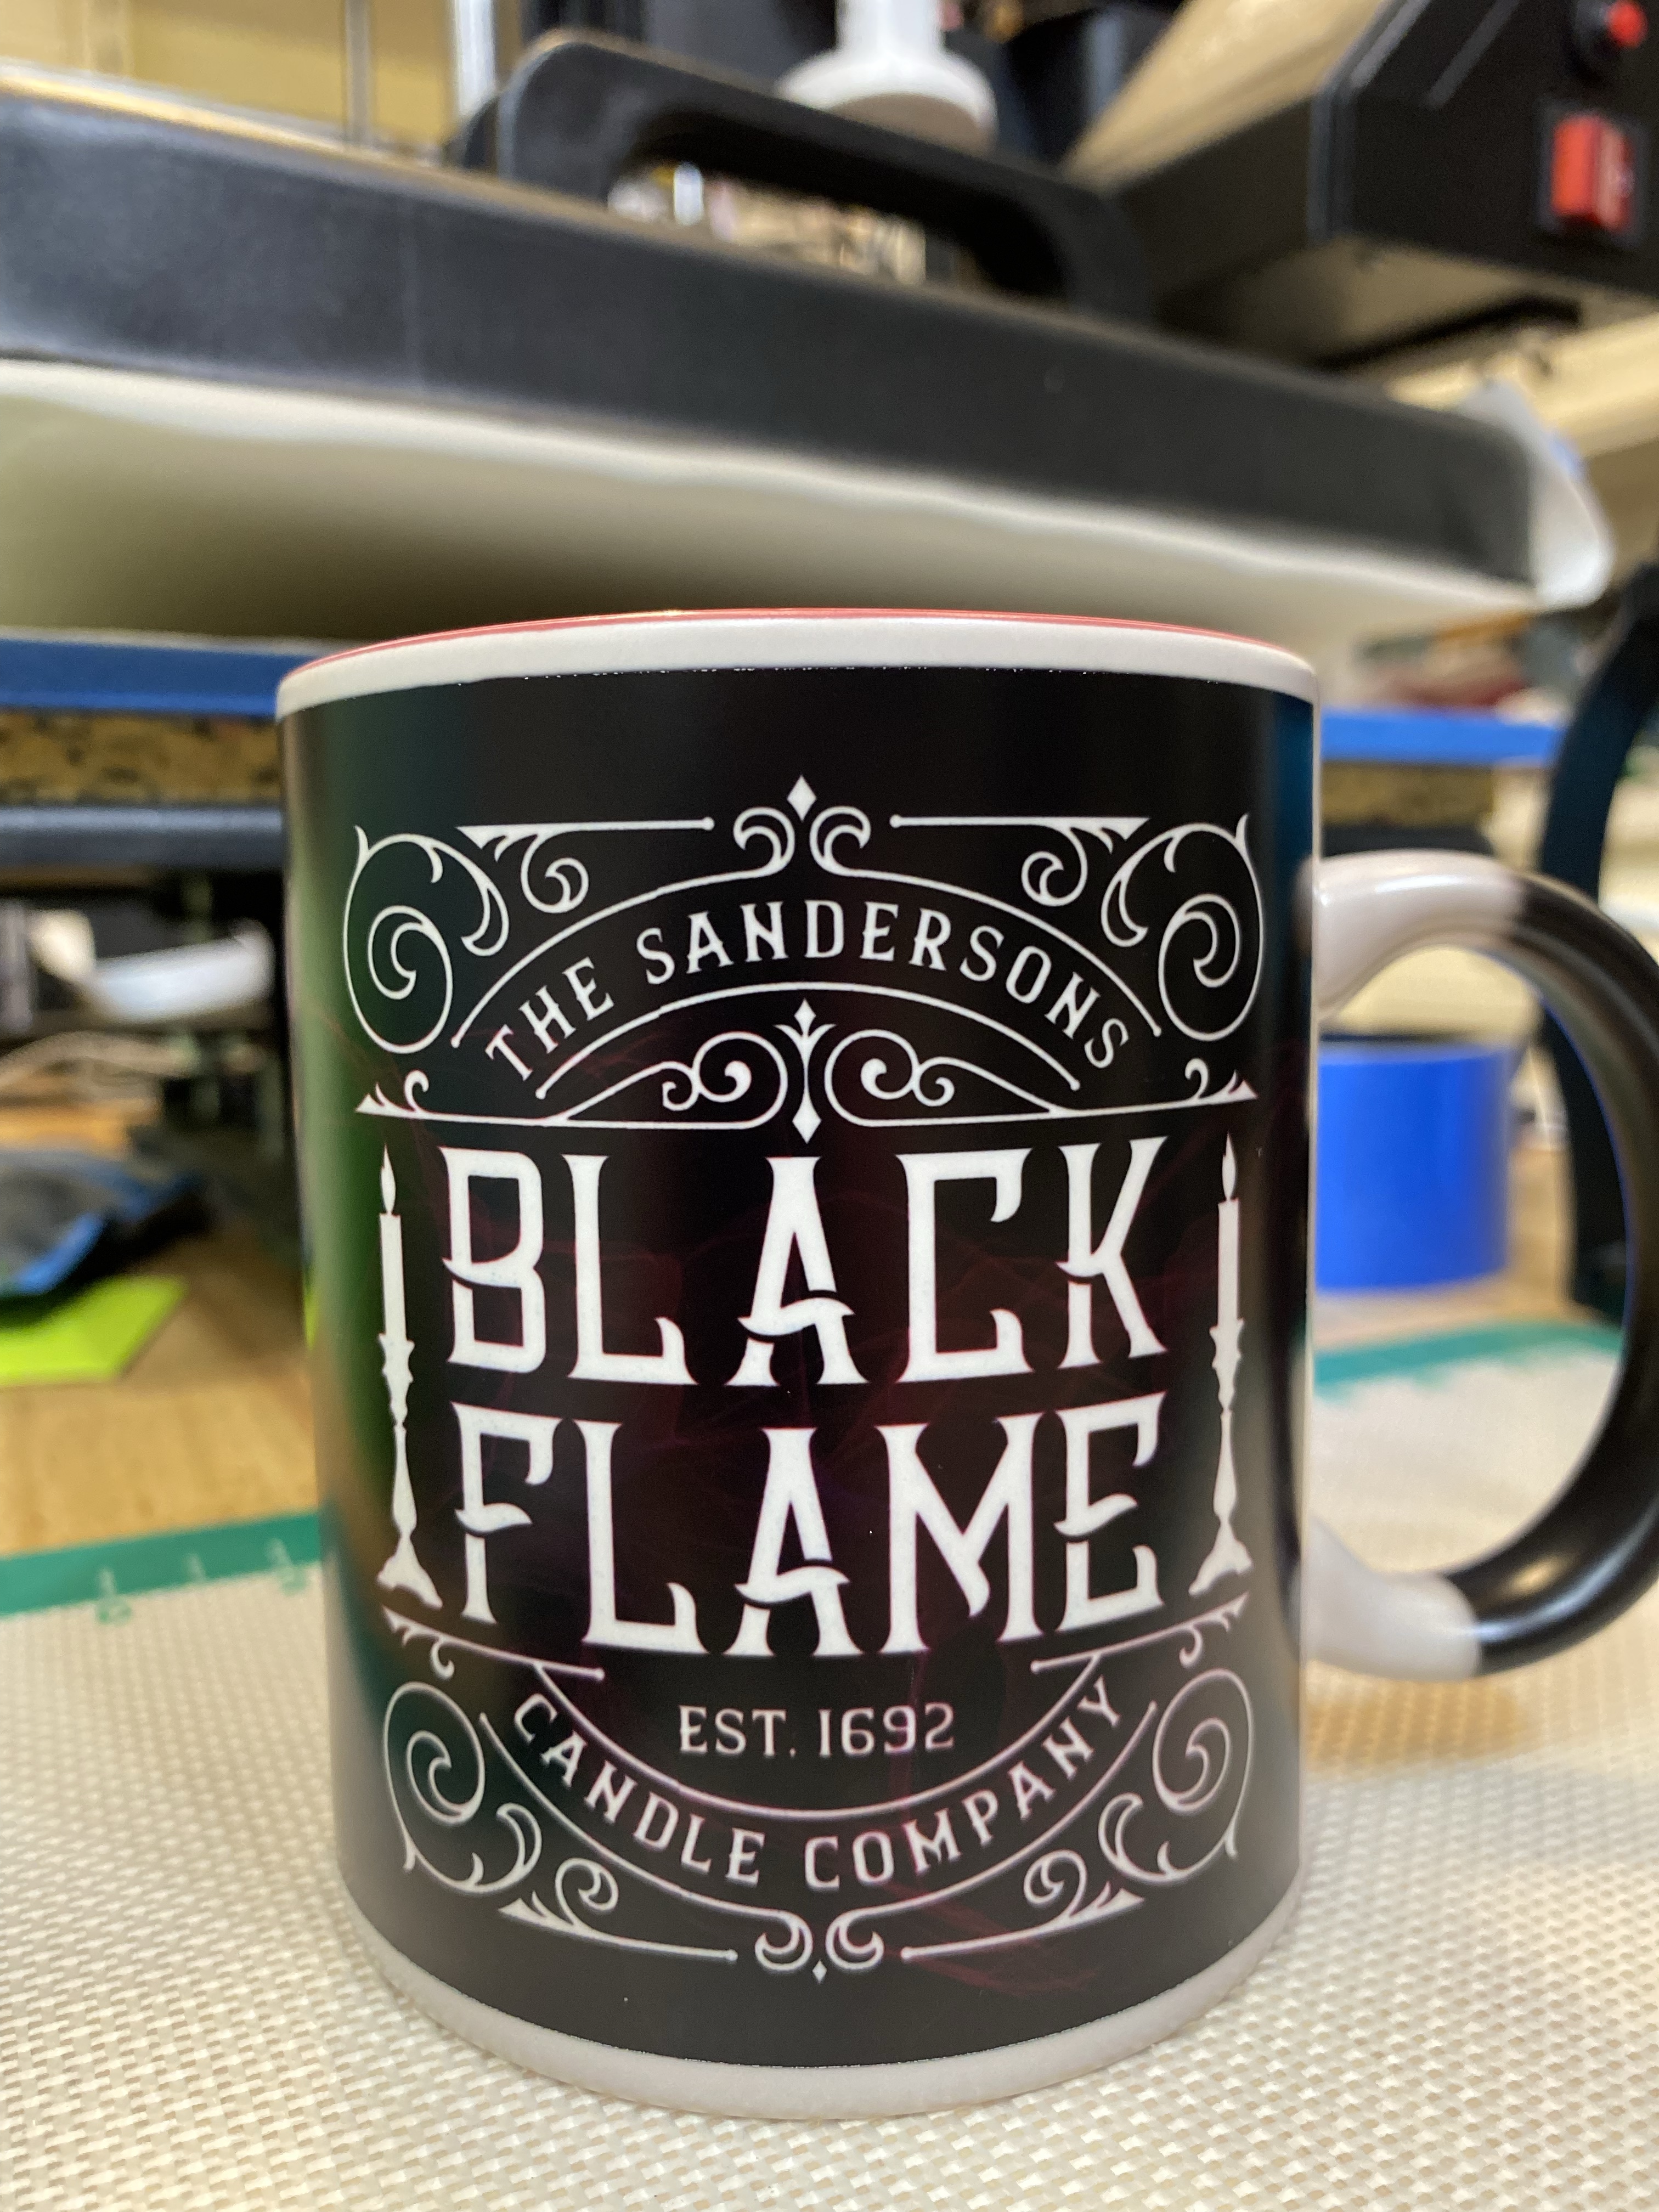
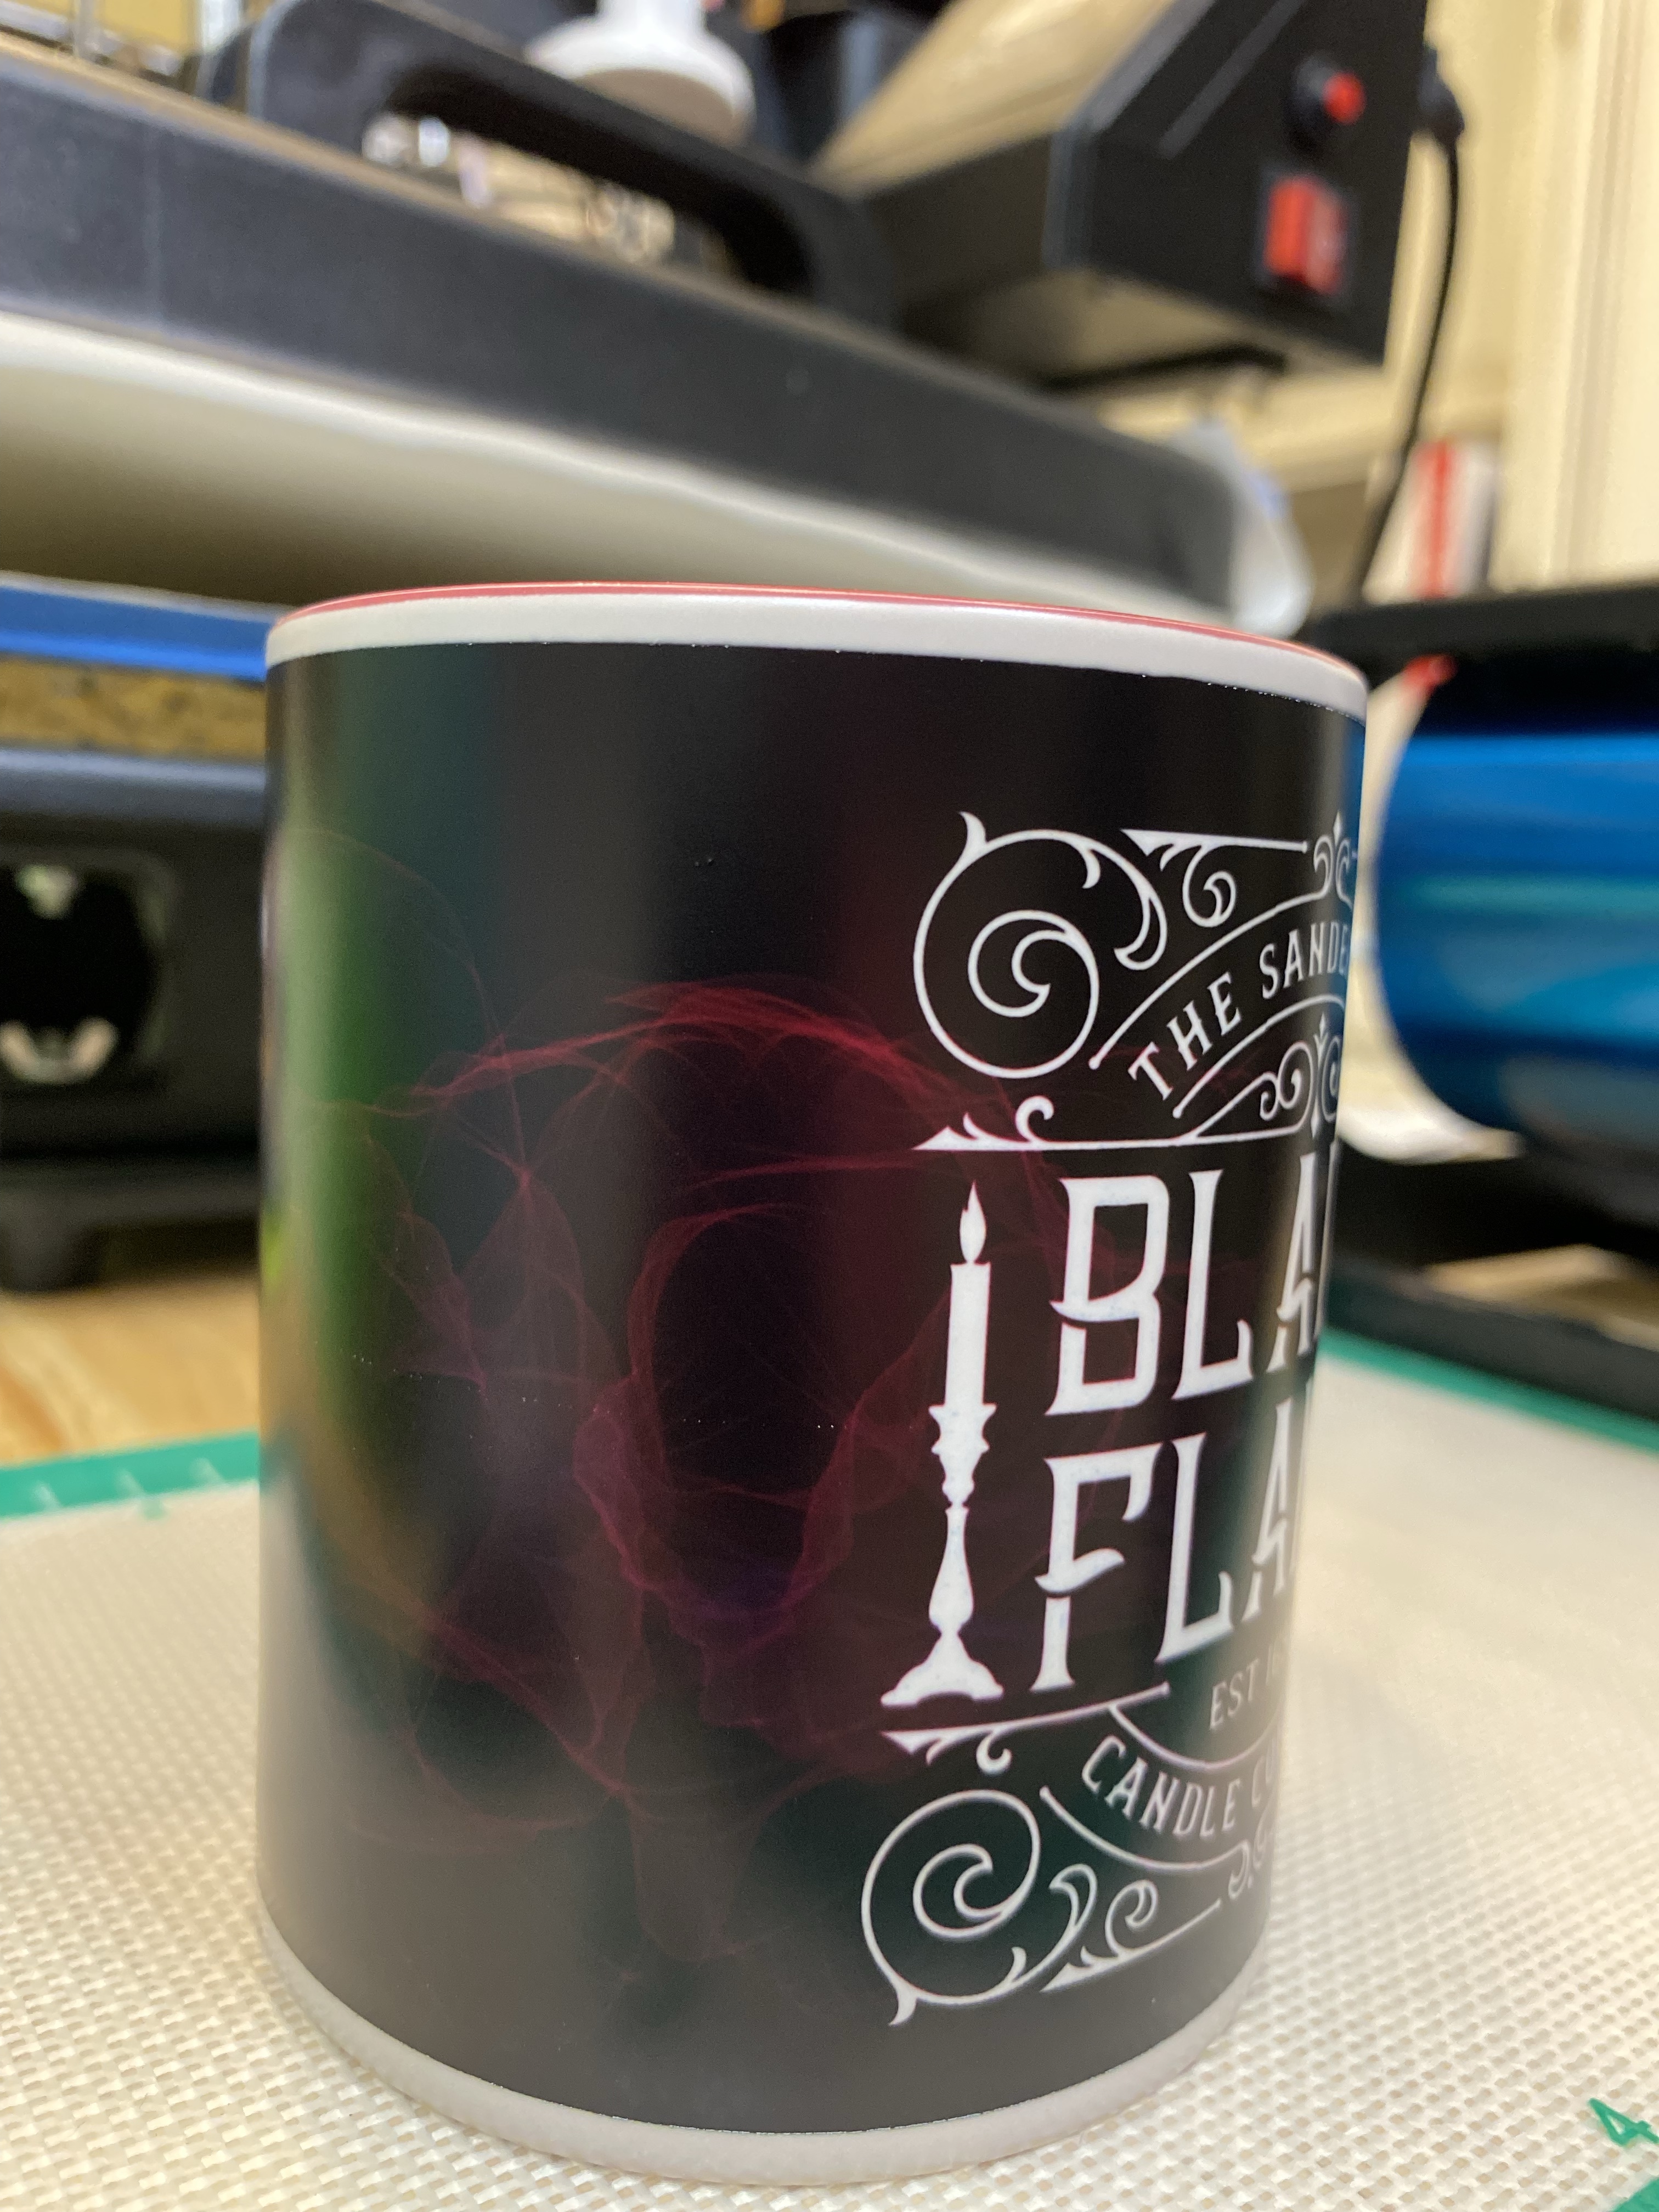
For Halloween, I had a BLAST making color changing mugs. We call them magic mugs. I need to figure out how to post a video here, but for now, trust me, they’re cool. They start out black. When you add hot water, the black disappears revealing and image under it.

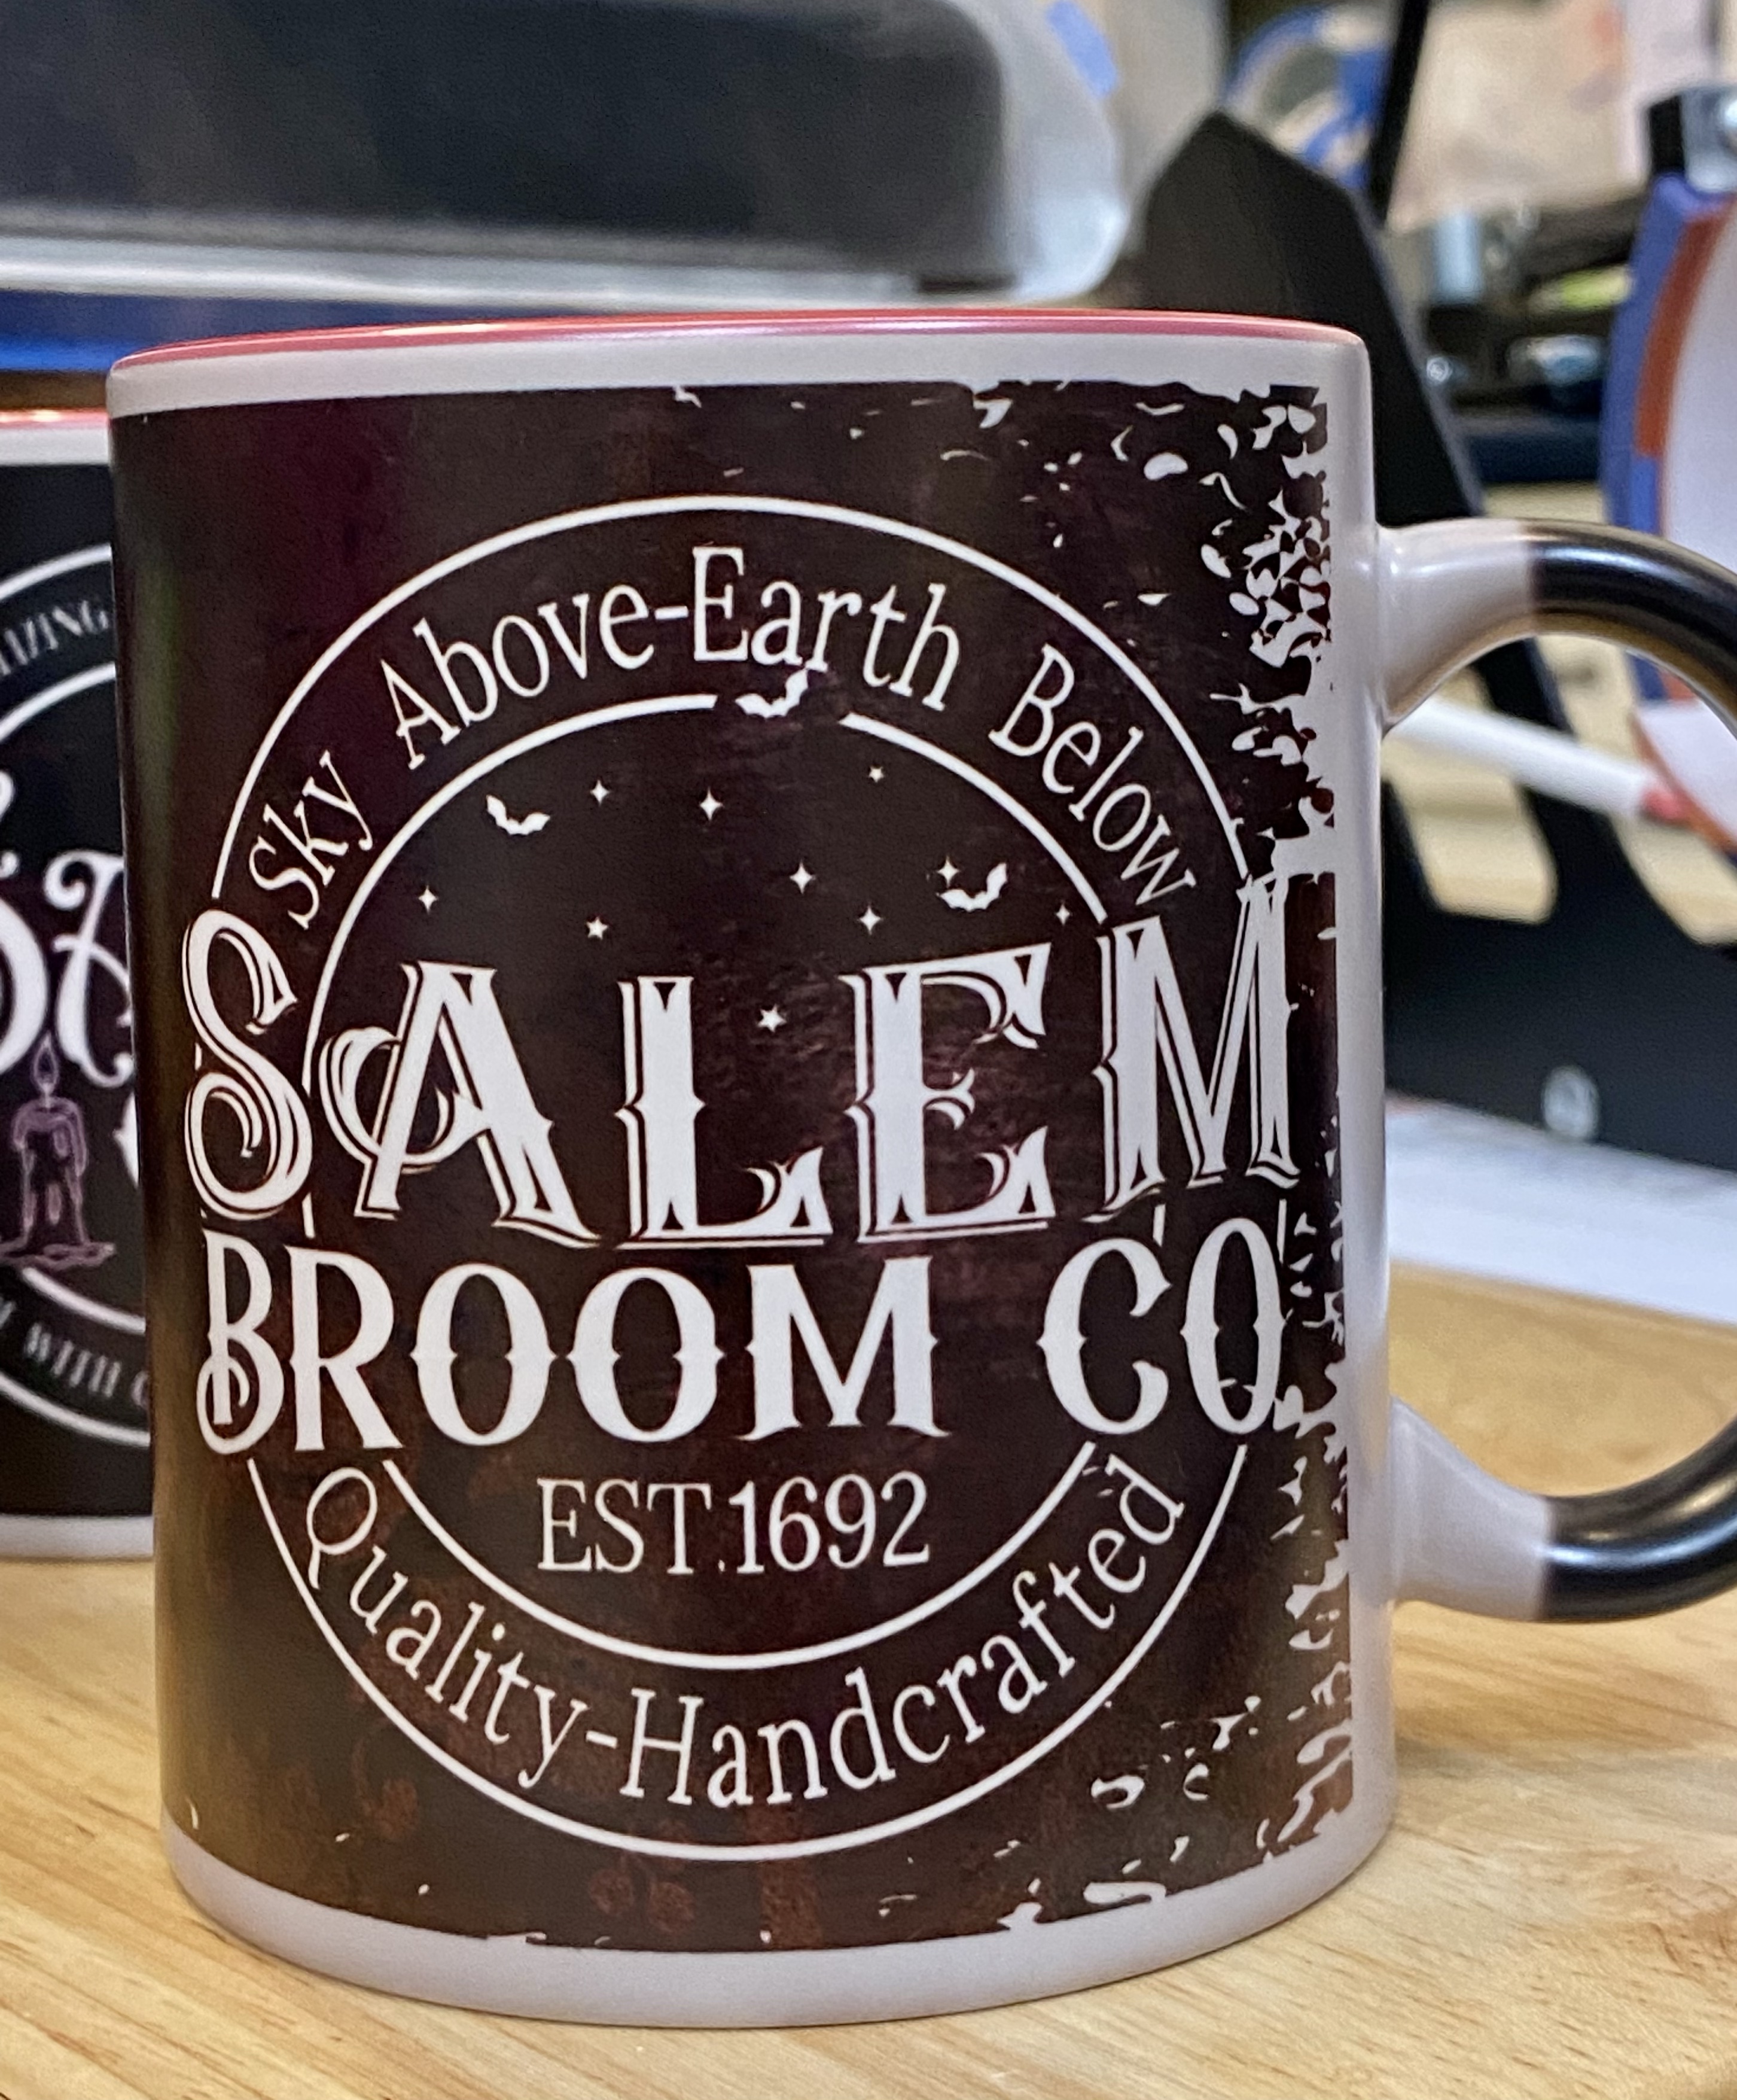
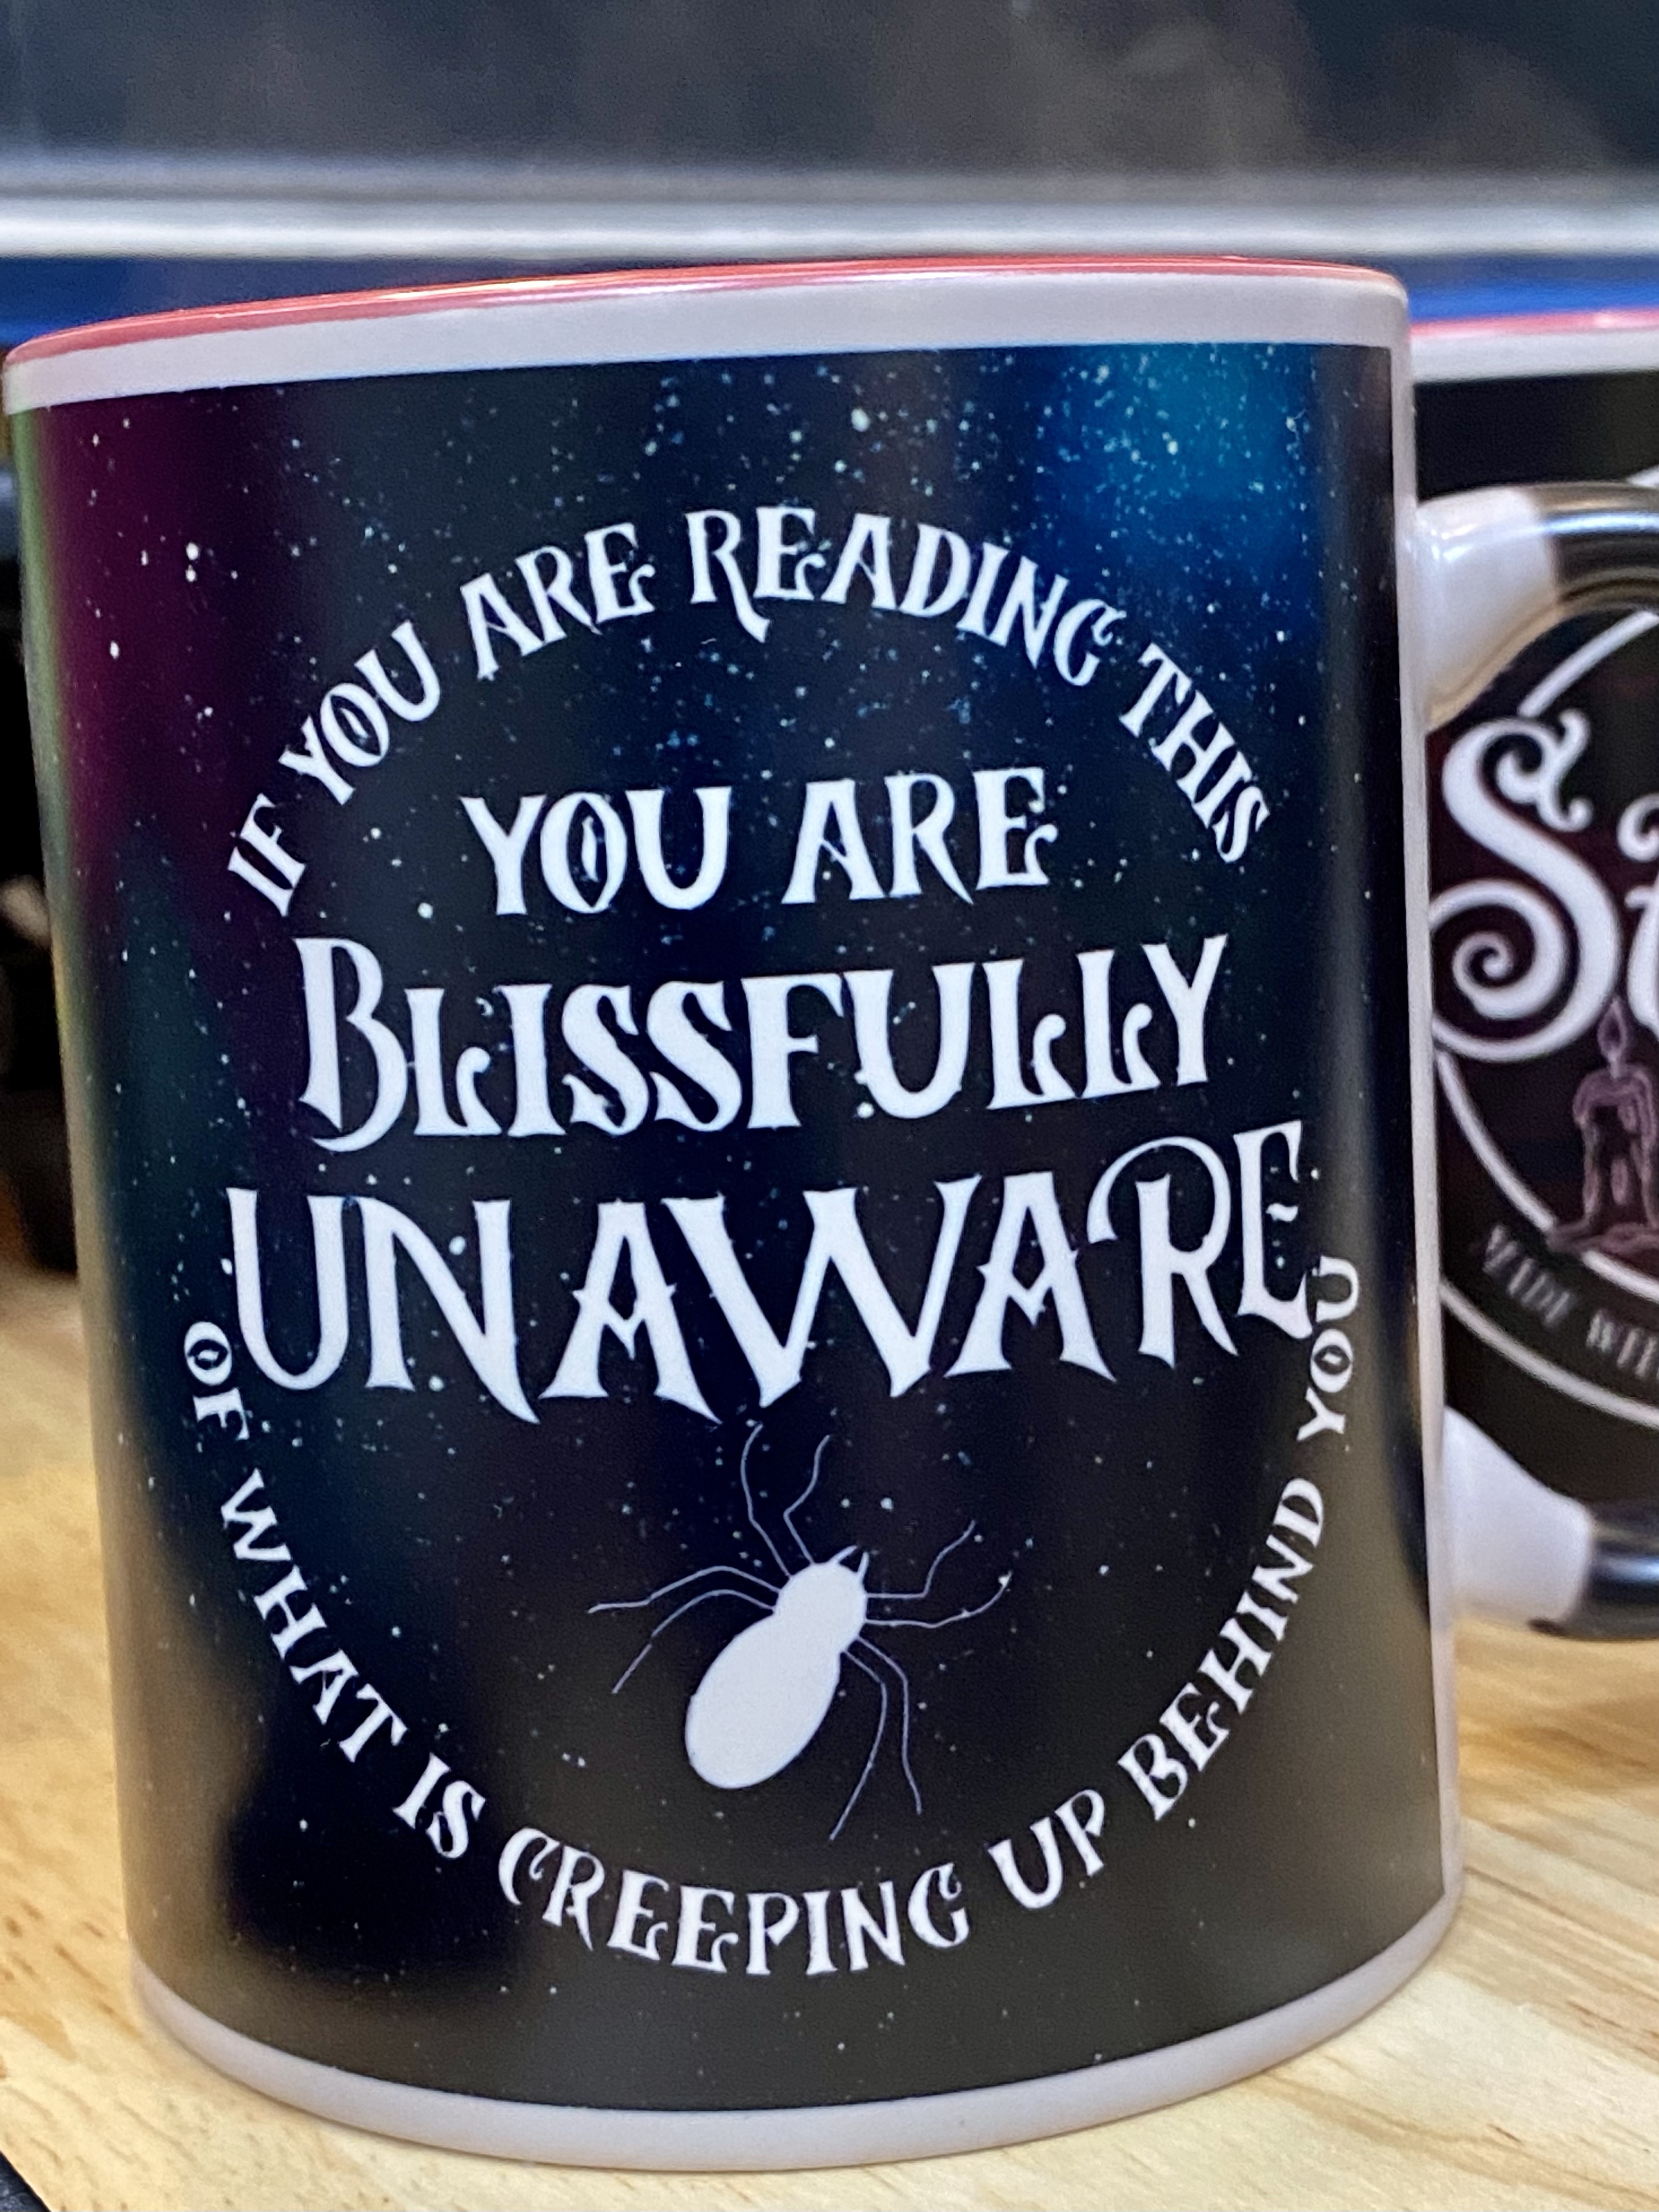
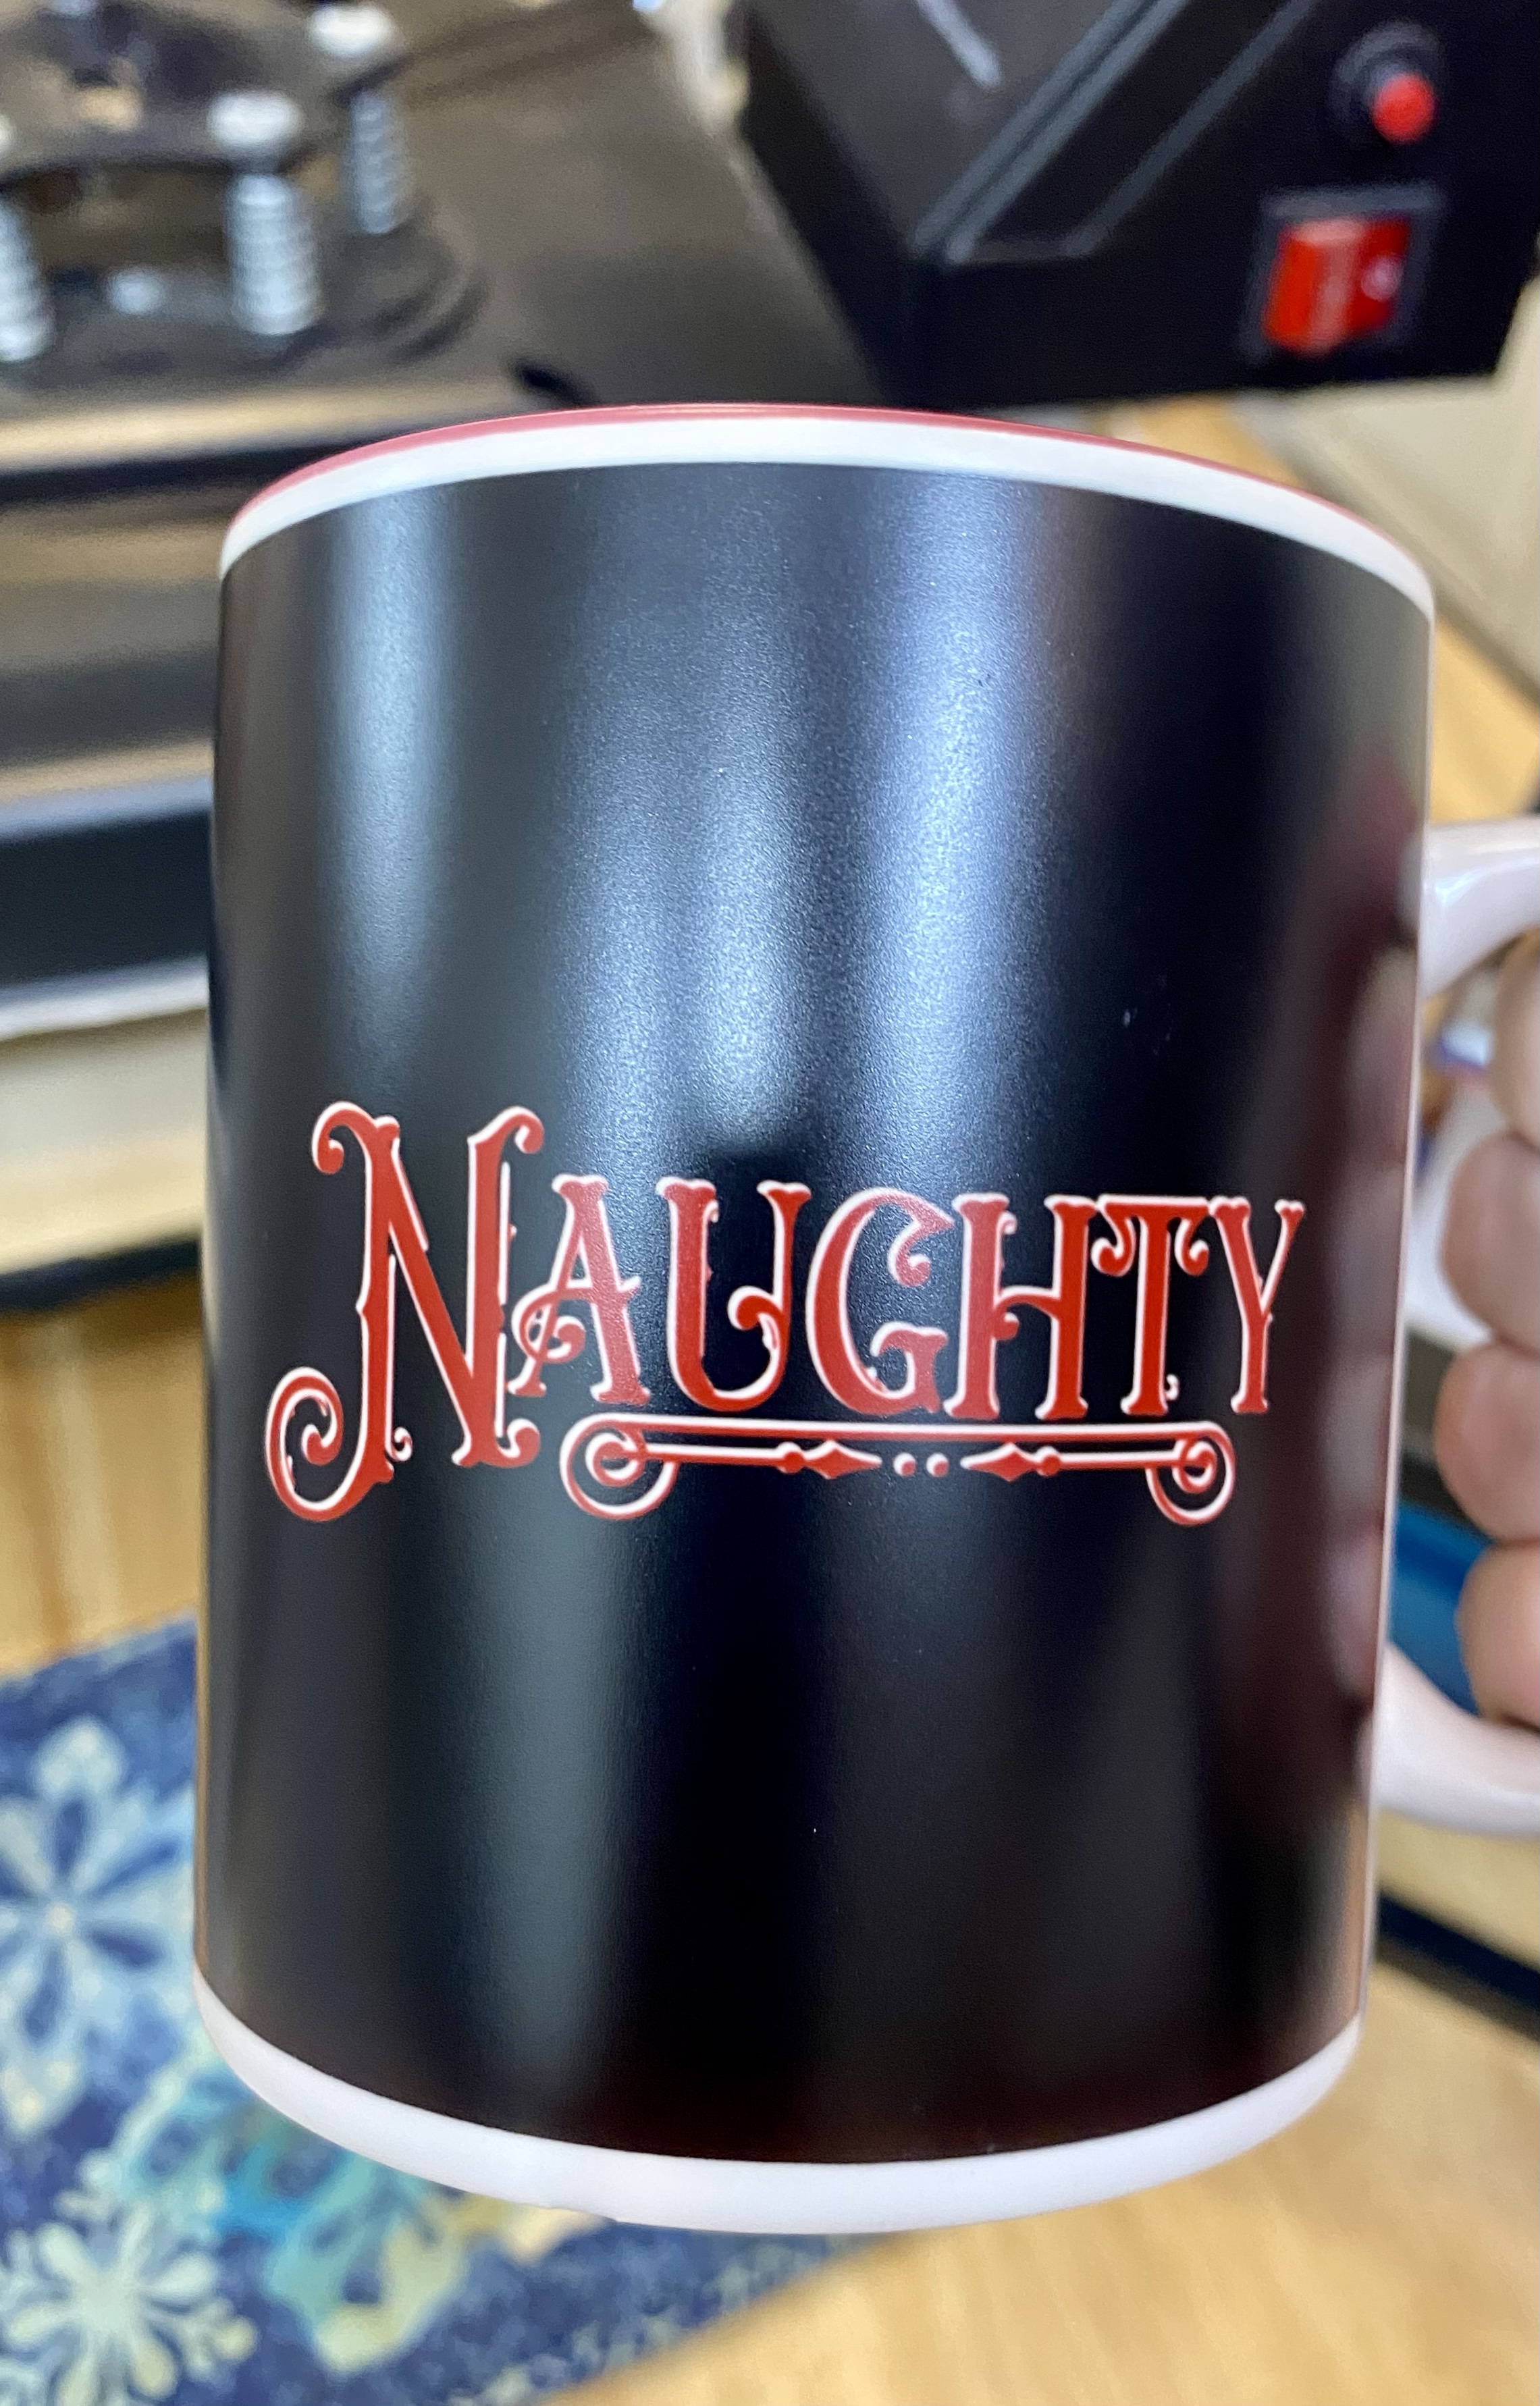
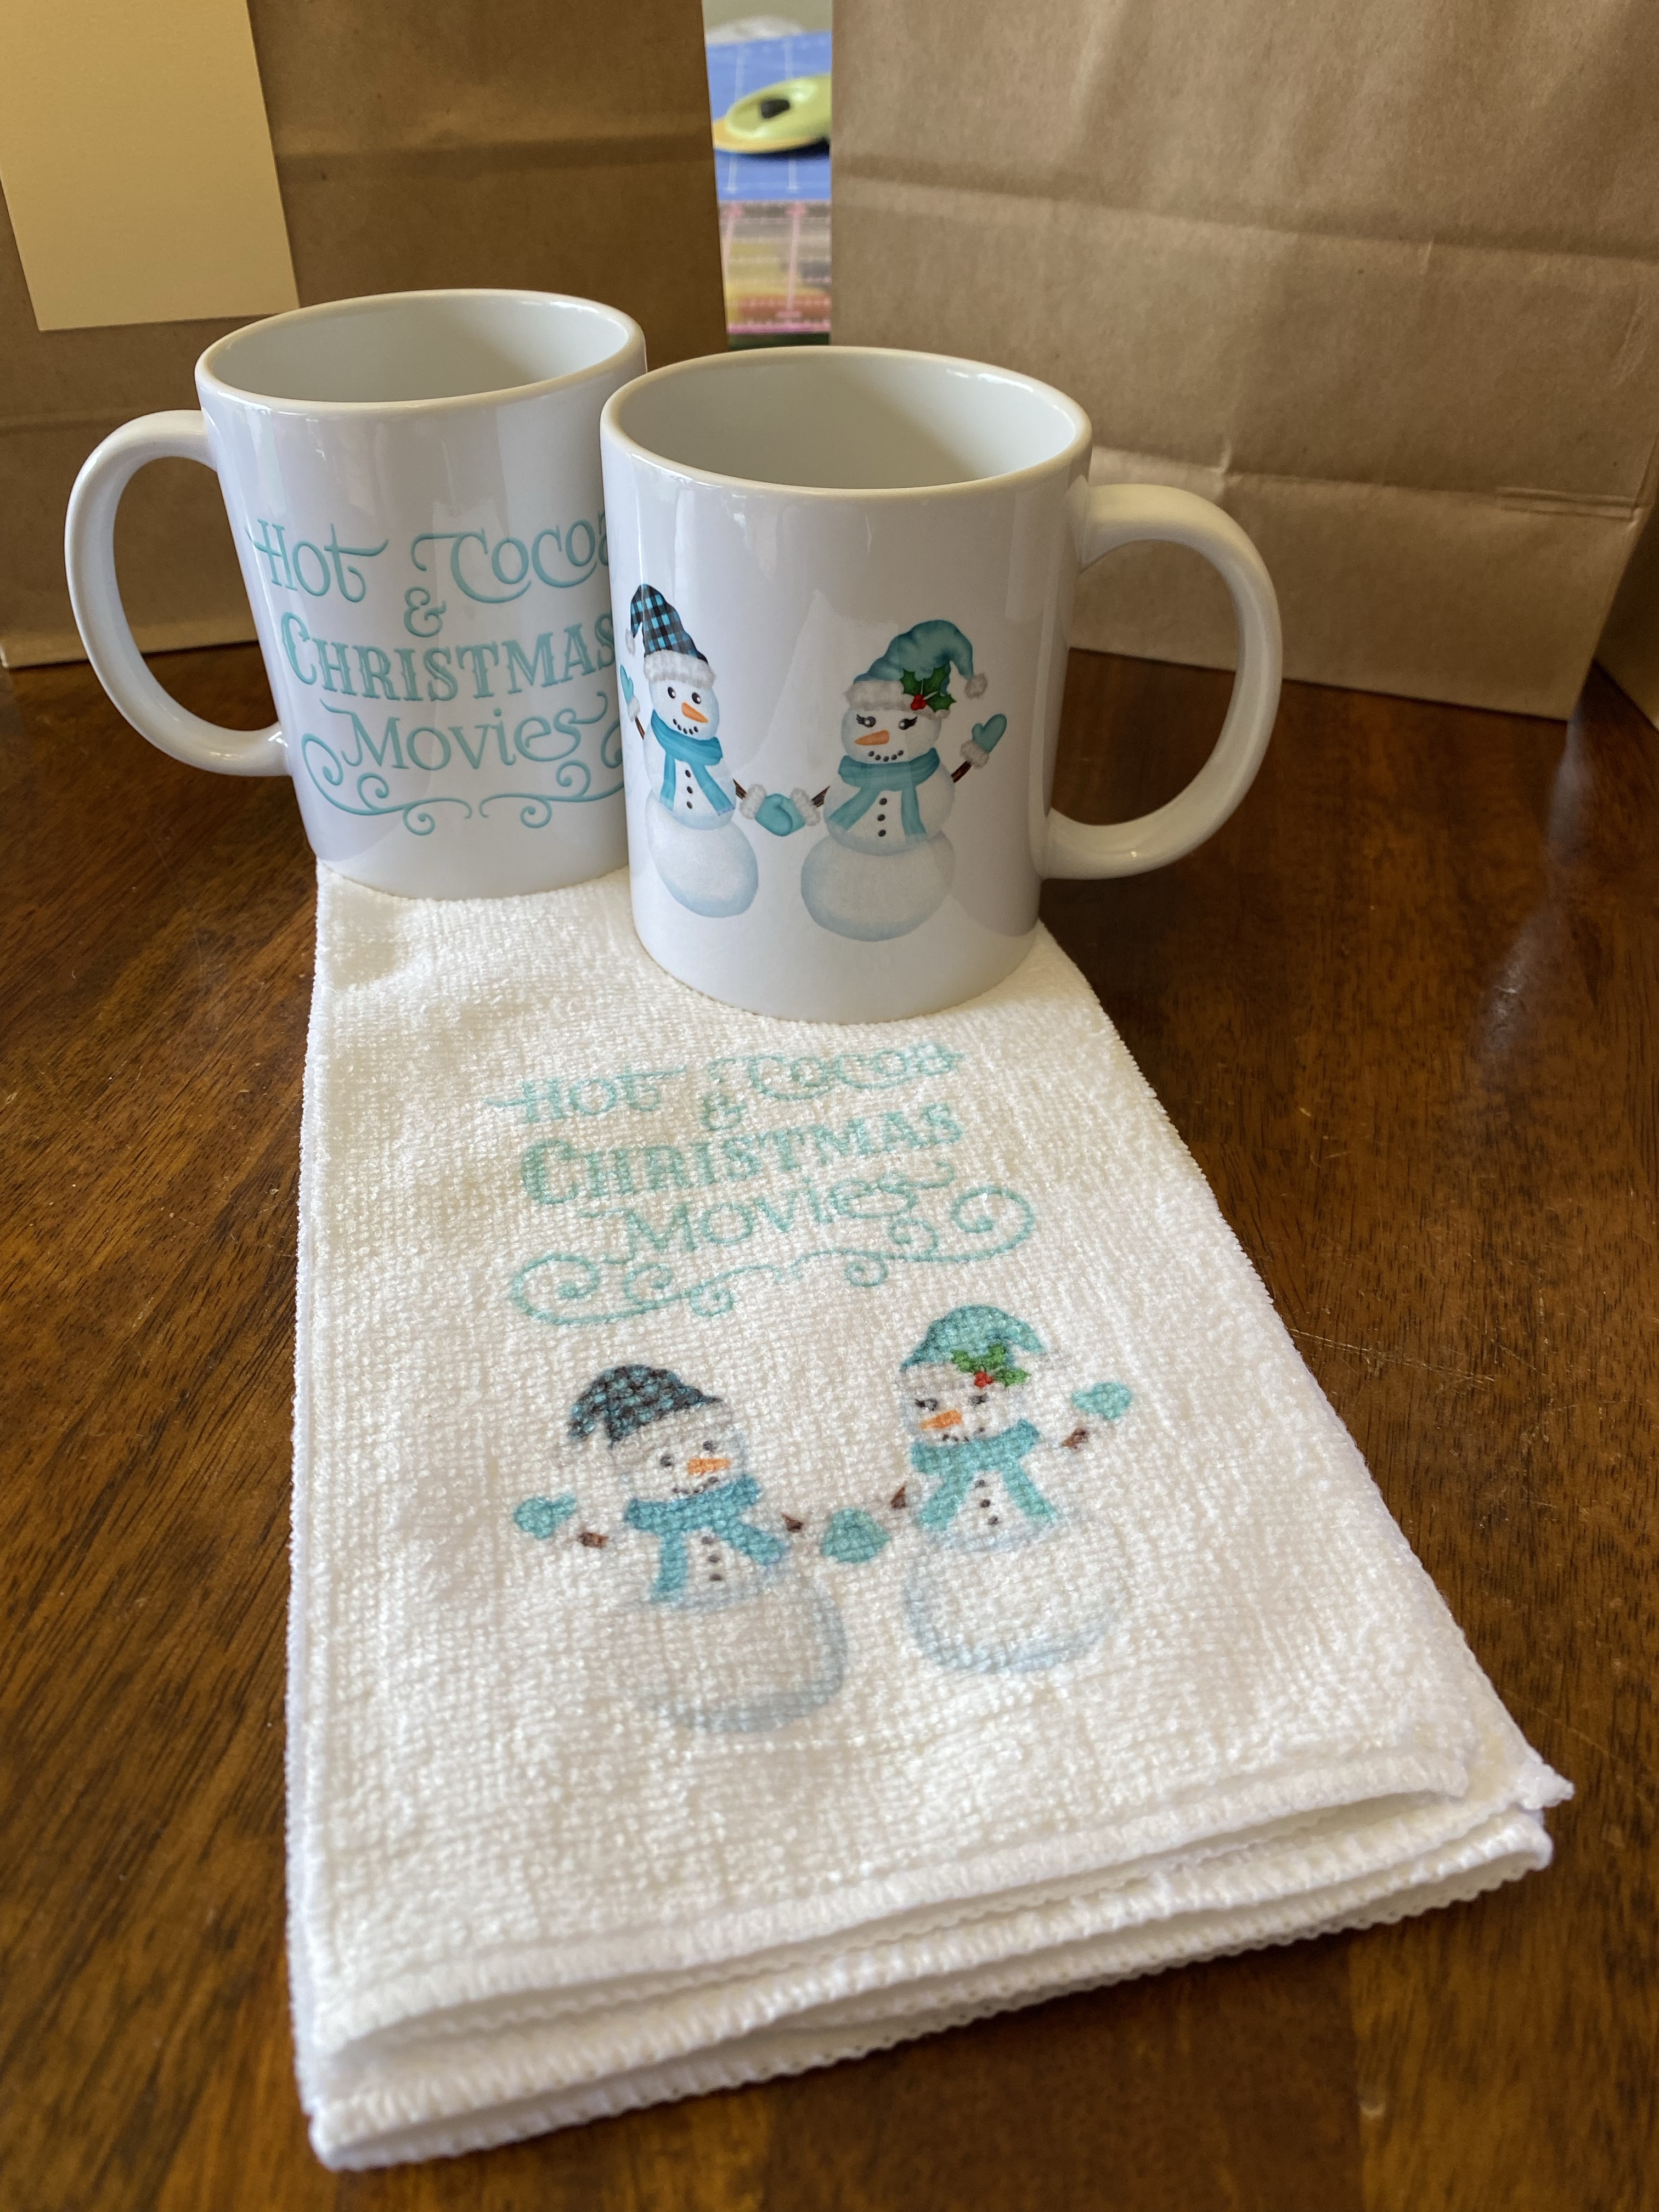
And before we knew it, it was Christmas time. I did a Naughty/Nice Magic mug (because I LOVE them lol) and also did a set of matching mugs and kitchen towel set.

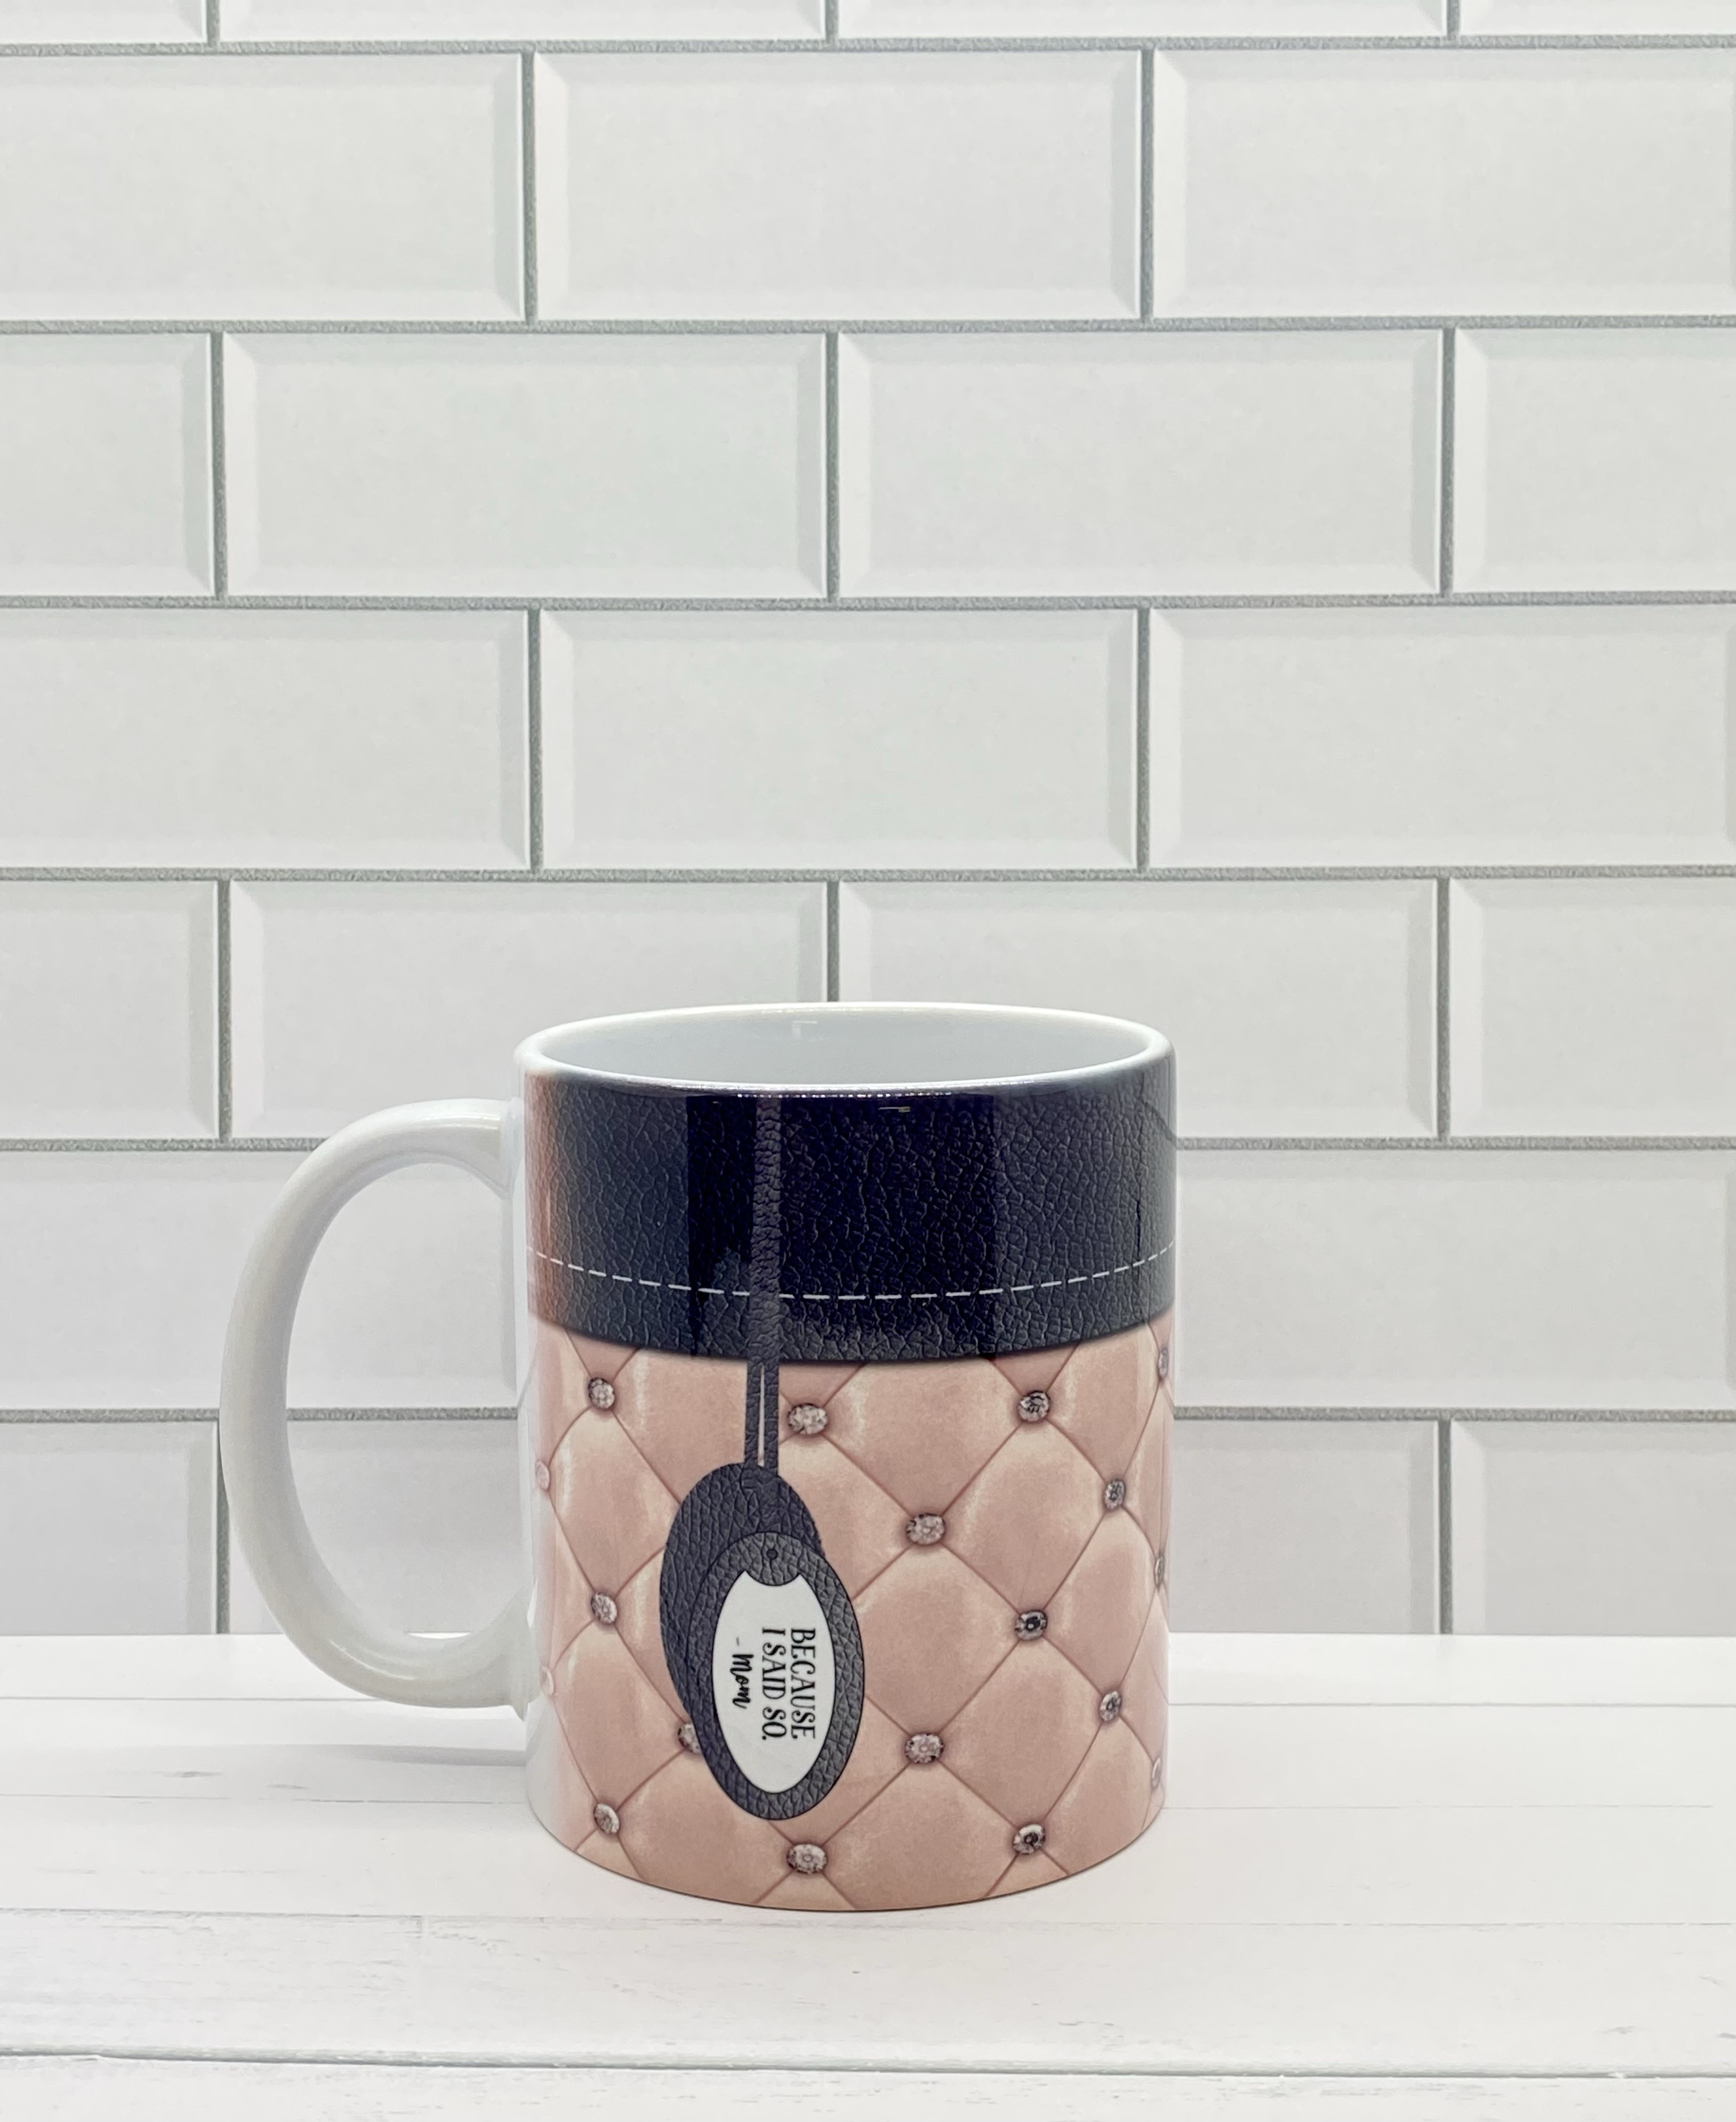
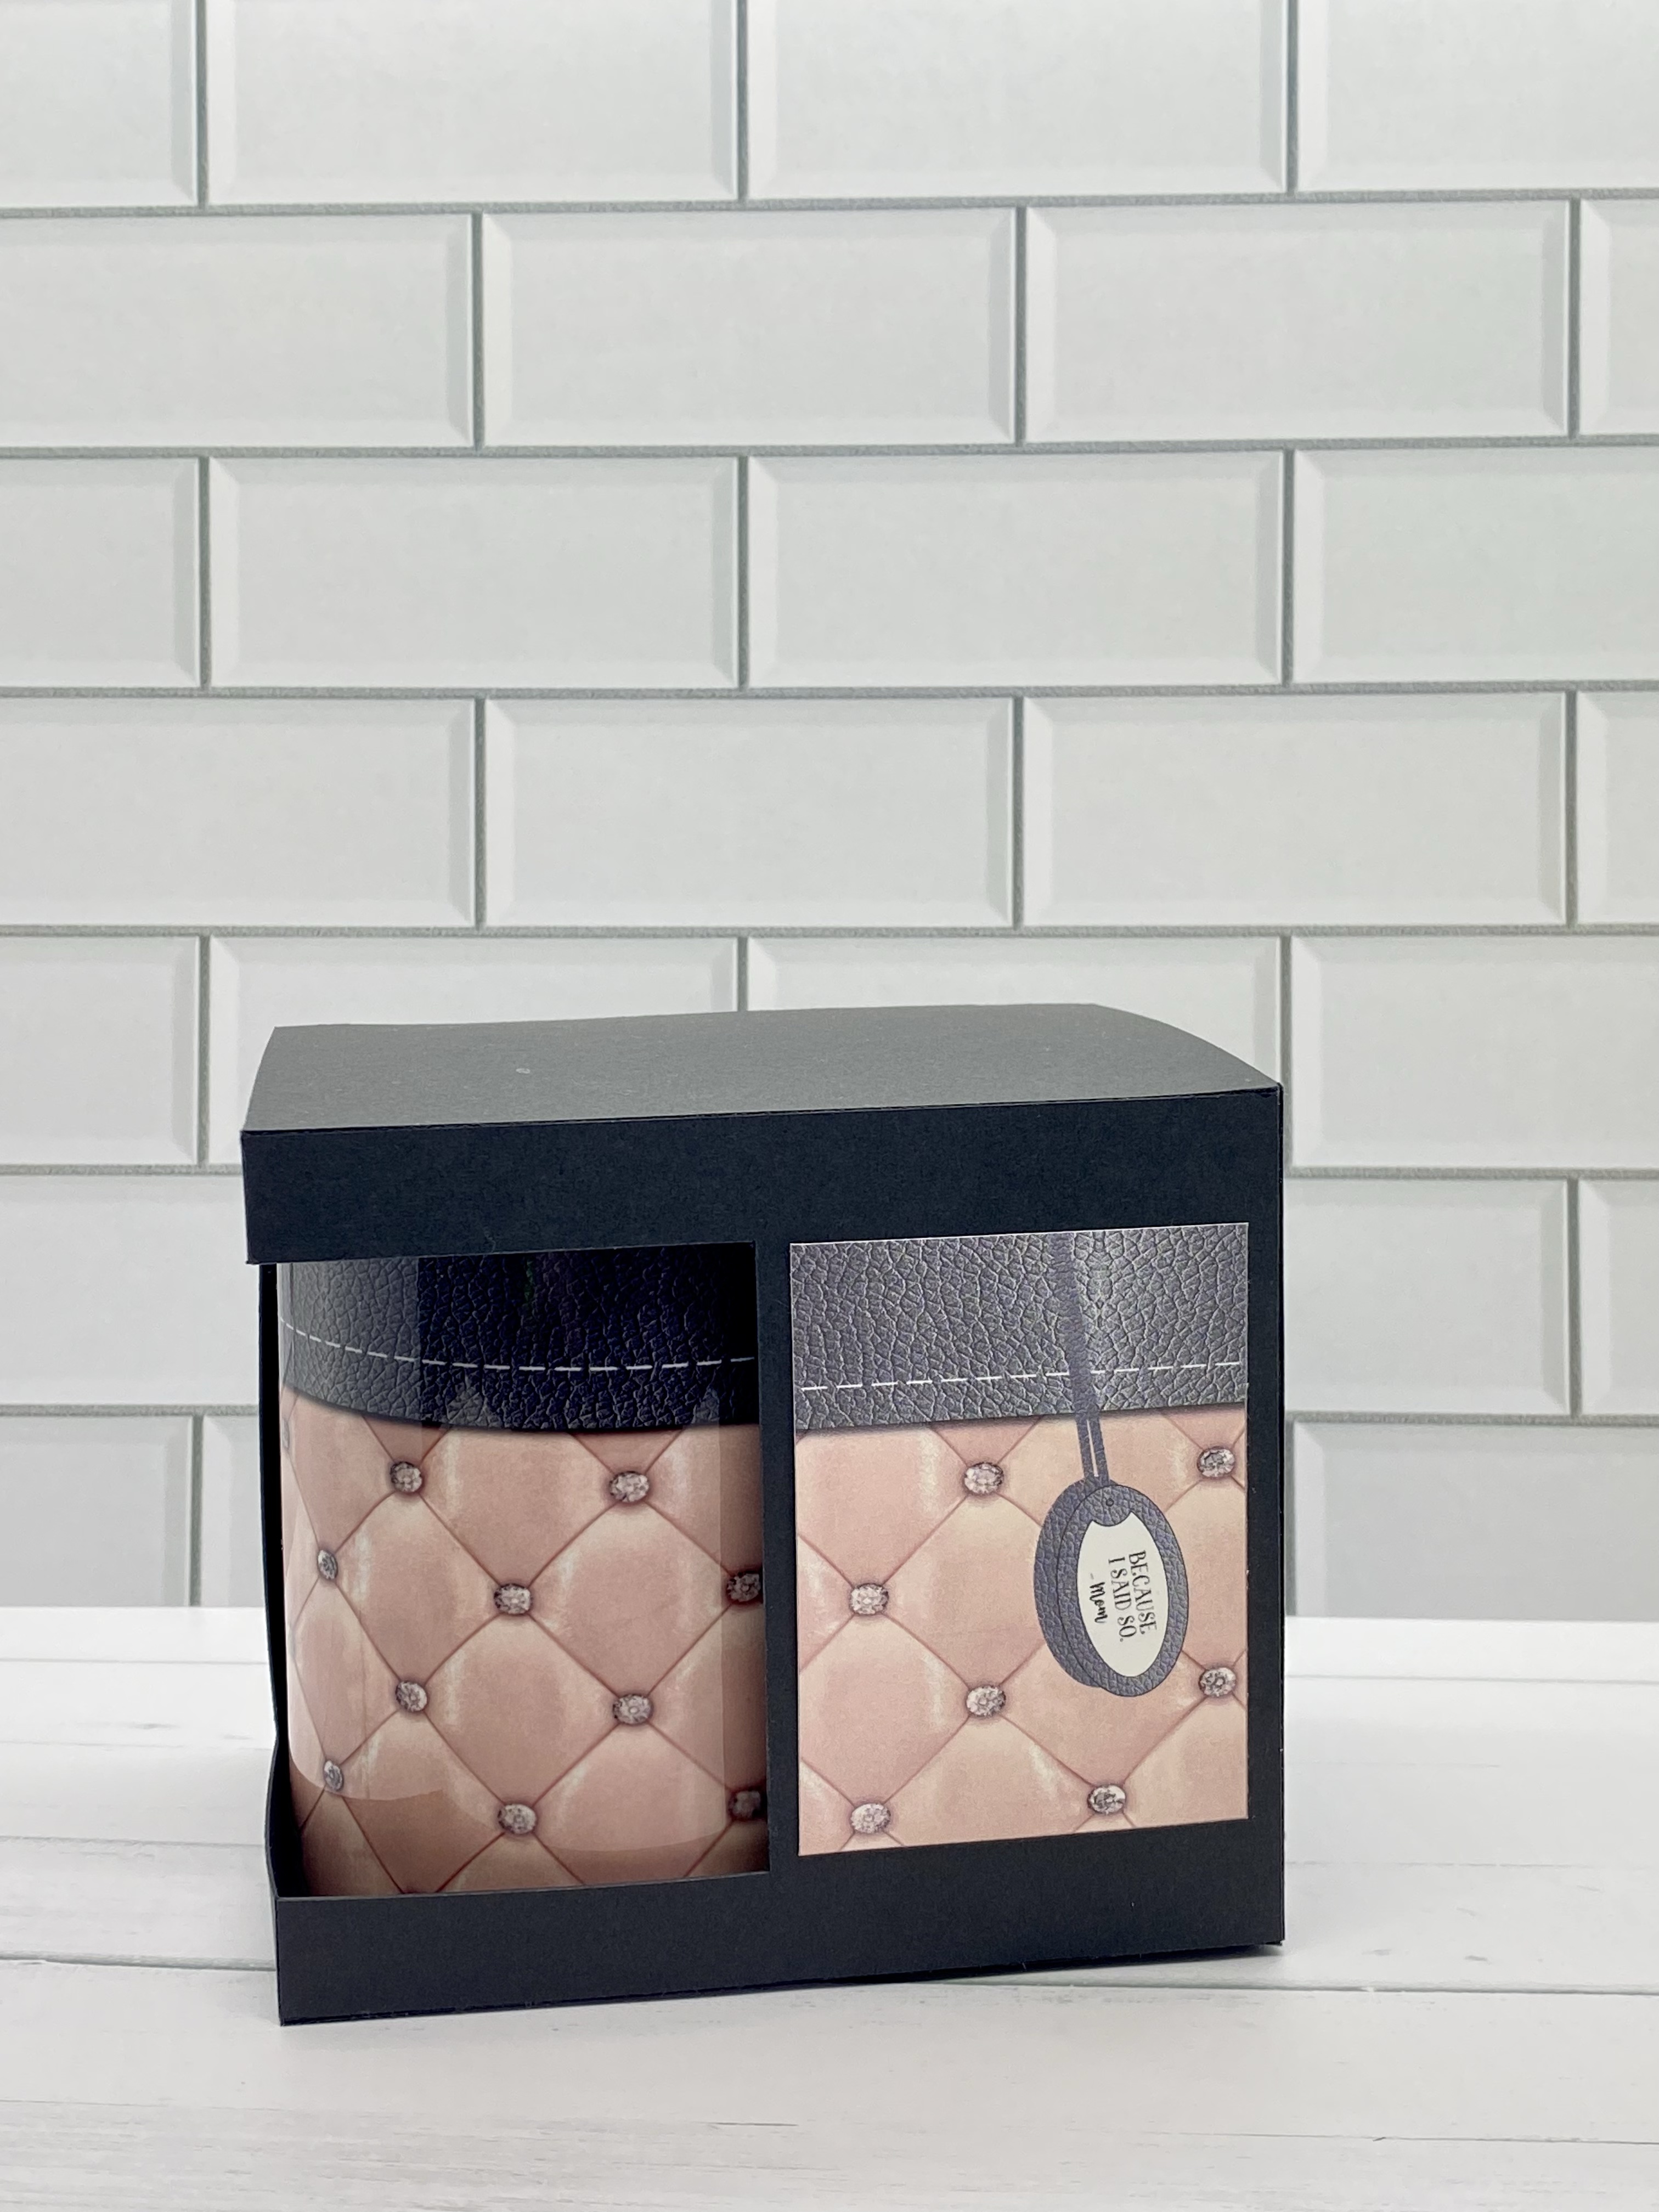
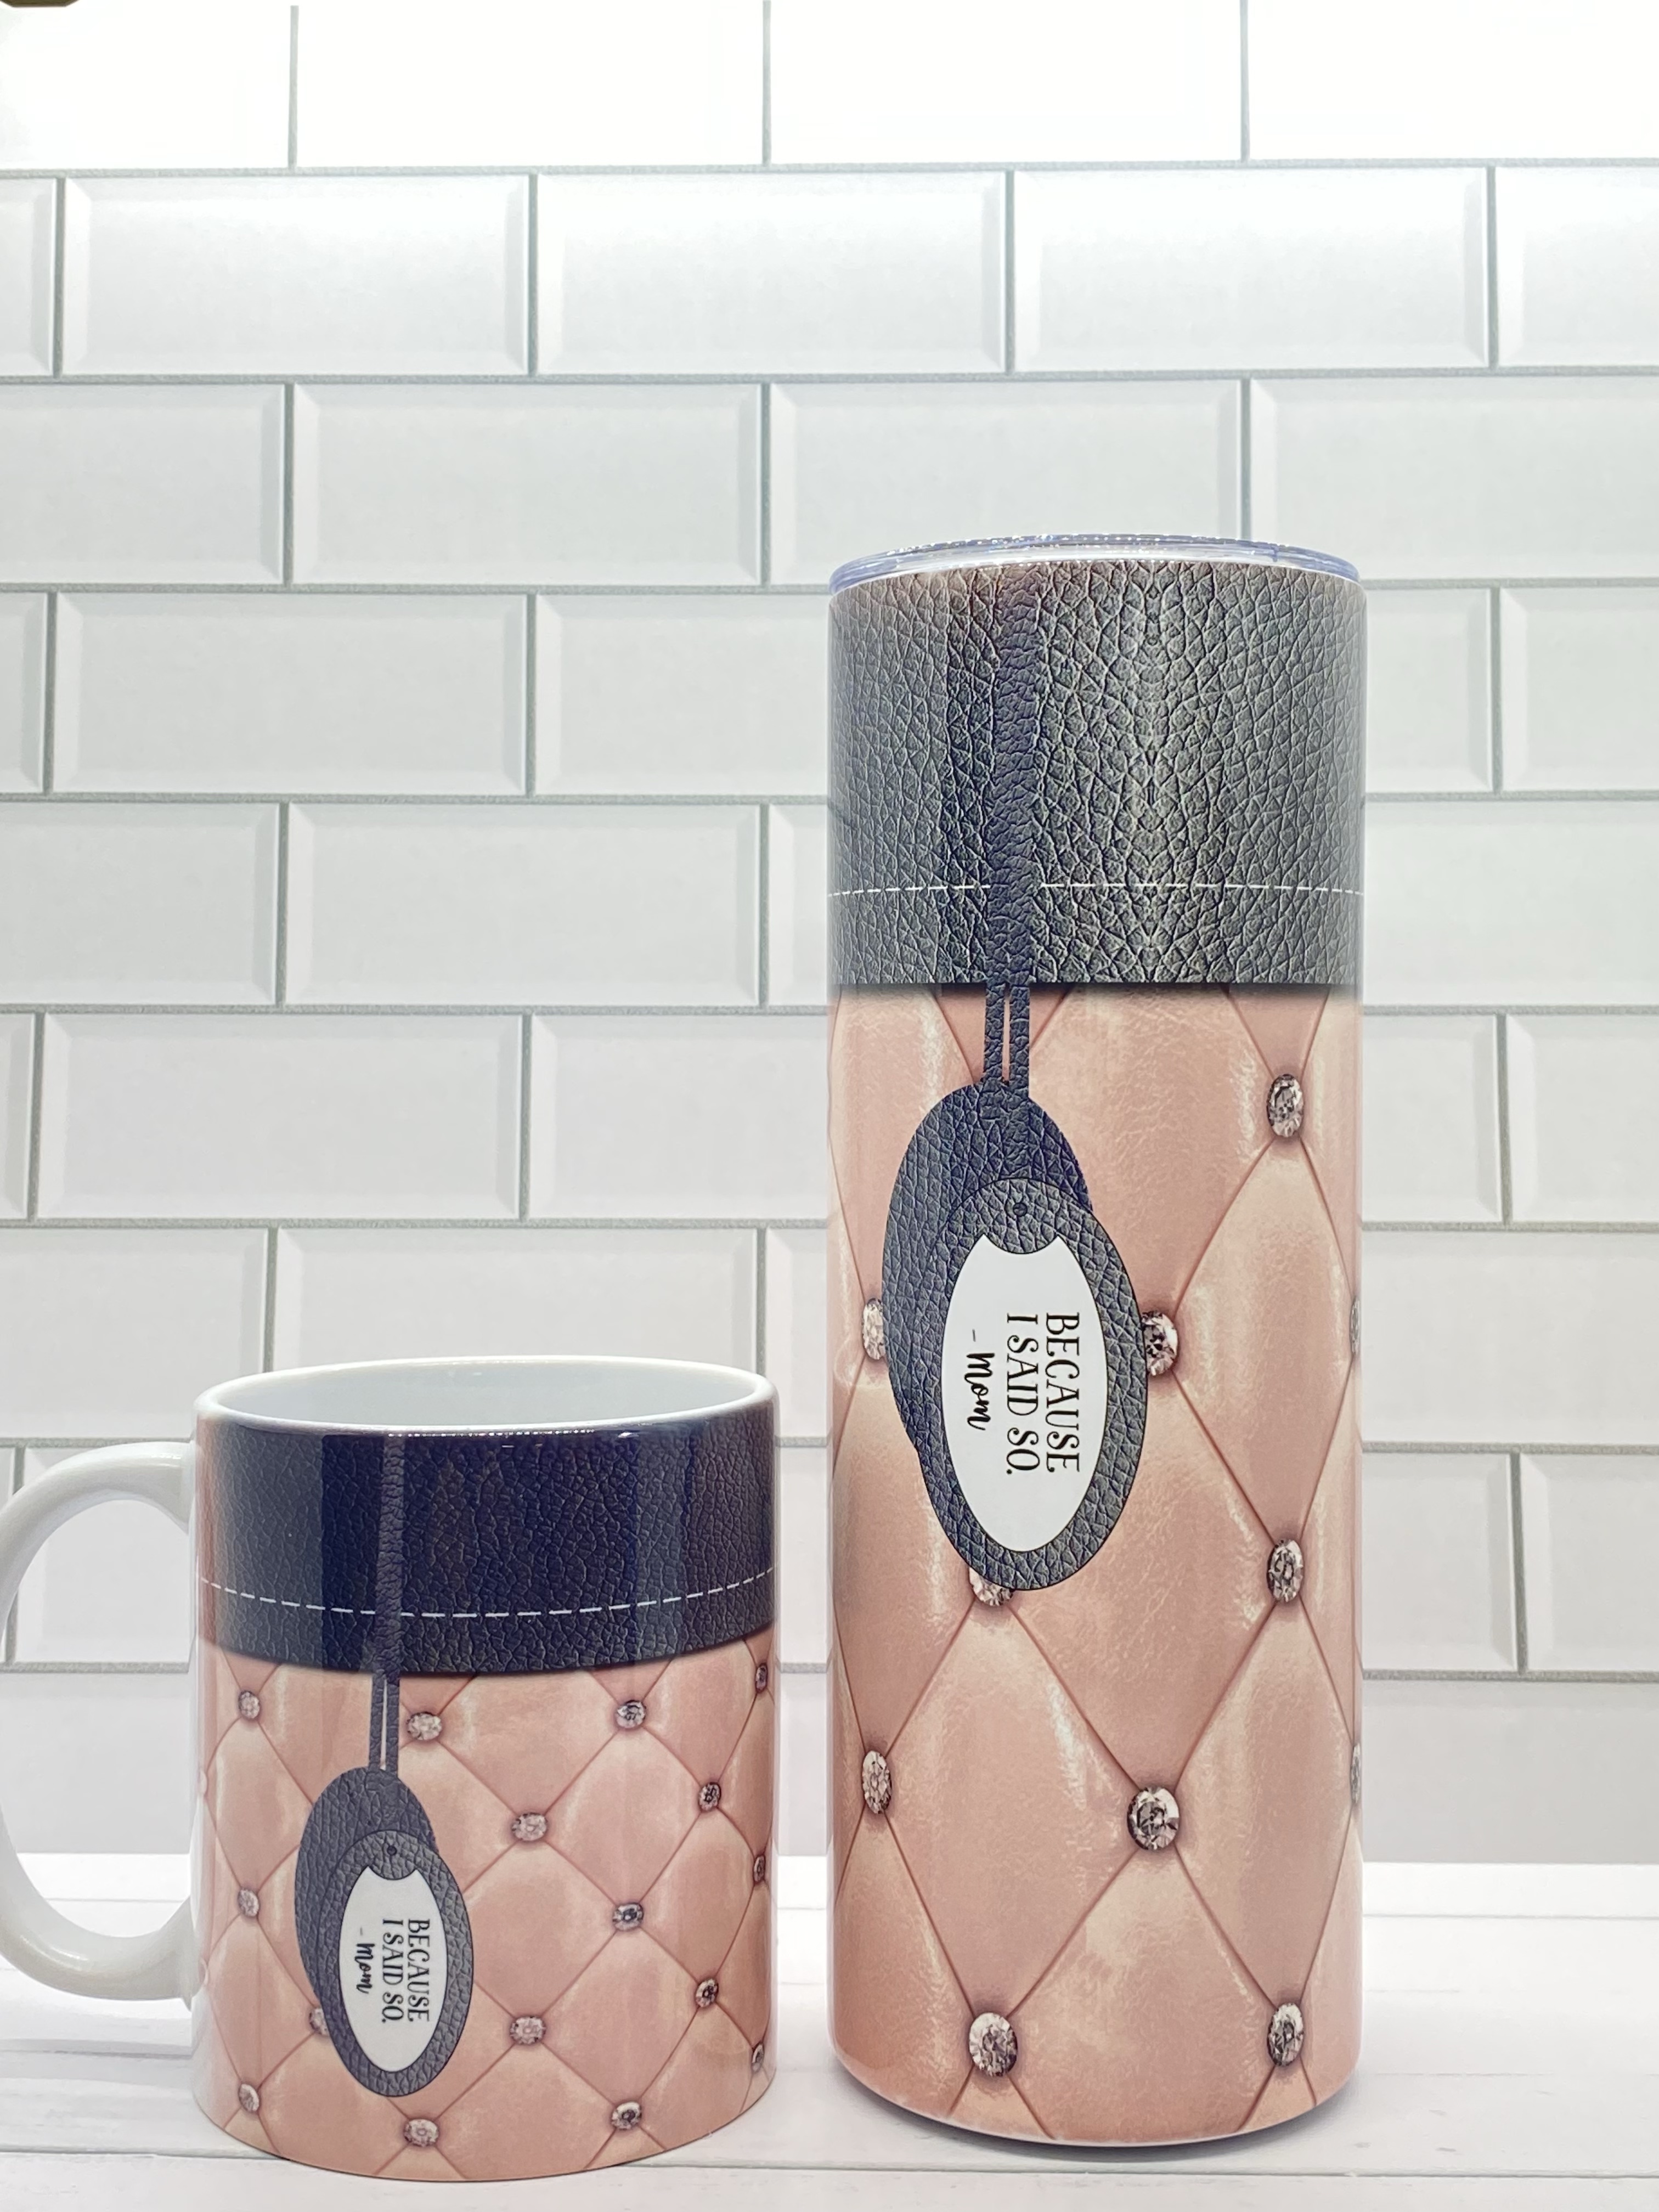
And then, I saw a pattern that I really liked, but couldn’t find, so I got to design some things using just a few images and tricks to recreate and refine the look I’d seen. I also did a matching tumbler 😊 I think this would be fun for Mother’s Day ❤️

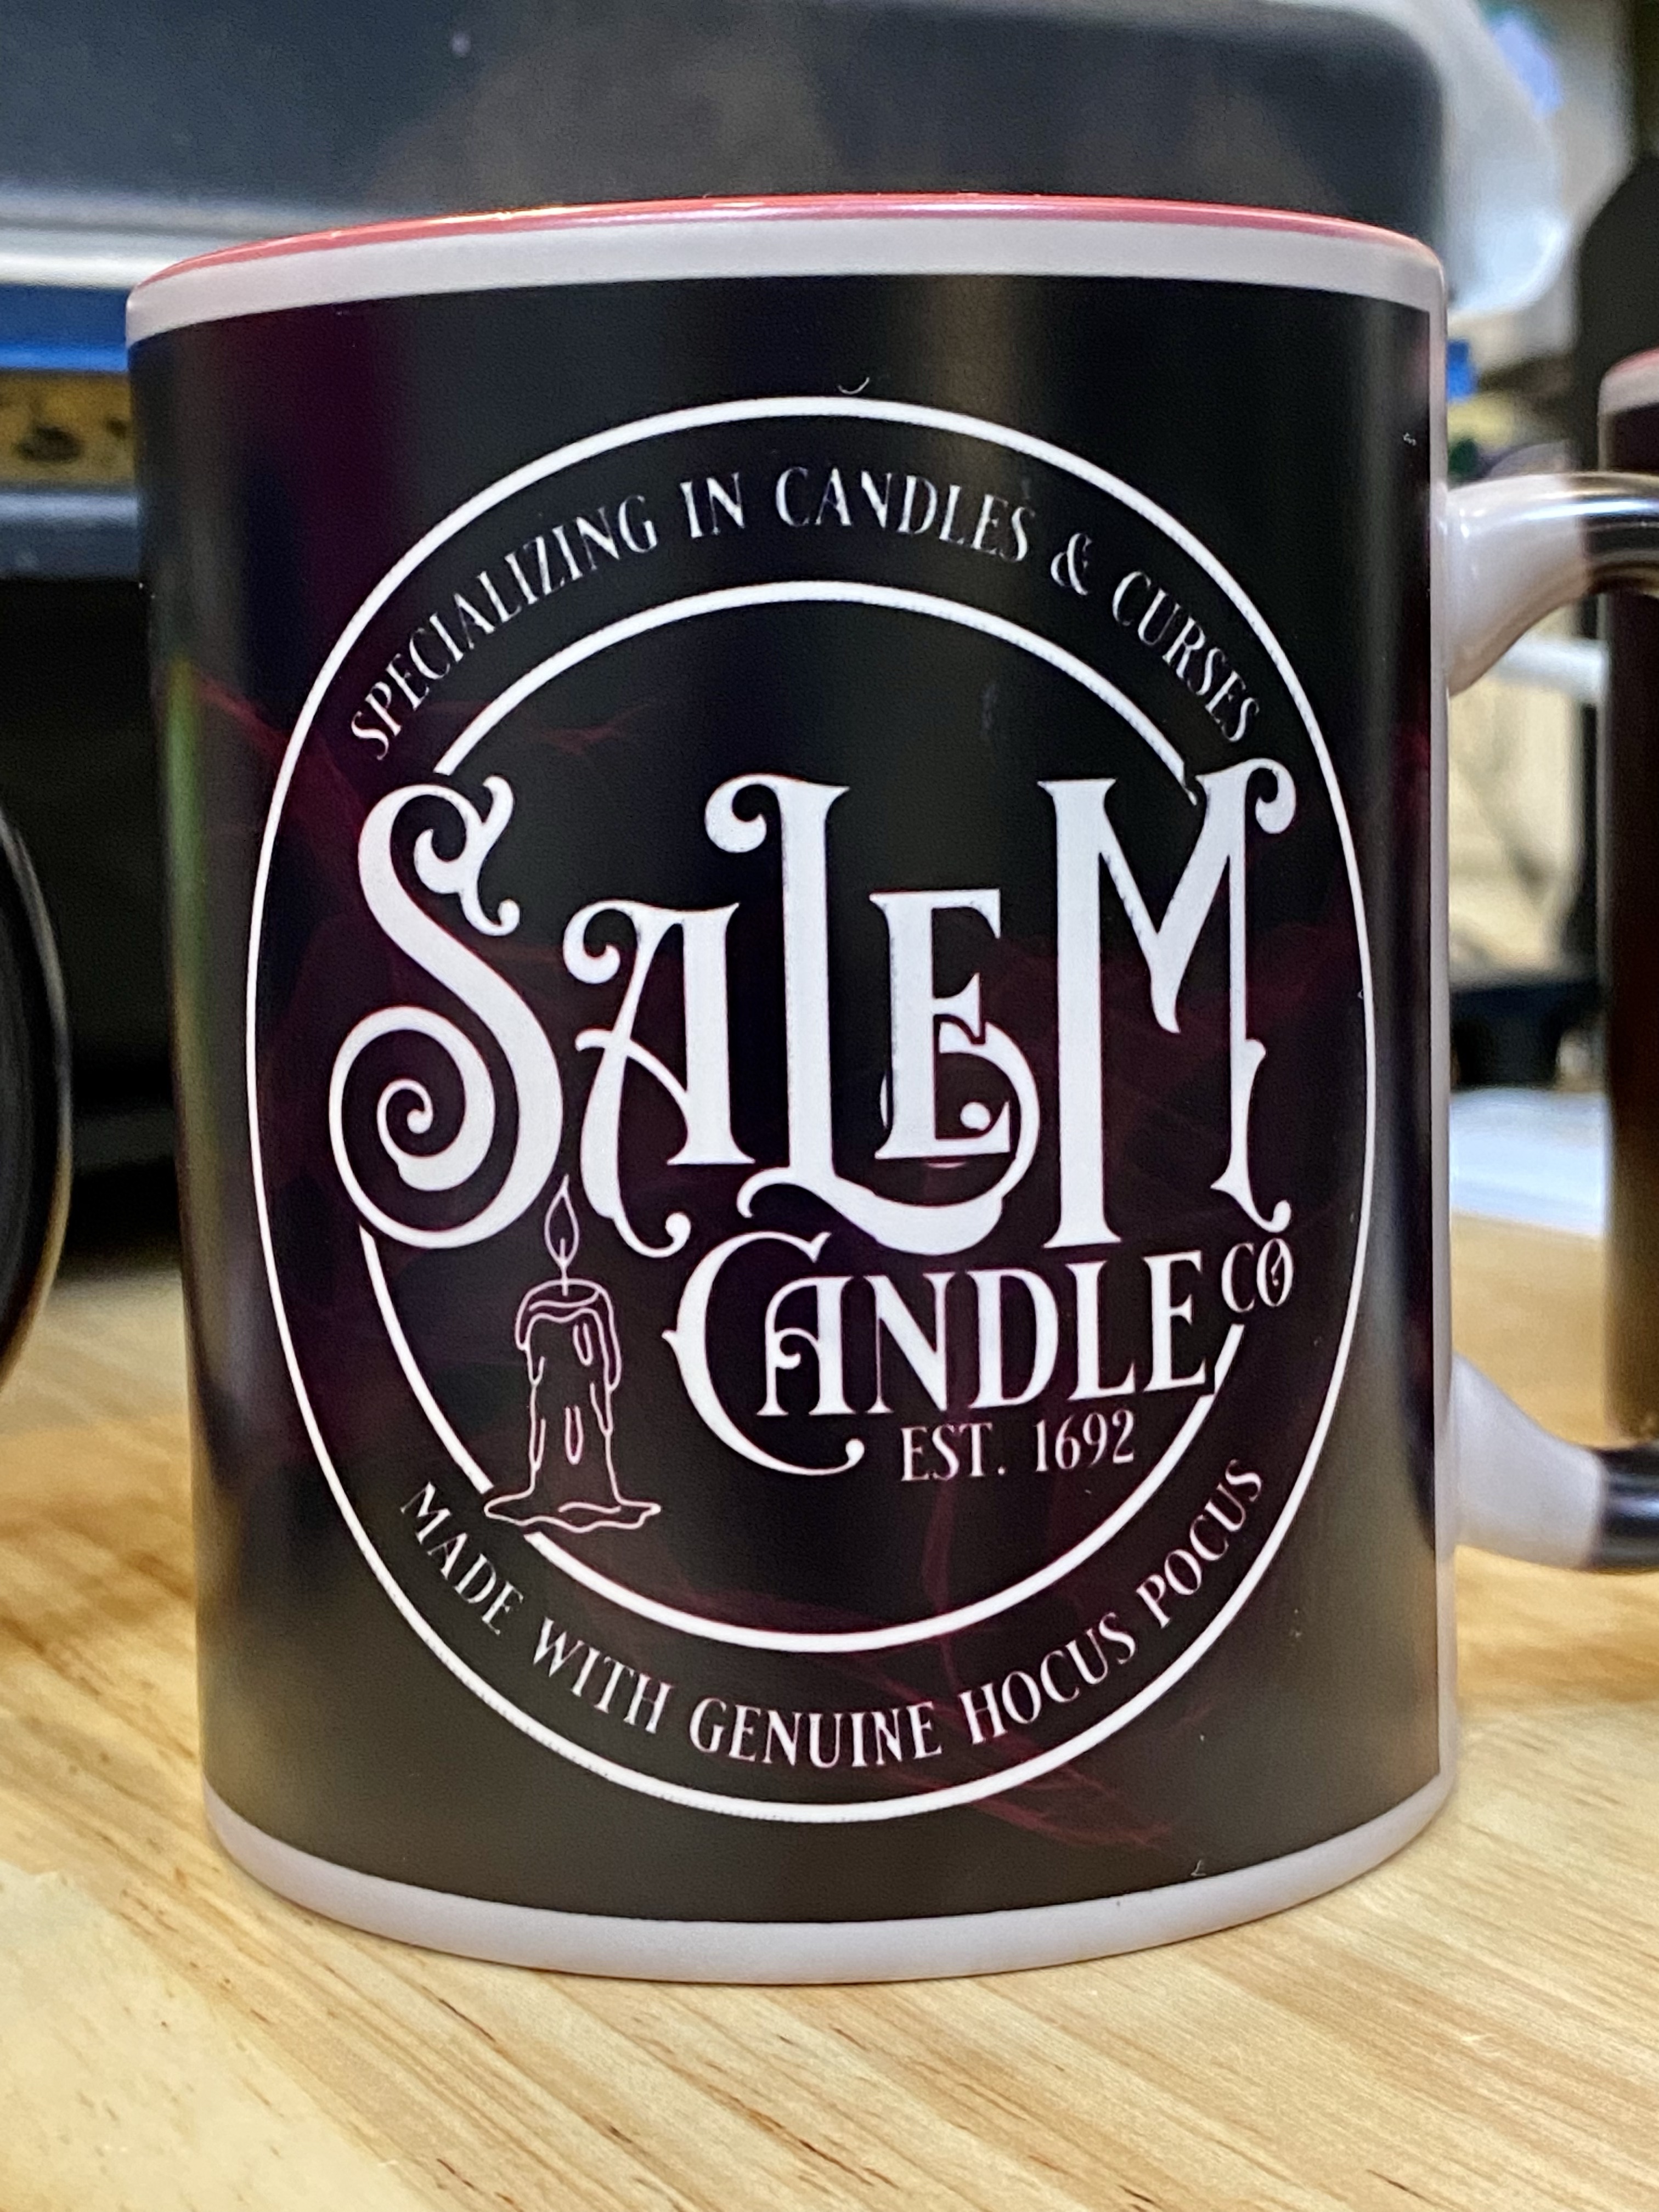
This last set of mugs I did because I found images I fell in love with. A friend suggested they might work well as Magic Mugs. And I agree!

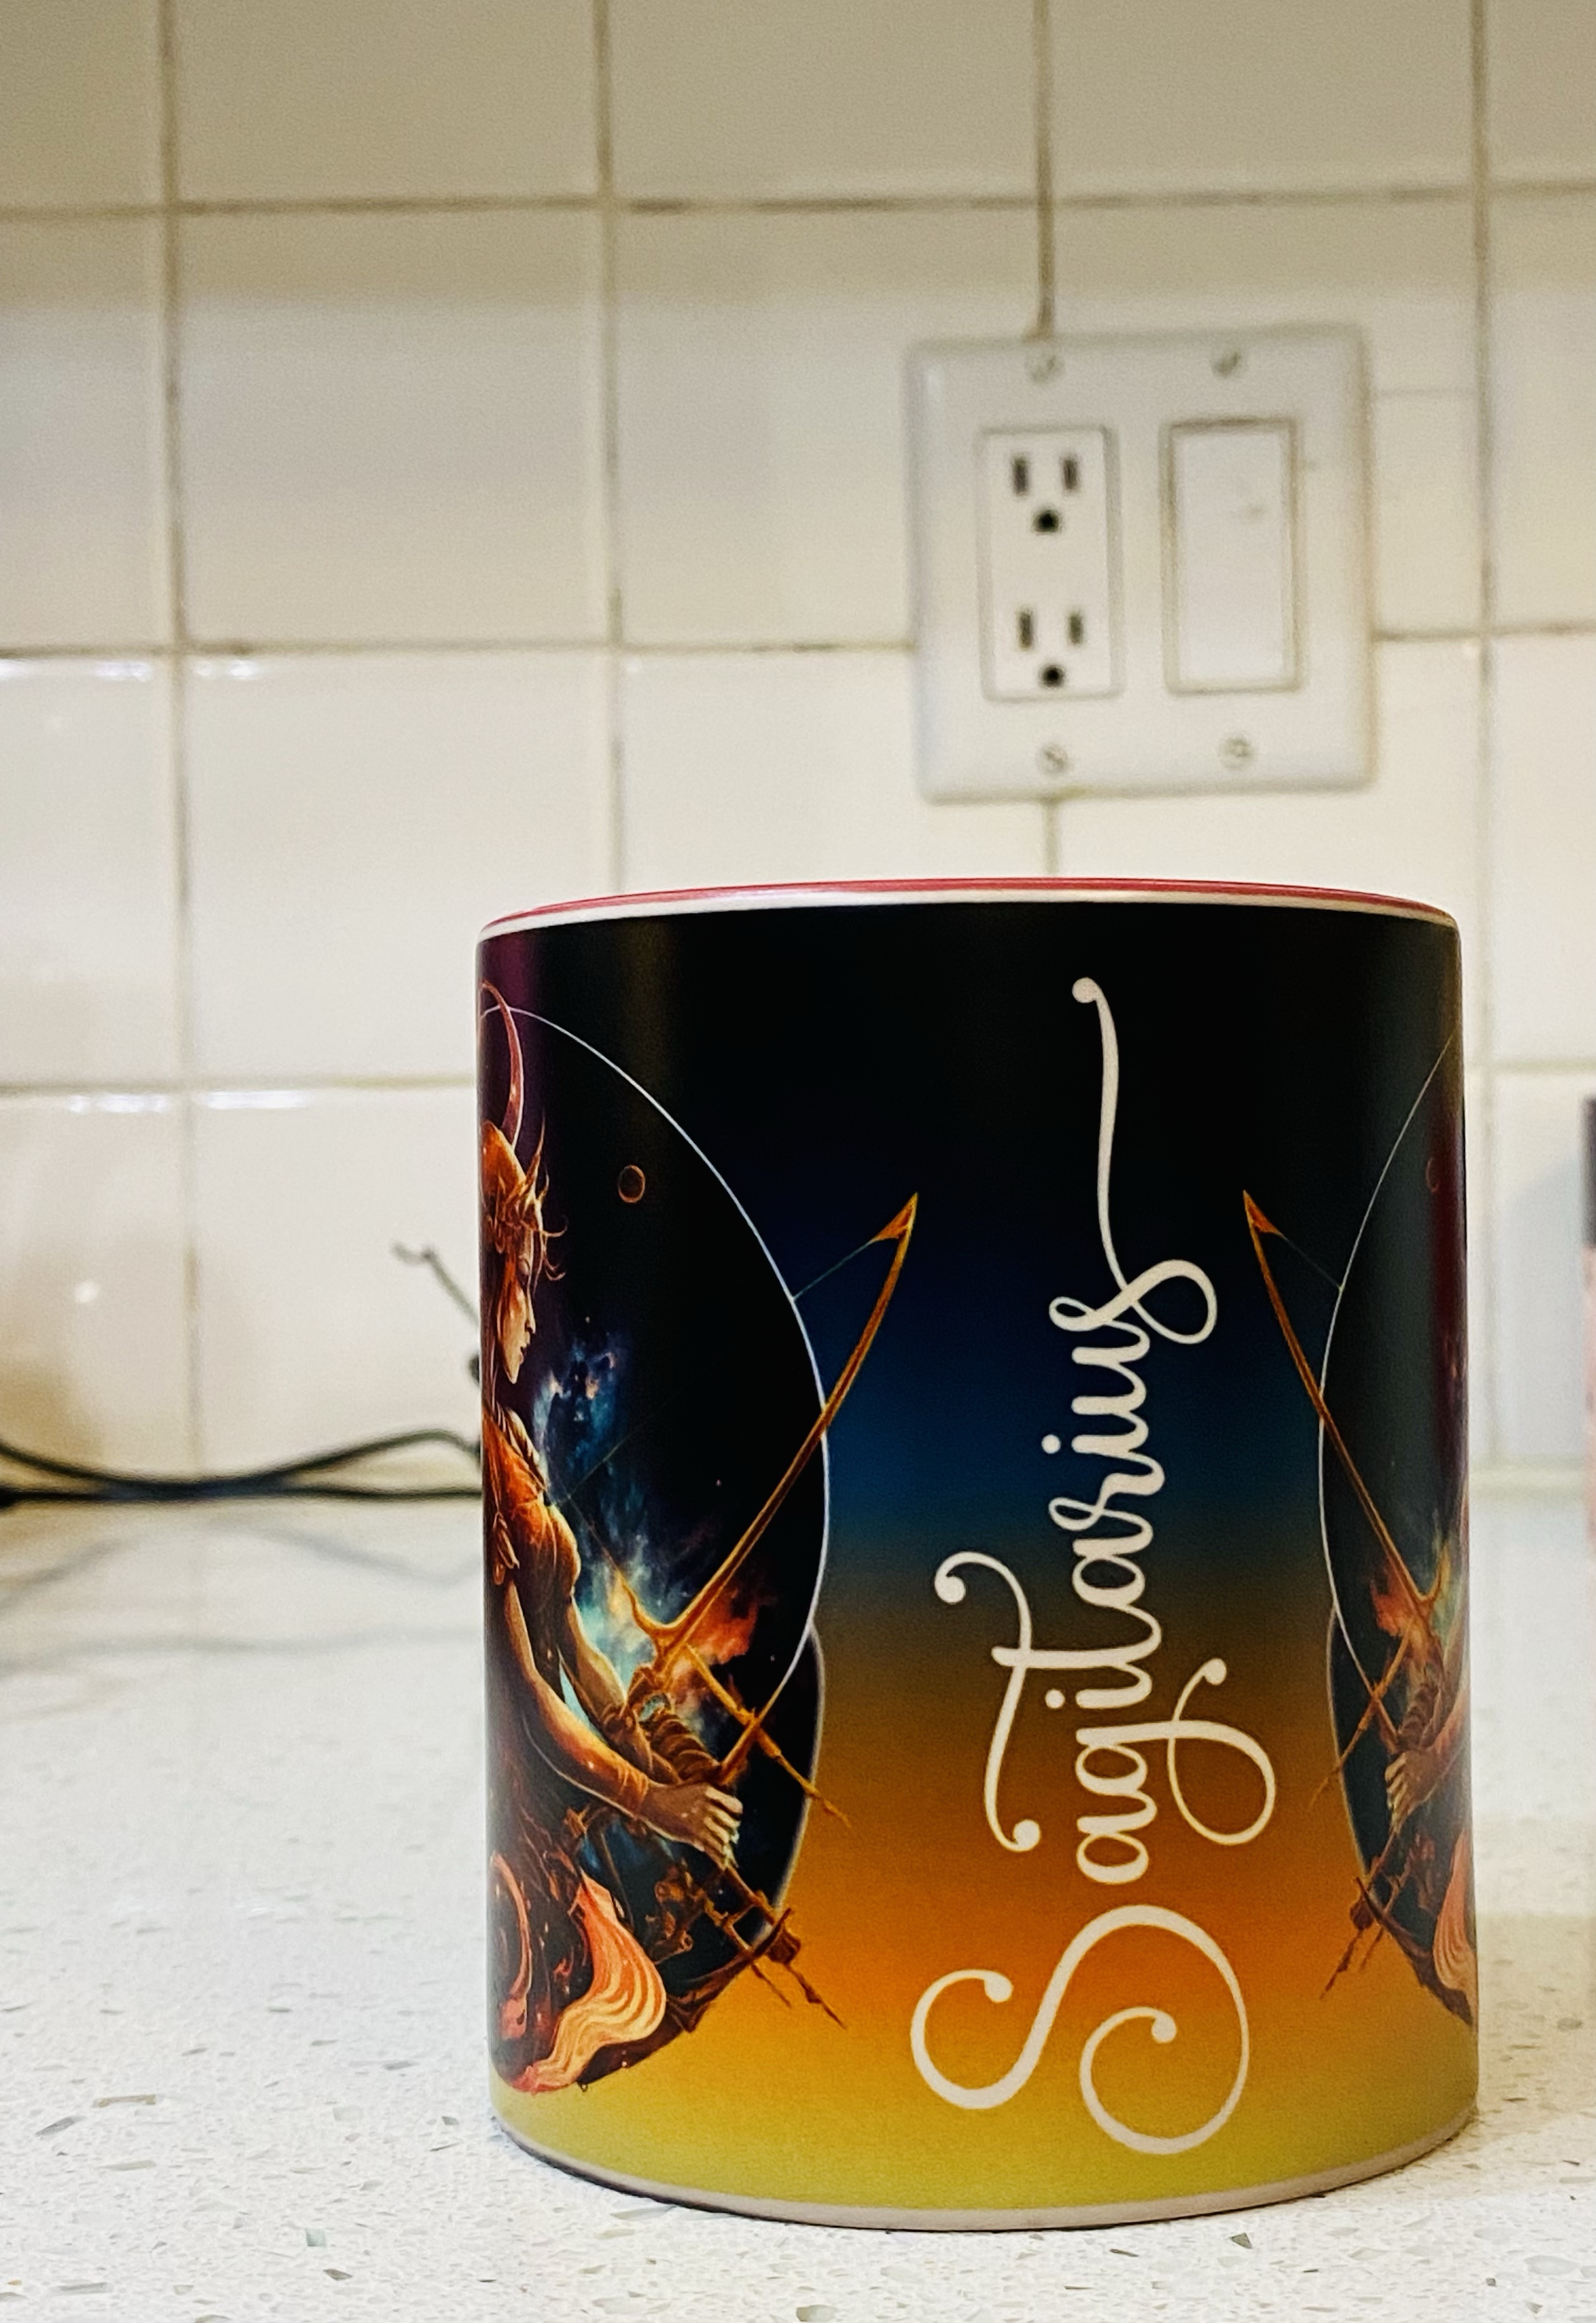
I did the Sagittarius mug for me (and I just noticed I misspelled it, so I will be fixing that right away!)

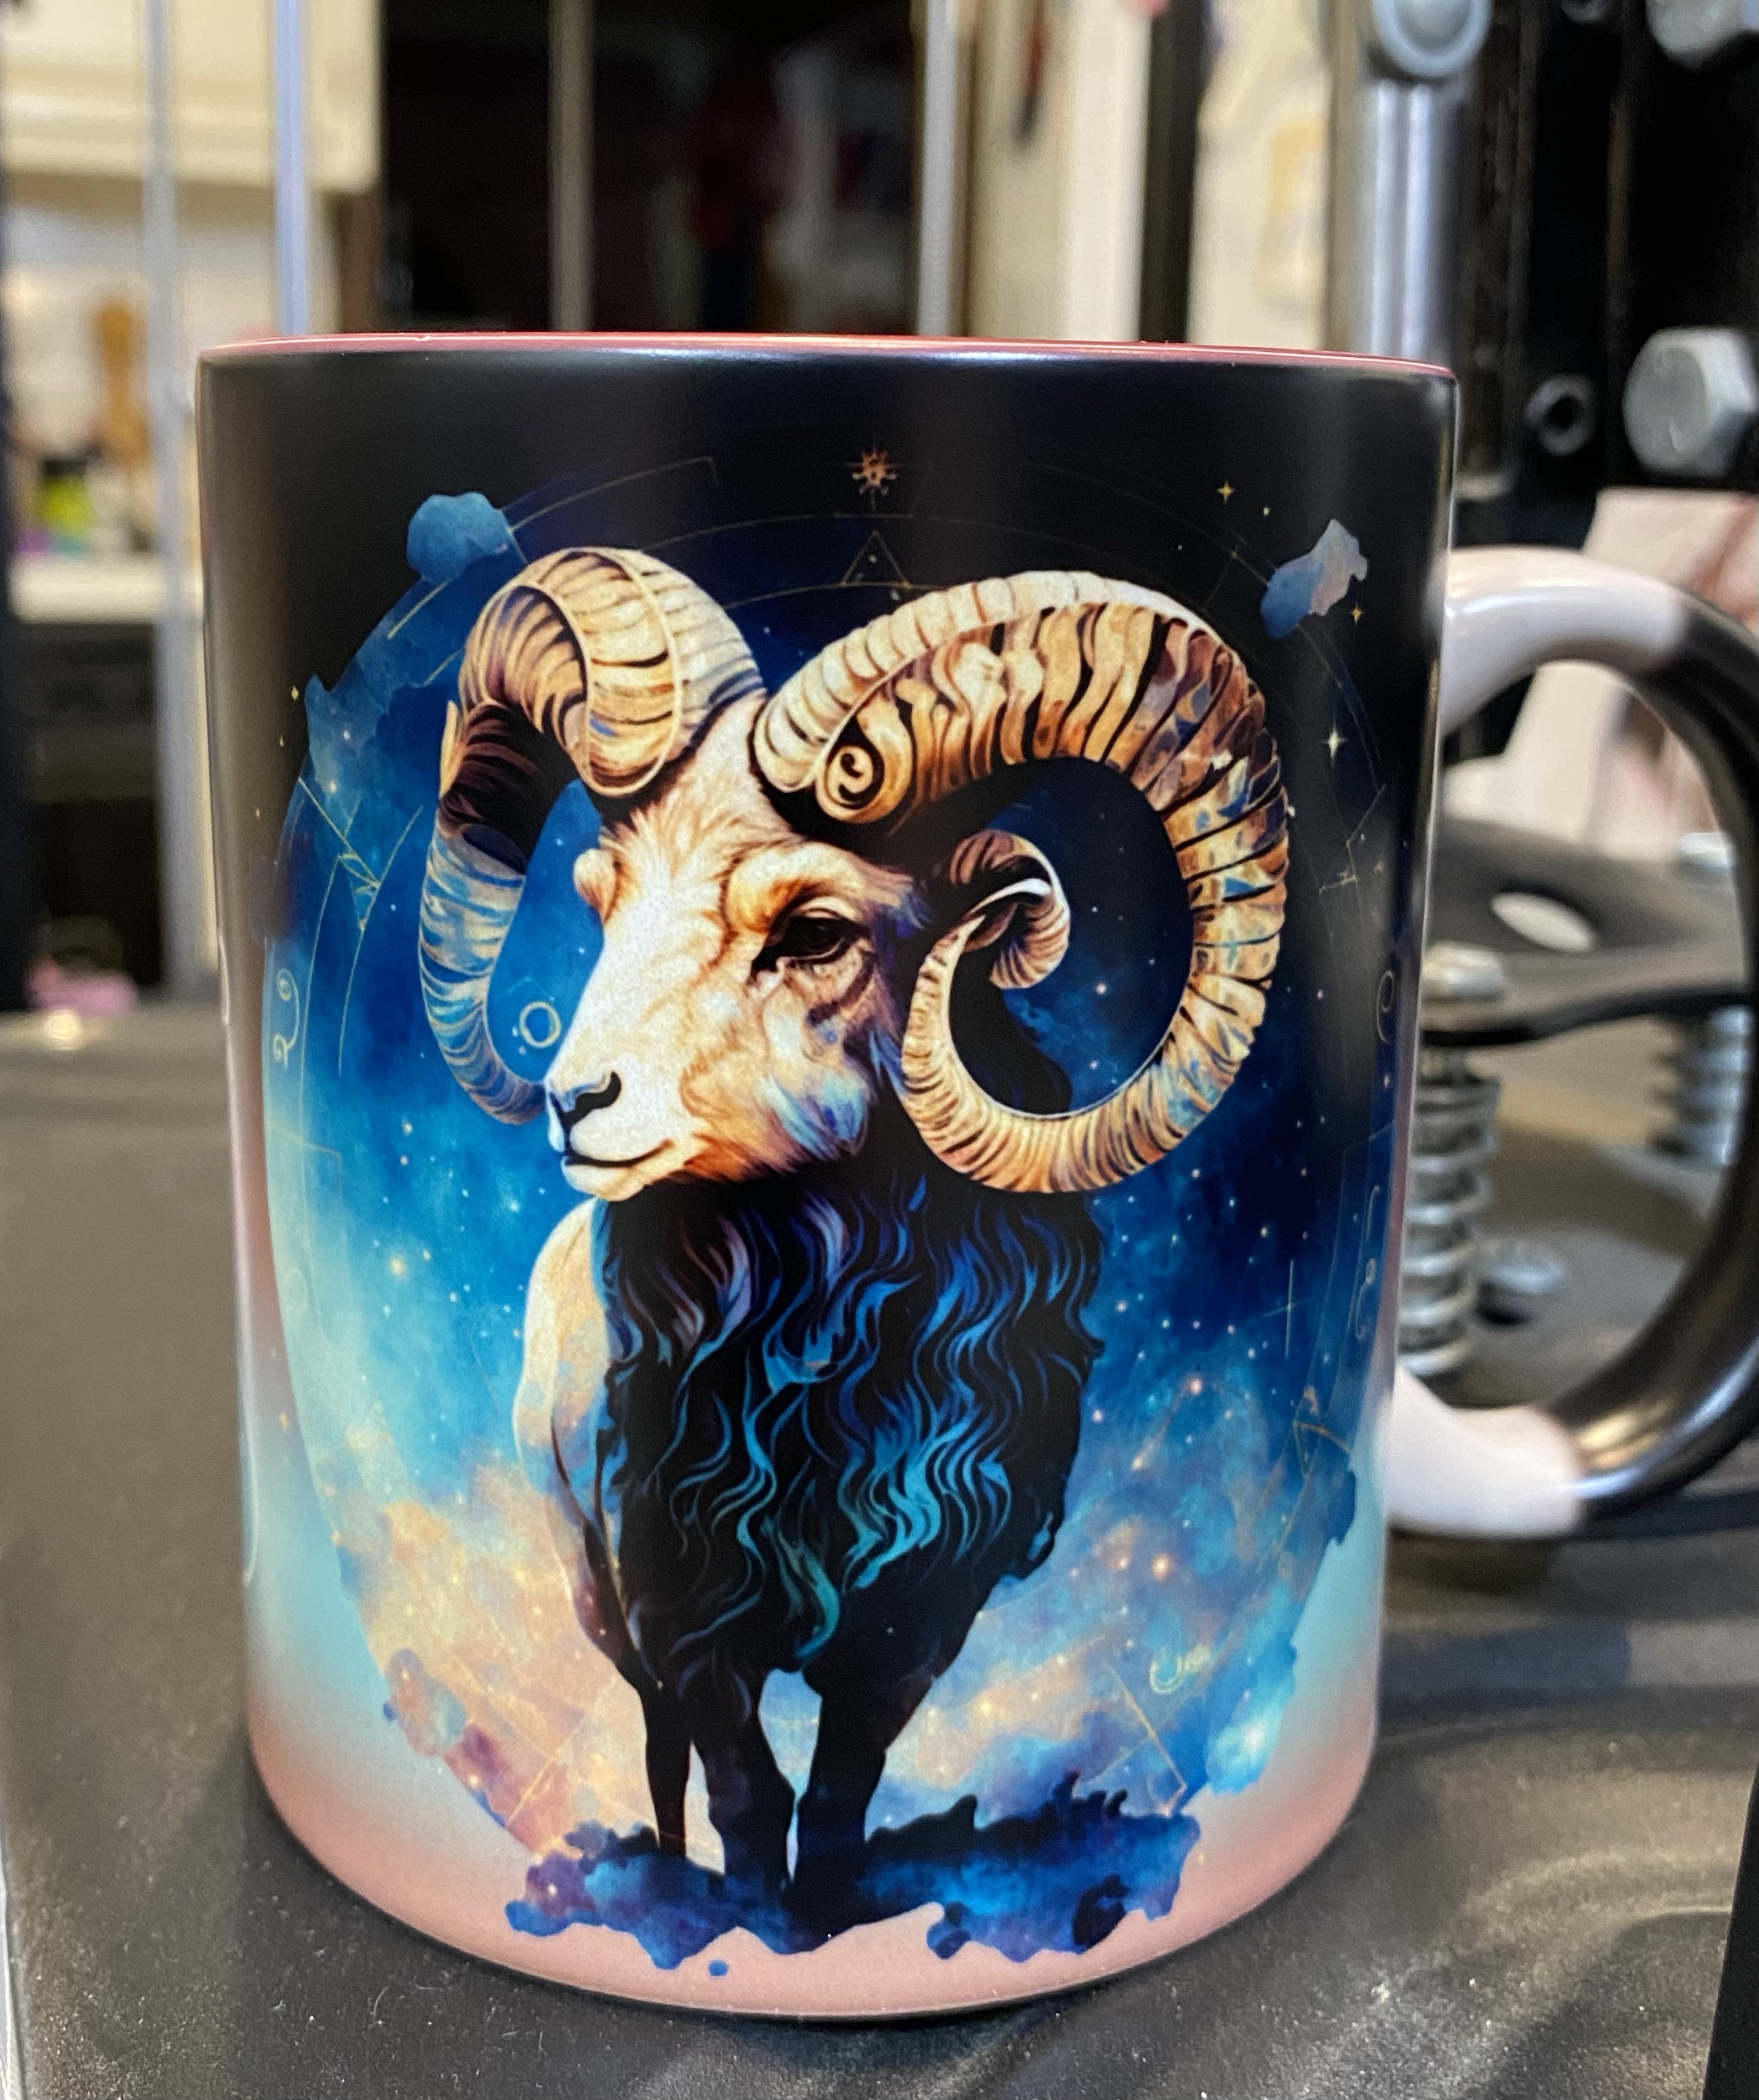
The Aries mug is for a friend of mine and I LOVE how the colors came out on this 💕

So those are some of the mugs I’ve been working on. There are some missing so there will be a Mug post part 2 coming soon.

As I mentioned at the beginning, these are the types of things I’ve been doing for fundraisers for Bandit and Paws 4 Autism.

For more information about Paws 4 Autism, click here: AWESOME DOGS

For JJ’s donation page, click here: AWESOME KID

Thanks for stopping by!

XOXOXO


That Time I Made Myself Feel Better With Paper

16 07 2022

There’s a lot of sad in the world right now. From world events, to national, to local, and right down to the people in our lives.

And I’m an emotional sponge. I soak in emotions. The easy emotions get released pretty easily. The laughter and smiles, that’s the easy stuff.

The hard ones…those are the emotions I keep in. I hold those close because I don’t WANT to give them to others. I don’t WANT others to feel those same things. So I keep them. I process them. I deal with them.

One of the ways I deal with them is art. But I don’t keep the art. The process and the thought behind the art is where the healing is for me, but that’s not the end of it. The end of that dealing with and healing from comes when I find the person that work belongs to. Sometimes it’s easy, if someone has been on my mind. Sometimes I have to wait and see who comes my way. But every single time I’ve been able to do something like that for someone, that’s really what healed my soul and filled my heart.

My therapist didn’t understand at first when she asked me what I did for ME. The answer is, I make things for someone else. And even if it didn’t fit her idea of what that meant, she realized that it worked for me.

So this last week I spent some time playing with paper because I needed to feel better. And I had a very specific project in mind. I needed the message it created. It didn’t come out exactly like I hoped, but I use the good stuff and once it was in place, that was it, lol.

The design took eight layers of paper to complete. I fell in love with the design right off the bat, and I absolutely love the colors and how they came out. It was tricky trying to get it to look like I wanted it to in the shadow box, but I got it figured out. The only part I’m not too keen on is the wording. I needed to use a lighter color of vinyl, but like I said, this stuff isn’t coming off easily lol.

Anyway, the words say, “You are Always Enough” I just wish I’d done it in white 🙂

Here it is, out of the shadow box, which takes the glare off of it. The designer did a beautiful job and this file was so nice to work with 🙂

Thanks for stopping by! We’re happy to see you 🙂

XOXOXO

Alta


That Time I Made Lots of Mistakes

2 06 2022

Today, I learned a lot.

Mostly I learned what not to do.

But there is value in making mistakes, if we’re willing to learn from them.

I was playing with an idea to sublimate Bandit’s name onto a few things. I’m trying to put together an emergency bag for him that’s ready to go, including first aid items. We live in Tornado Land and it is that time of year. But we’ve also had ice storms in the winter that knock out power for four days. Gas leaks. People sitting in front of our house watching it…and more, I’m sure, because my life is NOT boring lol.

I found these bags at a good price, so it was worth experimenting with, especially because this one would stay in the basement unless we needed it. And if we need it, it will have character 🙂

Here’s what I learned:

  1. Nylon straps melt at high temps. I’m sure I would have remembered if I’d taken time to think about it. In the future, I’ll just cut off this particular strap. I’ll get a better image that way, too. But I do have to clean the melted nylon glob off my heat press. Luckily, I have a teflon sheet attached to it. If I can’t clean it off, I can replace it. You can see some of the melted strap I’ve already scraped off on the silicone mat.

2. I learned that not only does the nylon strap melt, it impedes the transfer of the image. You can see that on the right hand side of the picture. In this set up, there was no way to move it far enough out of the way for a good transfer. But then again, it also wouldn’t have mattered since the strap melted. On the other hand, I also learned that I CAN sublimate on these bags, and the temp and time seem to work.

3. I also learned that the melted strap I hadn’t gotten off the teflon, was over further than I thought…Maybe I should have tried harder to clean it off, but I thought I had enough room to do the last transfer. I should have paid more attention to exactly where the glob would land. Because some of it got on to the other piece I was sublimating lol. You can see where it transferred on the bottom left. But again, this is an emergency bag, so this gives it character 😉 And I now have a matched set 😀

In addition, the transfer on the bottom left is a little light. So I learned I need to move the image up just a little more to stop the seam from interfering.

4. I learned that the top inside of this bag…melts a little 🙄

When sublimating, it’s usually wise to use some blow out paper on top of the image and under the substrate you’re sublimating on to, to catch any of the ink that could transfer to somewhere you don’t want it to go. The white part inside the zippered pouch…that’s the blowout paper. It’s stuck to the top of the bag now because the material above it melted a little. You can also see the blue tape I used to keep the blow out paper in place…it may also be a permanent part of the bag now lol. But now I know.

I learned I was right to use another teflon sheet inside that zippered pouch. It was placed after the blow out paper, because I wasn’t sure about the material there and how it would react to heat. If it *did* melt a little, I didn’t want it sealing off this pocket and limiting the options I have for this bag.

I learned a lot. Not everything I did was a failure, I saved some of the project by making smart decisions. But other parts, I really messed up on, and learned from them. Knowing what NOT to do can be as important as knowing WHAT to do.

I have another bag like this. It’s for use in the car or for traveling so the labeling will be similar, but a little different. Now, I can take my mistakes and the knowledge they created, and apply it to this other bag 😀

Thanks for stopping by! Bandit and JJ appreciate everyone’s support on this journey ❤️

To find out more about our organization, you can visit us and check out the pups in our program here: Paws 4 Autism

To find out more about JJ and Bandit, you can find their page here: JJ’s Magic

XOXOXO


That Time I Made a Few Wedding Invitations

26 09 2021

Besides being a mom to some awesome little kids, I’m a mom to some awesome big kids, too ❤️

One of those big kids is getting married next month. It’s a weird place to be. He’s my baby, but he’s not 😔

He was the first little one to call me mom. The first to hold my finger and smile up at me. The first to think I hung the moon.

I really like his soon to be wife. She just fits. So I was very honored to be able to make their invitations. It took some time, there were 150 of them, but every single one of them was made with love and wishes for an amazing future.

I was able to play with wax seals and had an absolute blast coming up with just the right color combinations for the wax.

This is the outside. The band holds everything together and simply slides off to open it.

Once opened, invitations, registry info, rsvp info, and map info can be found inside. And of course, a picture of the sweet couple.

I found the file in the Silhouette design store and cut out the envelope pieces and attached them.

Then I gathered the info, printed it, and cut it out. All of the cutting was done on my Silhouette Cameo. There’s NO way I would have been able to pull this off without that machine. It’s one of the best paper crafting tools I have 😀

Thanks for stopping by!

xoxo


That Time I Played With Paper Again ❤️

23 05 2021

If you scroll through my last few years of blog posts, you’ll see they’re mostly dominated by topics like autism and service dogs; by foster care and adoption.

If you go back further, you’ll see paper projects, but it’s been a while.

But I got to play this week – yay!

I made a rose /vase box card. There are things I’m not happy with, but I’m rusty so we’re just going to go with it lol

I used this file from the Silhouette Design Store.

I cut out the pieces on my machine, and because I’m extra, I hand colored them with my markers and colored pencils.

The beginning of the flower buds

The finished flower buds

The leaves and stems still on the paper

I like to color things while they’re still on the cutting mat. I don’t have to be as precise, I don’t loose anything, and I have better control of the paper (small things are hard to hold).

The leaves off the cutting mat. You can see the difference between adding colors to the cardstock and leaving it as is.

The finished card.

I had fun playing with paper and colors again. I hope it happens again sooner rather than later, but there’s a lot of other things to focus on right now, so we’ll see ❤️

Thanks for stopping by!

XOXOXO


Paper Orchid Shadow Box – I got to play a little!

13 01 2020

I used to play with paper and make things on an almost daily basis. But then our lives went down a different path and the time and the emotional availability wasn’t there. My creativity flows best when my mind and shoulders aren’t weighed down.

But every now and then, like a snow day :D, I get a chance to play. And that day was yesterday 🙂

I made the 3D Orchid Shadow Box, found here, in the Silhouette Store.

I really like how mine turned out, BUT it is modified from the original, and here’s why: I didn’t read the directions ahead of time. So, a caution to all you paper crafters out there – if there are directions somewhere, take a quick peek before you start, just to make sure ;D

Because I didn’t, my project couldn’t be displayed like the example. But it still works. So, if you want to make this project, too, here’s the blog with the directions lol.

I cut mine out of white card stock and colored the flower parts using copics and colored pencils. I was then able to nest all the boxes, instead of having two separate shadow boxes – this is an example of how mistakes can be springboards for other ideas 🙂

I also added a back, because I could lol.

Thanks for stopping by!

xoxo

img_0385


Giving Tuesday and Service Dogs

2 12 2019

You know we’re fundraising for an autism service dog for my 8yo son so he can feel safe going back to school.

On this Giving Tuesday, I just wanted to remind people that his fundraising campaign is an option. The organization we’re using is a charitable organization so any donations to my son’s page on their site are tax deductible. You can read more about them on their website: paws4autism.org

The money we need to raise will to train future dogs so our family and others will have hope on some of those hard autism days. We’re paying it forward. Can you help us by donating on his page and sharing his story?

Thank you.


JJ’s Service Dog Flyer

25 11 2019

I’ve had a couple of people ask for something larger to hang in break rooms and such at work. So I made something. Love playing with digital art 🙂

Hope it helps get the word out 🙂

Thanks for stopping by!

Xoxoxo

As always, JJ’s donation page. Always feel free to help spread the word ❤️

paws4autism.org/jj.html


Service Dog Thank You Cards

20 11 2019

Nice people should get thank you cards.

It’s a thing I believe. And I just so happen to like making thank you cards, so this works out for everyone 😀

I’ve had these designed for a while, but finally had time to sit down and put them together. It took a medical intervention to create the time lol. I’m at the sleep clinic with one of my daughters, so I was able to put the cards together while I wait with her. It’s been a LONG sleep study. We’re doing overnight and nap monitoring…I’m pretty sure we’ll head out by evening though 🙂

In the mean time, a dozen cards were finished and my blog updated. They didn’t turn out how I designed them – my printer ran out of blue ink, but I made it work, because I have some people to get these out to 🙂 If you’re one of our donors – THANK YOU SO MUCH! JJ’s so tickled by your willingness to help him. He even cried a little. You guys are making a little boy so very very happy. These cards are for you ❤️

Thanks for stopping by!

xoxo

And as always, if you feel it in your heart to donate, or if you want to  see more of JJ’s story, here’s the link to our donation page. paws4autism.org/jj.html

Craft Project 1


I Had Time to Make Some Cards – and a Mistake!

4 09 2018

I feel like I used all the things to make these 🙂

Most of the designing happened digitally in Craft Artist. Then I added those images to my Silhouette work space and cut them out. THEN I used some stamps and colored those images on the card front. Finally, I assembled them all.

Oh wait, I also used a metal die and my Evolution Advanced for one of the cards. See, I told you. I used all the things 😉

I was in a purple mood, so purple was the theme for these three cards.

First, the one I almost didn’t keep, until I played around with it a little more.

Before:

ed178ea9-f359-4251-b6c7-91cbc26c8f4b

I tried to be tricky and mask the original stamped image so I could add another behind it. But I didn’t like how it turned out. I felt like it was kind of mashed together and it was hard to tell what you were looking at and where each thing was.

Instead of scrapping it, I got out my colored pencils and played a little. If I messed it up, it wasn’t a big deal, I wasn’t planning on using this anyway. All I could see was a winning situation.

Funny thing. I liked the image after I used my pencils. Although I stamped the flowers, I printed off two layers of pretty for my Silhouette to cut out for me.

After:

92a653dd-6e52-4a8e-bc70-f1ddc61e9756

This next one I thought was kind of plain, but it turned out to be the favorite of someone else. So, yay! This card I printed and cut out two layers for the card as well as the bow. I also used my pencils to enhance the bow, because I like crazy details like that. The hello is stamped and I used a metal die to cut it out.

7c5cea24-891f-418b-a37e-b9ed3fcef8fb

This one was kind of fun. I liked the butterfly 🙂 This card just had one printed layer. I also printed and cut out a butterfly so I could pop it on and add dimension. I stamped the orchid and used my pencils to add some shading and a little extra color.

dc13565d-354e-4852-8b72-0f68c649f211

Thanks for stopping by!

xoxo