That Time I Added Mugs to My Blog

1 05 2023

In my catch up blog, I said I would post some of the projects I’ve been working on when I have a few spare minutes.

So, today, I’m posting the mugs I’ve been working on. These are the types of things I do as fundraisers for Paws 4 Autism and Bandit

To do these, I started learning how to sublimate. I looked easy, and theoretically it is. But it’s the small stuff that trips me up lol

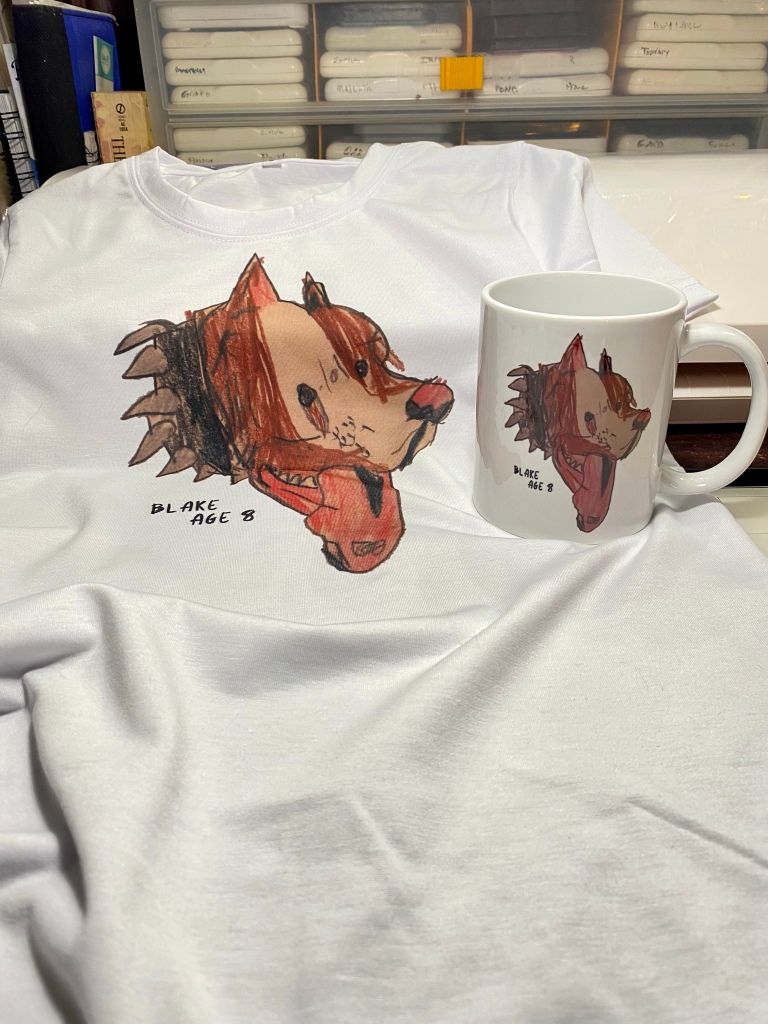
This is a fun idea. I took a child’s artwork and put it on a shirt for him and a mug for his mom. It’s like fridge art – but better!

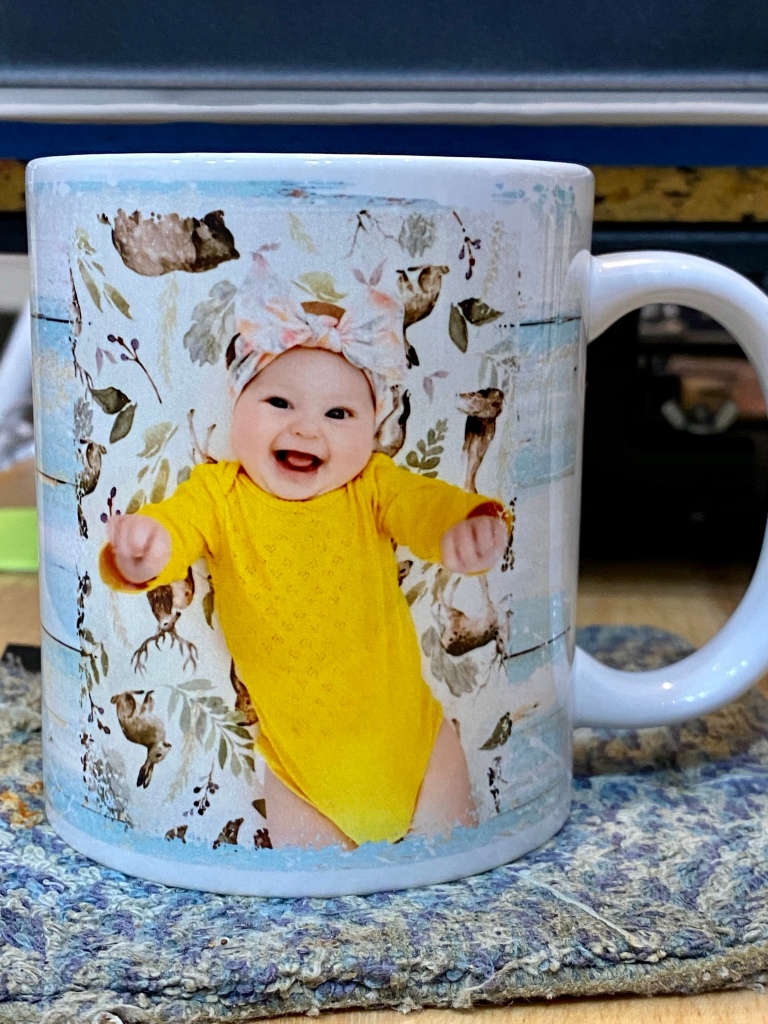
I’m also able to put pictures of cuties like this onto mugs. This particular grandma needed a mug with her granddaughter on it. It was so much fun to do ❤️ Can you imagine waking up to this smile in the mornings?
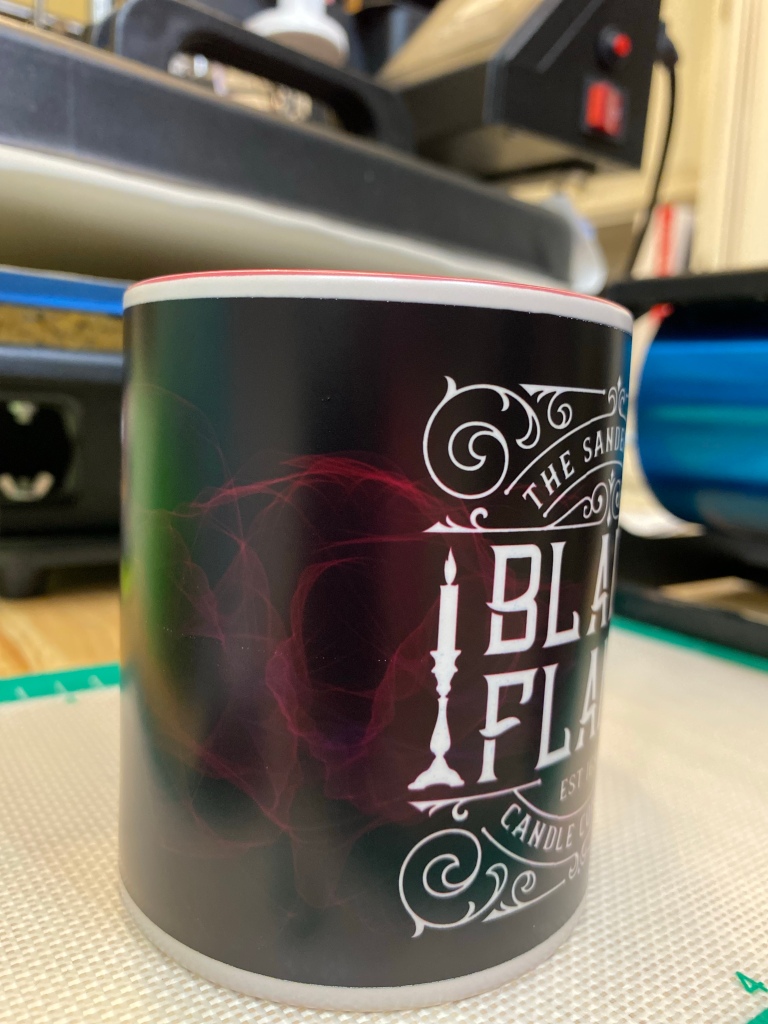
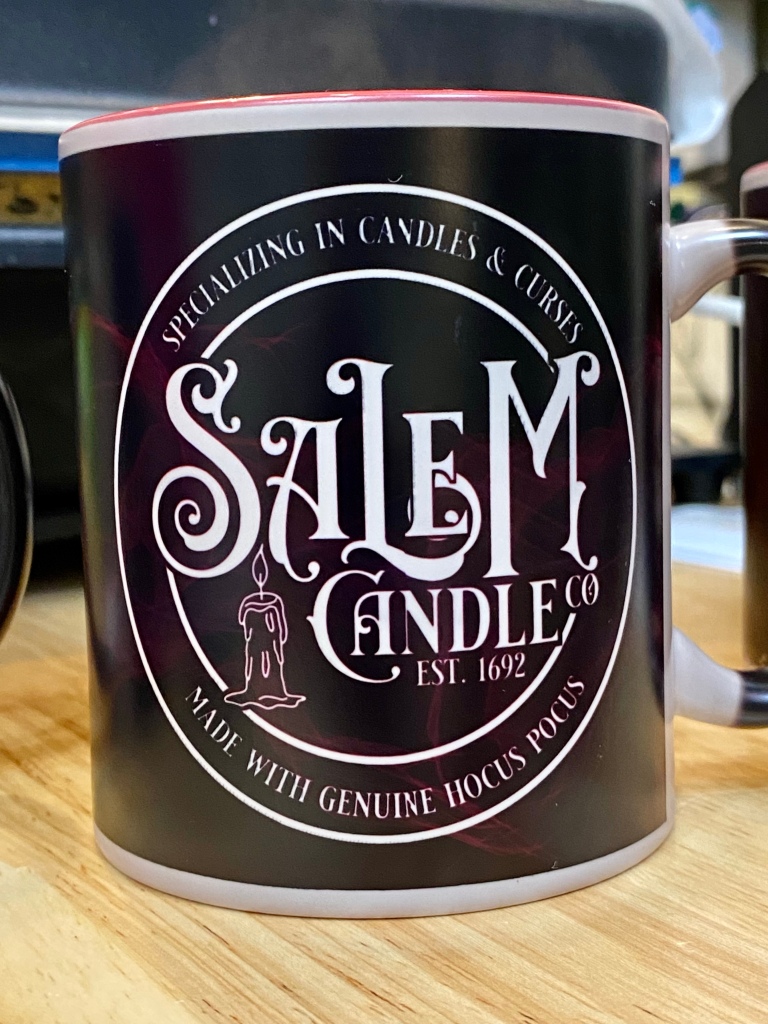
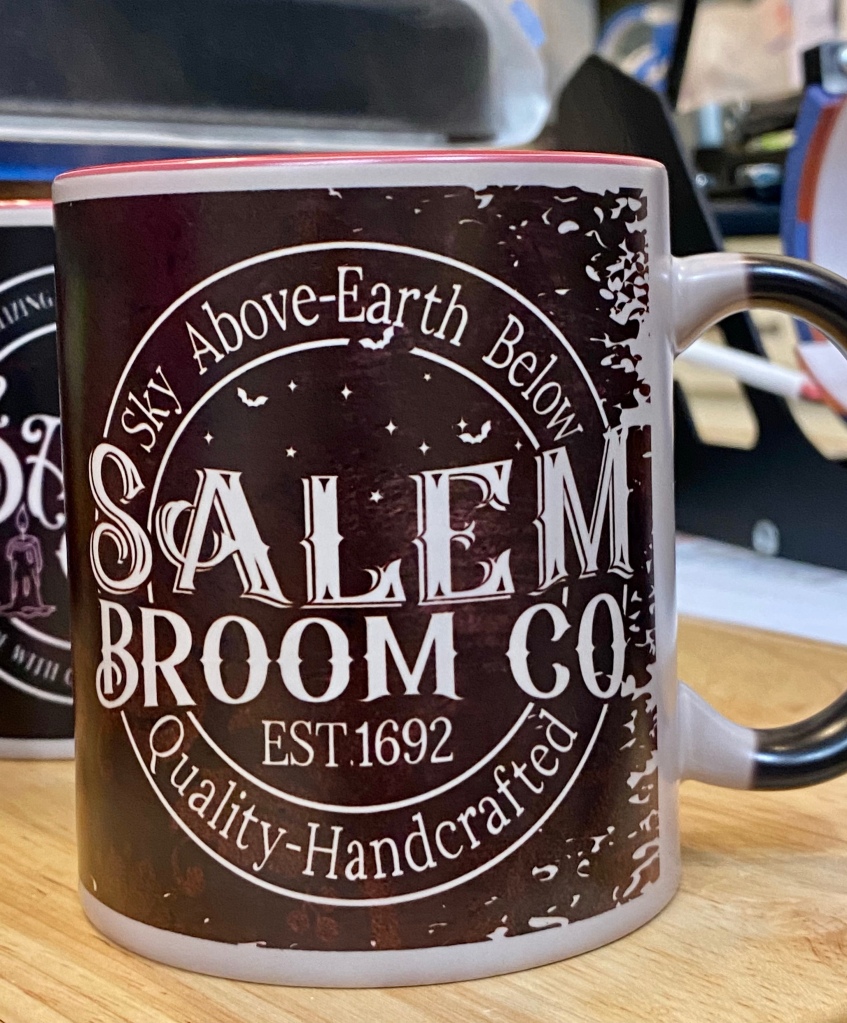
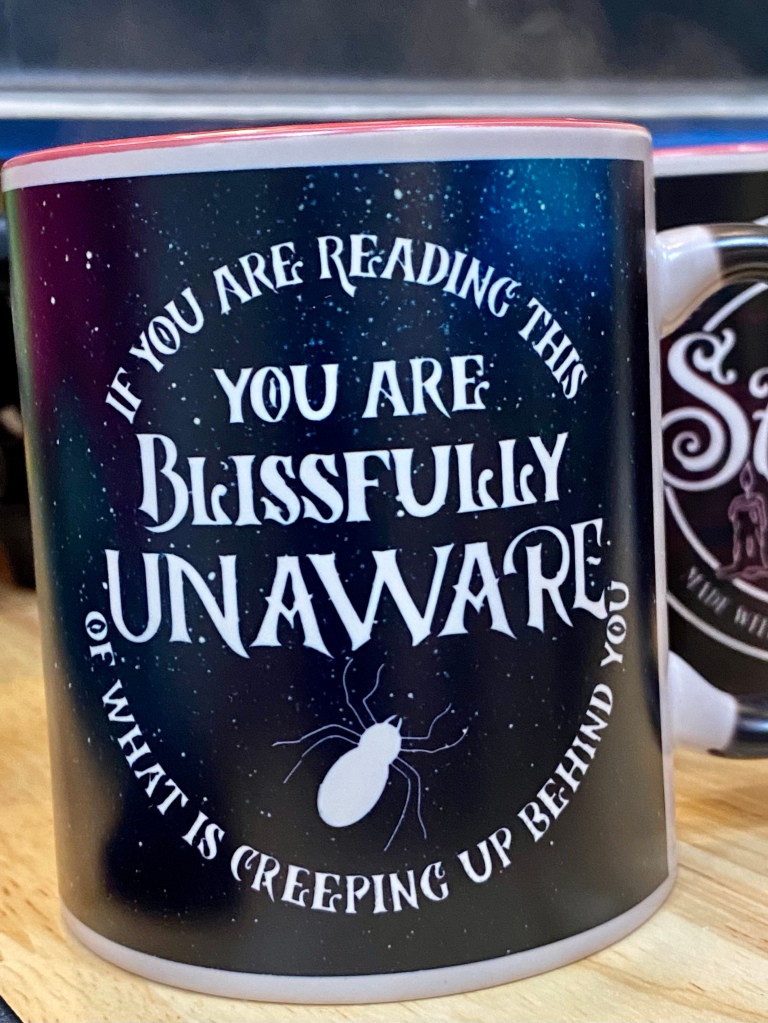
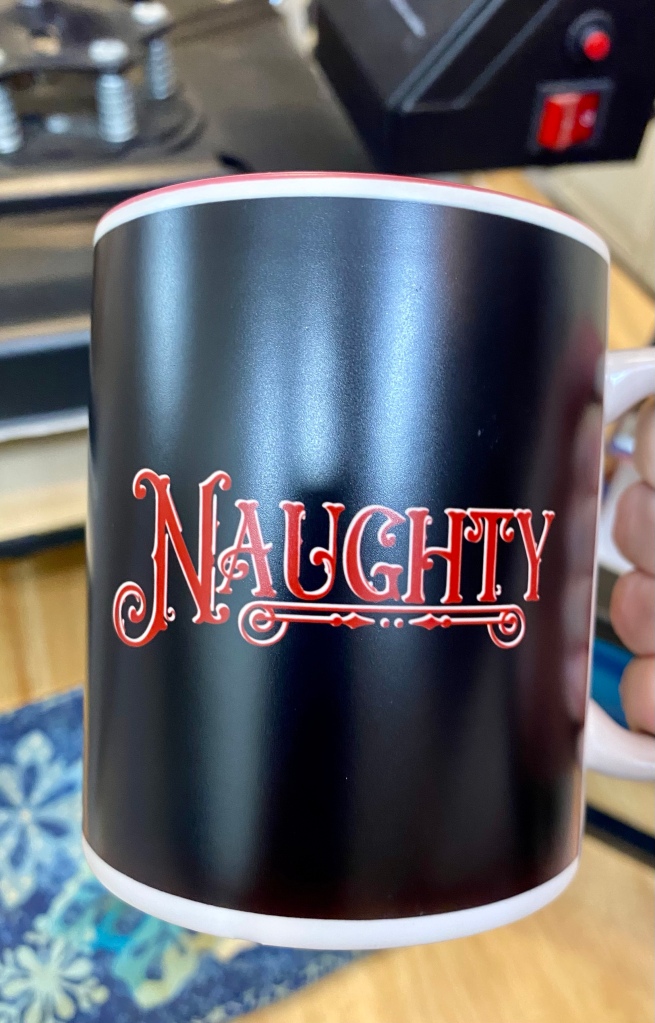
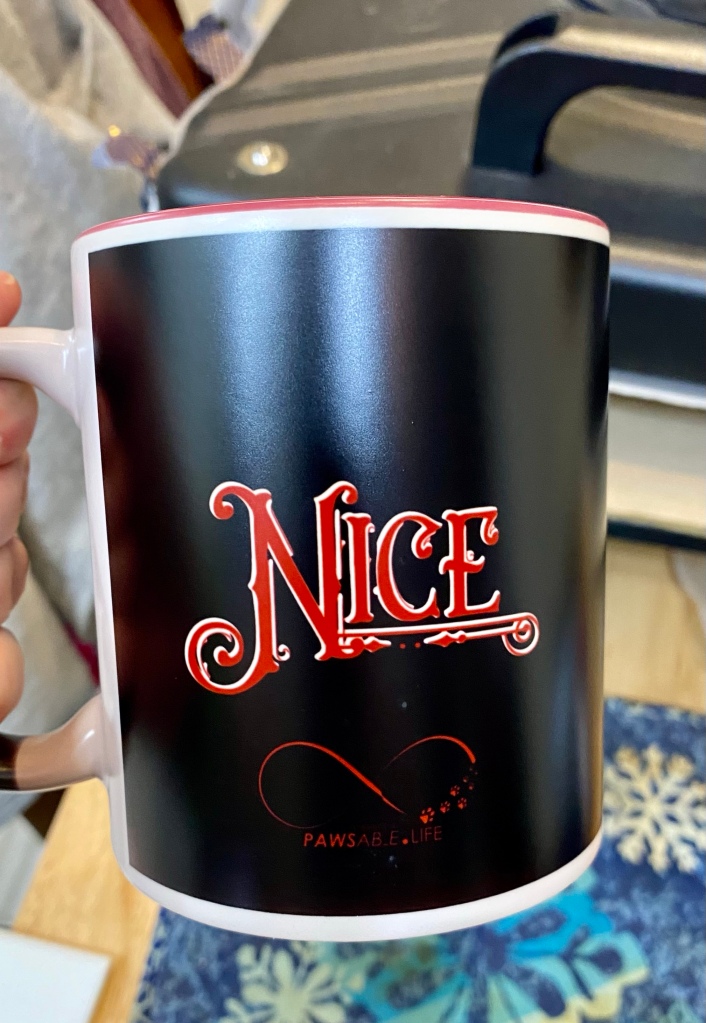
For Halloween, I had a BLAST making color changing mugs. We call them magic mugs. I need to figure out how to post a video here, but for now, trust me, they’re cool. They start out black. When you add hot water, the black disappears revealing and image under it.

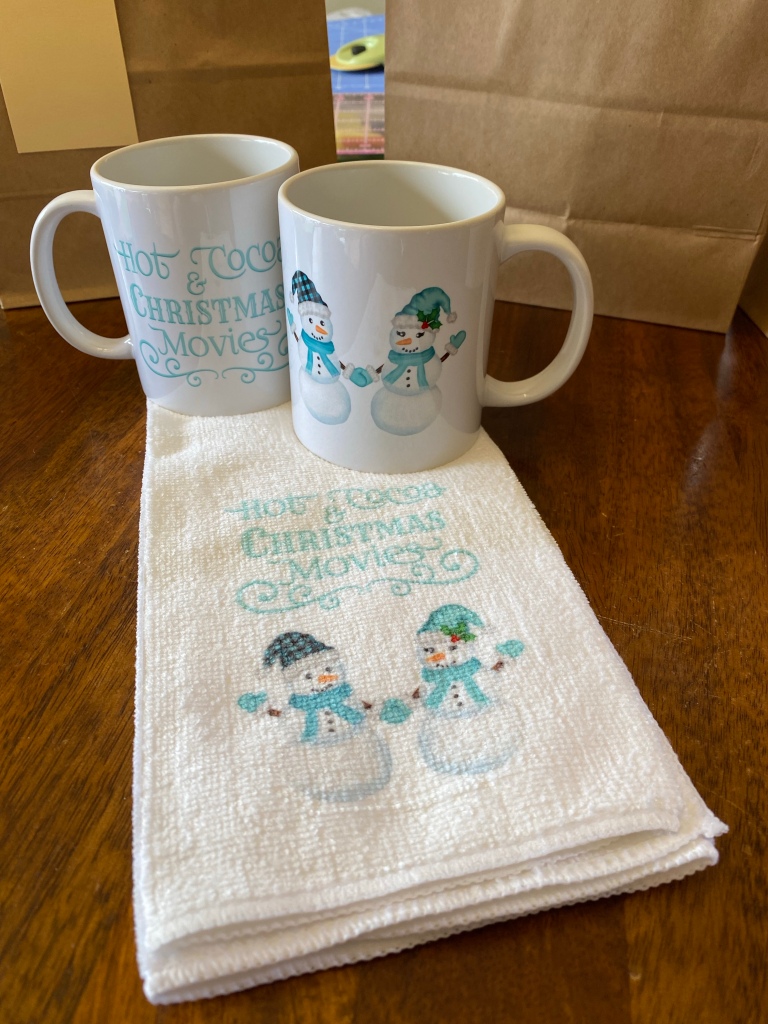
And before we knew it, it was Christmas time. I did a Naughty/Nice Magic mug (because I LOVE them lol) and also did a set of matching mugs and kitchen towel set.
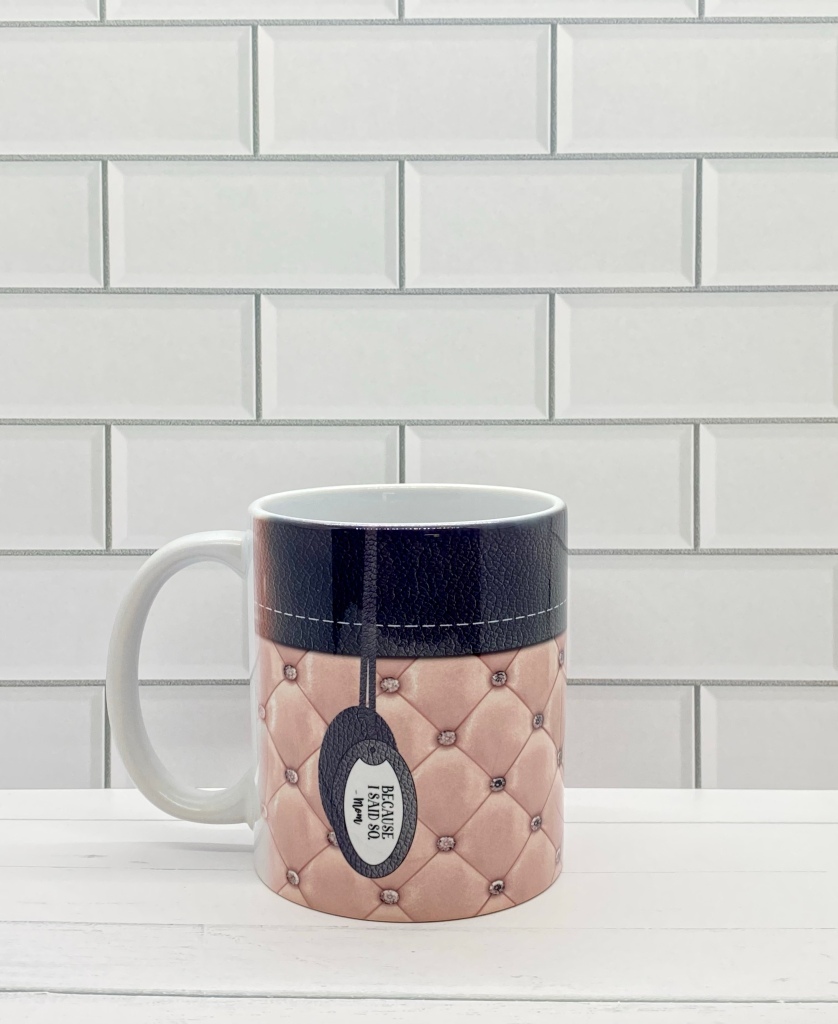
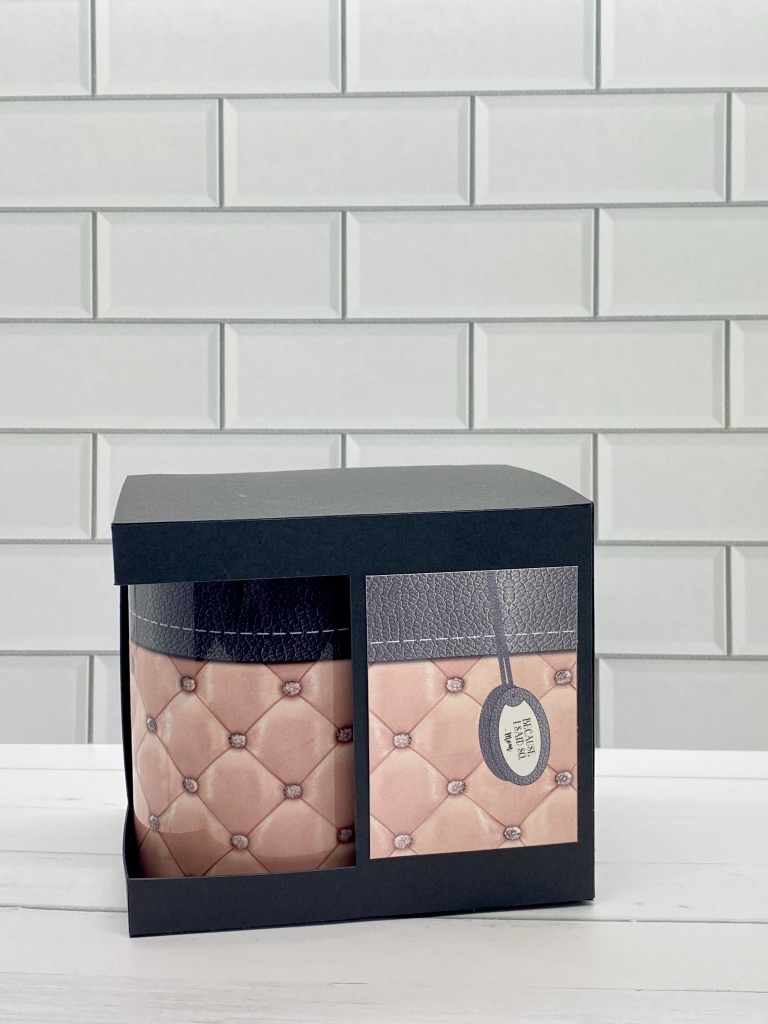
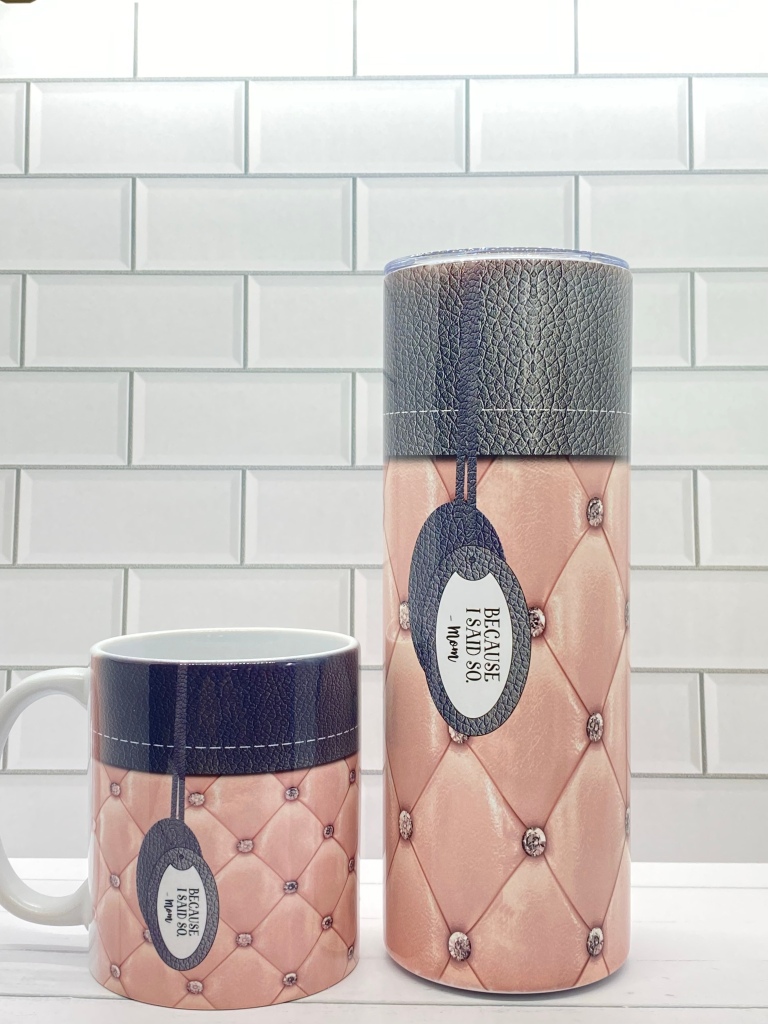
And then, I saw a pattern that I really liked, but couldn’t find, so I got to design some things using just a few images and tricks to recreate and refine the look I’d seen. I also did a matching tumbler 😊 I think this would be fun for Mother’s Day ❤️

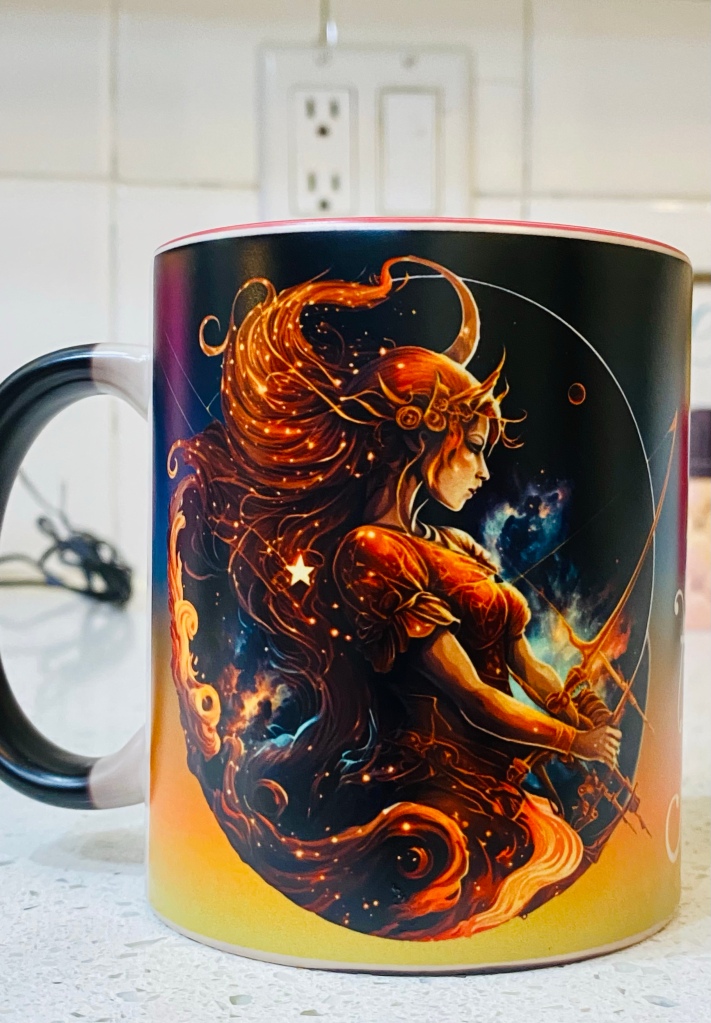
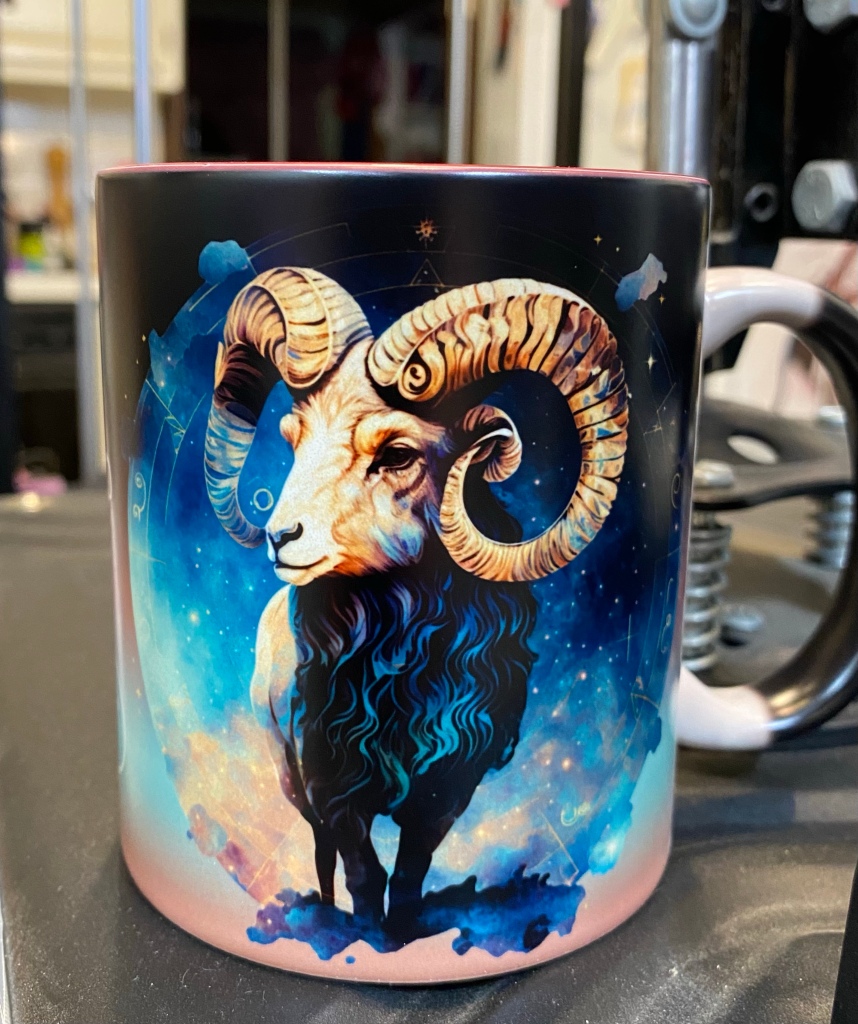
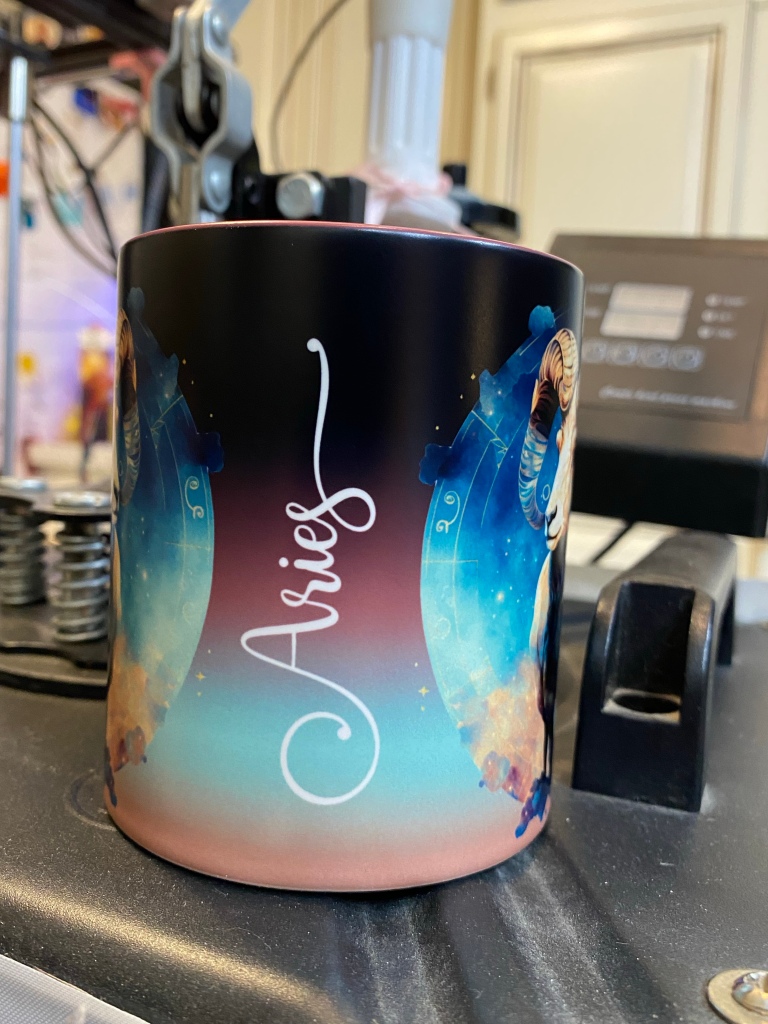
This last set of mugs I did because I found images I fell in love with. A friend suggested they might work well as Magic Mugs. And I agree!

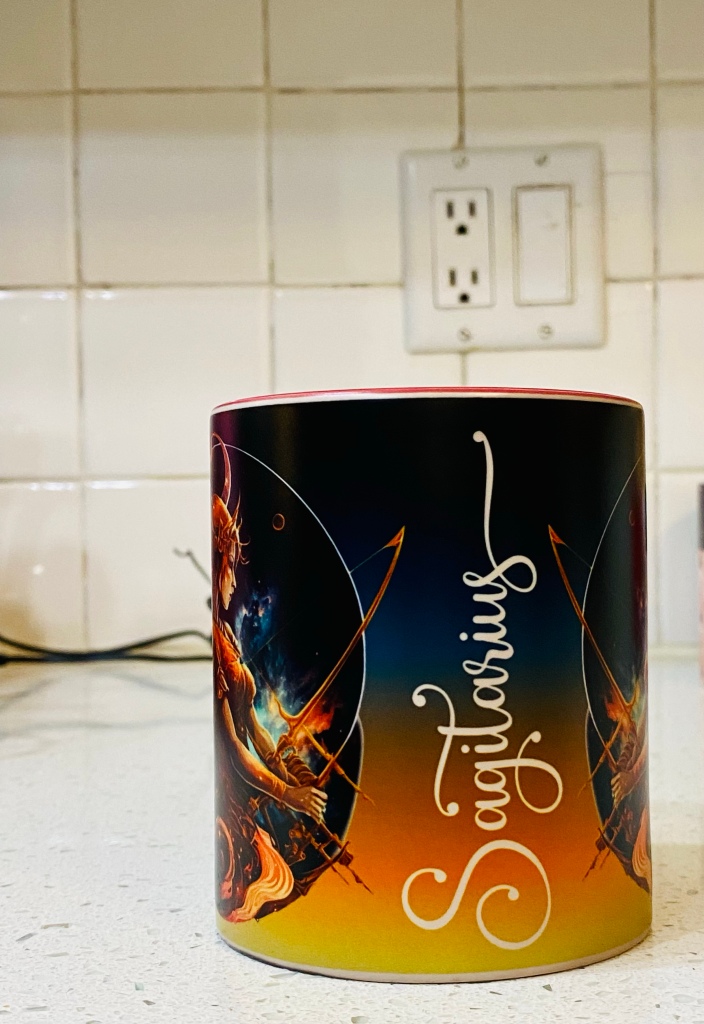
I did the Sagittarius mug for me (and I just noticed I misspelled it, so I will be fixing that right away!)

The Aries mug is for a friend of mine and I LOVE how the colors came out on this 💕

So those are some of the mugs I’ve been working on. There are some missing so there will be a Mug post part 2 coming soon.

As I mentioned at the beginning, these are the types of things I’ve been doing for fundraisers for Bandit and Paws 4 Autism.

For more information about Paws 4 Autism, click here: AWESOME DOGS

For JJ’s donation page, click here: AWESOME KID

Thanks for stopping by!

XOXOXO


CHRISTMAS ORNAMENT FUNDRAISER!

30 11 2021

In the last post, I mentioned the one fundraiser I was able to put together. It’s Christmas ornaments 🙂

I have 24 designs for you to choose from. Half are pet themed, the other half are snarky ’21 themed. They can be ordered in JJ’s Magic Store on his fundraising page here:

JJ’s Magic Store

They’re $10 each, which includes a keepsake box and shipping.

And ALL proceeds go to Paws 4 Autism, to help us keep providing wonderful dogs to wonderful people, and help us get closer to our fundraising goal.

Let me know if you have any questions, and as always, please feel free to share ❤

Ornament preview 👇🏻

XOXO

Alta and JJ


CHRISTMAS ORNAMENT 2020 – JJ and Bandit Fundraiser Opportunity!

23 10 2020

So here’s what happened 🙂

I 3D printed my first ornament of the year.

People liked it. I was encouraged to print more. So I did.

So here’s the deal. If you want one, you can go to the link in the picture by typing it in, clicking on it HERE, or scanning the QR code. That’s JJ’s fundraising page. Make a $10 donation. You’ll have the chance to leave a written message. In that message, please let me know the donation is for the TP ornament, and if you want more than one, please let me know the number you’d like.

Easy peasy lemon squeasy, but feel free to ask questions if you have any.

Thanks for stopping by!

xoxoxo

PS Stay tuned – next project, street lamp made from paper. Lamp lights up!


Giving Tuesday and Service Dogs

2 12 2019

You know we’re fundraising for an autism service dog for my 8yo son so he can feel safe going back to school.

On this Giving Tuesday, I just wanted to remind people that his fundraising campaign is an option. The organization we’re using is a charitable organization so any donations to my son’s page on their site are tax deductible. You can read more about them on their website: paws4autism.org

The money we need to raise will to train future dogs so our family and others will have hope on some of those hard autism days. We’re paying it forward. Can you help us by donating on his page and sharing his story?

Thank you.


A Christmas Surprise REVEALED!

25 12 2017

So, I’ve done this thing for my kiddos where I’ve hand made stockings for them.

One of my 18yo daughters came to us a little later in her life, and I wanted to make sure she had a handmade stocking, too.

Unfortunately, life isn’t as simple as it once seemed. My body can no longer do the same things it used to, so it took me longer to get this done. I also had to think outside the box.

I can no longer do the needlework, but I can make my Silhouette Cameo sing and boy did it. Here’s the “symphony” we created together.

There’s a pattern for the stocking. I had my Cameo cut it out for me.

I pulled different files from the Silhouette Design store and created the scene which I cut out of HTV. It’s kind of hard to see it in this picture, but the HTV is glittery 🙂

This was my first HTV project, so I was a little nervous about applying the vinyl to the stocking front. But I watched a lot of videos and did my research. I even cut out test pieces and applied them before I tried this. Luckily, it worked 🙂

The next step was sewing the stocking pieces together so it actually held things. I was nervous, but I managed to get through it and the sewn part turned out better than I thought it would. But I didn’t have very high expectations of myself, so that made it easier 😉

Let me just stop here and say, I am not a seamstress. My husband has actually used the words, “I rue the day I bought you that thing.” (Meaning the sewing machine).

After creating the stocking I hand stitched the bling around the top and closed up that top seam (I left it until last to make sure I had enough space for her name. Math and numbers aren’t my strong suit). Last, I added a few sparkly things to the snowflakes and parts of the scene.

She saw it for the first time this morning. The look on her face was worth all the recuts and all the extra rolls of HTV I had to buy because I kept messing up.

She was truly surprised and really liked it.

To me, that’s the best part of Christmas. Giving of yourself and seeing someone’s joy later. And that giving can come in many forms, not just a glittery stocking. AND, even better, it’s something we can do all year.

So Merry Christmas my friends. May you feel the love of those around you and give it freely to those whose paths you cross.

Xoxo

Links to project pieces:

Stocking pattern (there are directions, but I did my own thing.)

Church, Snowflake scroll, Saying


Not Your Ordinary Christmas Cards

21 12 2017

My husband needed something a little extra special. I looked at what I was working on – files from the Silhouette Design store to make Christmas ornaments.

I made the ornaments.

And cards.

I made the ornaments, as designed and directed, but I did employ some print and cut. I also added a few extra layers to the back of the ornaments for a little more stability.

Then I designed the cards to have the opening cut out to fit the ornament. I also printed off a flat, one layer design that looked like the paper layered design in the ornament. I printed it then cut it out. I didn’t want a blank circle once the recipients removed their ornament. You can kind of see the different stages in this picture.

I affixed the ornament to the card front using some dotto/hermafix temporary adhesive by EK Success. I like this because it holds things in place, but has an easy release and rubs off cleanly.

img_3846

Here are the finished cards.

img_3845


Thanks for stopping by! xoxo

Links to the projects: Comfort and Joy, Holly and Ivy, Seasons Greetings, Winter Wonderland

Adhesive


Christmas Cards Part the Sixth

21 12 2017

Mary at SVG Cuts does such amazing work designing and making so many wonderful and fun things. I LOVE this gingerbread house. I modified it a little because of the paper I was working with. I wanted the brown paper, but it wasn’t as sturdy as I wanted it to be for a box card, so I modified a few things 🙂 I added stickles and used a pearl like pen to finish it off.

I tried not to reuse any of the cards from last year for my husband to take to work, that way there weren’t any duplicates, but I couldn’t resist this one. It’s one of my favorites. It takes a little more time because of all the shading and glitter I added, but it was so worth it in the end 🙂

img_3841

This last one is actually a birthday card for a friend who has a birthday this month, but it can be used as a winter/Christmas card just as easily. This image is actually a sketch file from the Silhouette Design Store, but I printed it instead so I could use my copics to color it in. The ovals and scalloped frames are also from the store, as is the little tag  beneath

Thanks for stopping by!

xoxo

Links to projects: Gingerbread house, Poinsettia card, Pine Cone, Frames


Christmas Cards the Fifth

21 12 2017

Almost done. Really 🙂

I transitioned to box cards 🙂

The first one I didn’t do too much extra with, but I did shade the red paper on Santa.

The next is from a new kit SVG Cuts released this month. I’m so excited to play with it 🙂 I added in an extra piece (the blue background isn’t part of the file) and did quite a bit of shading on flowers and foliage. This card is super easy, especially if you refrain from the craziness I seem to love 🙂

Links to box cards: Santa, Amaryllis


The Barcode Scan Feature Failed Me

2 12 2017

And Silhouette American customer service can’t help me.

Let me show you some things.

Here’s how the finished card is supposed to look.

Well, something like that. This is my second one and the coloring is a little different. But you guys are smart. You can keep up 🙂

So my card making process on the Cameo for something like this isn’t hard. I added the striped background. I centered a white square on top then added my focal points.

I then printed it off using the barcode option, because I wasn’t going to cut it right away. I was waiting for marker refills, so I designed 3 different cards, printed them all off in this fashion and saved them for later.

When my marker refills came in, I got to work 🙂

Then I put the paper into my machine and hit the barcode icon. And my machine started cutting out a totally different file, ruining 2 days of work.

It’s done this to me once before. I think it was the same wrong file, too. A file that no longer even resides in my library.

I think there was a glitch and the barcode was somehow misinterpreted, either in printing or scanning.

Silhouette customer service says I messed up the registration marks and my image was in the way.

They’re wrong. I printed and cut out the file again, and this time it cut perfectly. And neither of those two issues would make the machine cut out a completely different file.

Let me show you what happened.

That thick black line around the outside of the image is the cut line – the computer tells the machine this is where the paper needs to be cut. The barcode looking thing in the upper right corner is, you guessed it, the barcode 😉 The hash marks and the dark black line in the corner, that’s a registration mark (one of them). As you can see, the image is within all the visible borders.

In this picture, you can see a rectangle was cut, but it’s WAY off. And it cut through my image, making it unusable as is. At this point, if that’s all that had happened, it was possible for me to try and come up with something to play it off, like I meant to do this for some cleaver, creative reason. And it’s even *possible* (a little snowflake in Arizona type possible) that bad registration marks or placement could have caused this particular cut.

img_3539

But not these cuts. These cuts aren’t even part of this project. 

img_3540

Nor are they part of any of the two other projects designed in this same workspace. I wish I’d let it finish cutting, so I could see which project it was. But I believe it’s from a different card. One that’s already made and for which the file has already been deleted.

But it seems as though Customer Service ignored these miscuts and sadly, they weren’t helpful.

I feel like this feature is still in beta and no one’s said anything. Or it’s something that didn’t work like they wanted, so they just stopped working on it. I don’t know. But the company really isn’t supporting this feature. It doesn’t yet work how they’ve advertised (they say you can cut without even opening up the file/software. I haven’t seen how, yet). There don’t seem to be any tutorials (at least not easy to find, and not last time I checked) for this feature. And customer service all but ignored the barcode part of my issue, instead blaming my registration marks and placement of the image. Even when I mentioned the barcode, it wasn’t addressed or acknowledged.

Sometimes the barcode scanning works really well. Although, on the three images this project was part of, only one cut successfully. The other had a failed barcode scan, and this one, while the scan appeared to be successful, it cut out the wrong images. But other times, it works. I think the key feature in both times it miscut, was the length of time between printing and cutting. Which is unfortunate, because being able to print now and cut later is kind of what this feature seems to be all about.


Links to project: elf digi stamp, striped background


Christmas Cards Part the Fourth

1 12 2017

Still working on fun 🙂

This card involved digital elements as well as an actual stamp 🙂 The background and the fairy are digital. I printed them off, colored, and then cut them out. Then I stamped the greeting 🙂

This is a stamp I bought a few months ago because, look at it 😉 This card is almost completely old school with no digital 🙂 I stamped and colored the image. Cut out all the papers. Used embossing powders and gel pens. When it was time to cut out the stamped portion, I tried to use my pixscan mat, but my machine and that function still don’t get a long. Which is a shame, because it’s such an awesome feature. Instead, I created and cut out two frames. One is the mat. The other I traced around my stamped image then cut the image out by hand. I got the right size by using the pixscan function, even if my machine wasn’t able to cut it out.

And we have a Christmas box card! I think I’ve shifted into the box card making part of my seasonal cards 🙂

Thanks for stopping by!

xoxo

Links to the projects: fairy digi stamp, pattern/digi paper, postcard stamp, snow globe box card