Today, I learned a lot.
Mostly I learned what not to do.
But there is value in making mistakes, if we’re willing to learn from them.
I was playing with an idea to sublimate Bandit’s name onto a few things. I’m trying to put together an emergency bag for him that’s ready to go, including first aid items. We live in Tornado Land and it is that time of year. But we’ve also had ice storms in the winter that knock out power for four days. Gas leaks. People sitting in front of our house watching it…and more, I’m sure, because my life is NOT boring lol.
I found these bags at a good price, so it was worth experimenting with, especially because this one would stay in the basement unless we needed it. And if we need it, it will have character 🙂
Here’s what I learned:
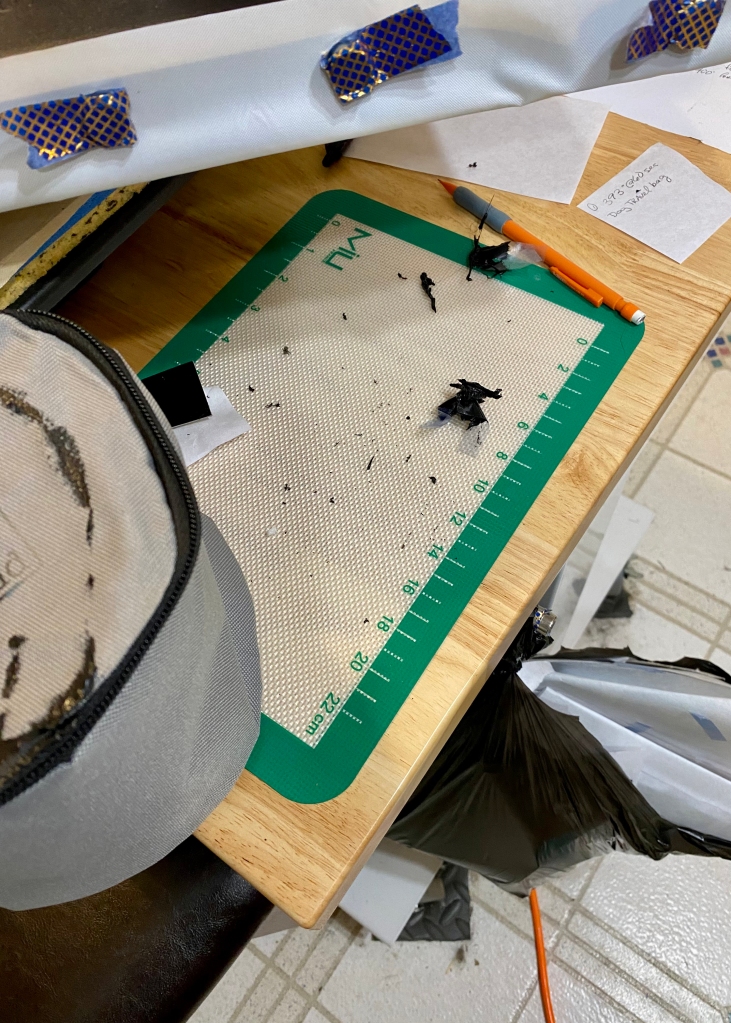
- Nylon straps melt at high temps. I’m sure I would have remembered if I’d taken time to think about it. In the future, I’ll just cut off this particular strap. I’ll get a better image that way, too. But I do have to clean the melted nylon glob off my heat press. Luckily, I have a teflon sheet attached to it. If I can’t clean it off, I can replace it. You can see some of the melted strap I’ve already scraped off on the silicone mat.

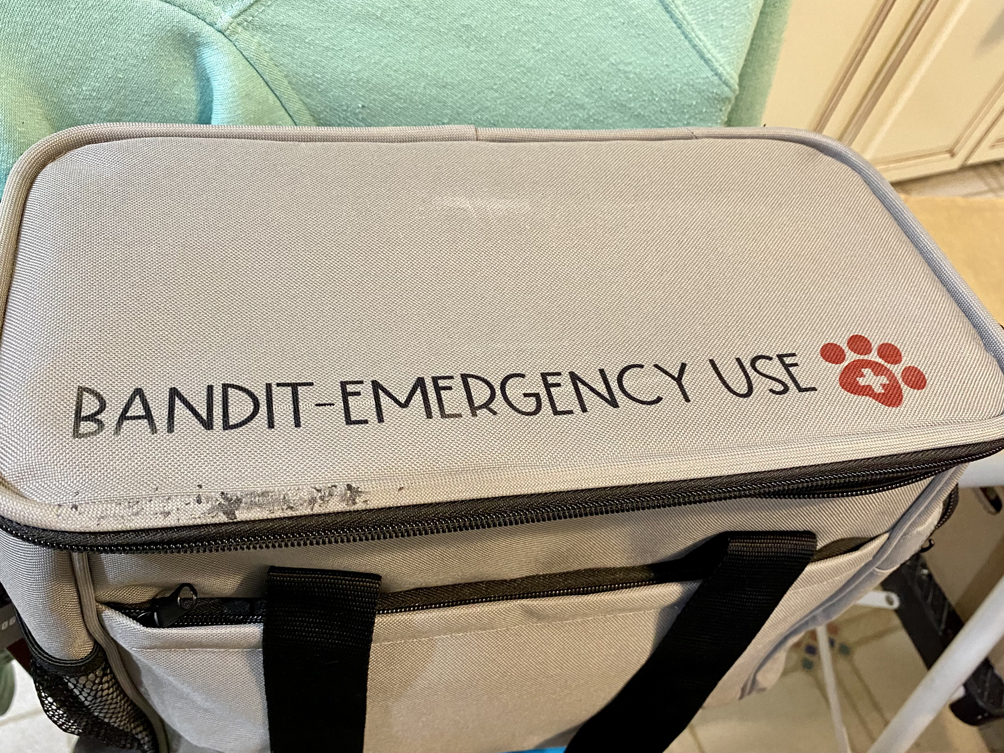
2. I learned that not only does the nylon strap melt, it impedes the transfer of the image. You can see that on the right hand side of the picture. In this set up, there was no way to move it far enough out of the way for a good transfer. But then again, it also wouldn’t have mattered since the strap melted. On the other hand, I also learned that I CAN sublimate on these bags, and the temp and time seem to work.

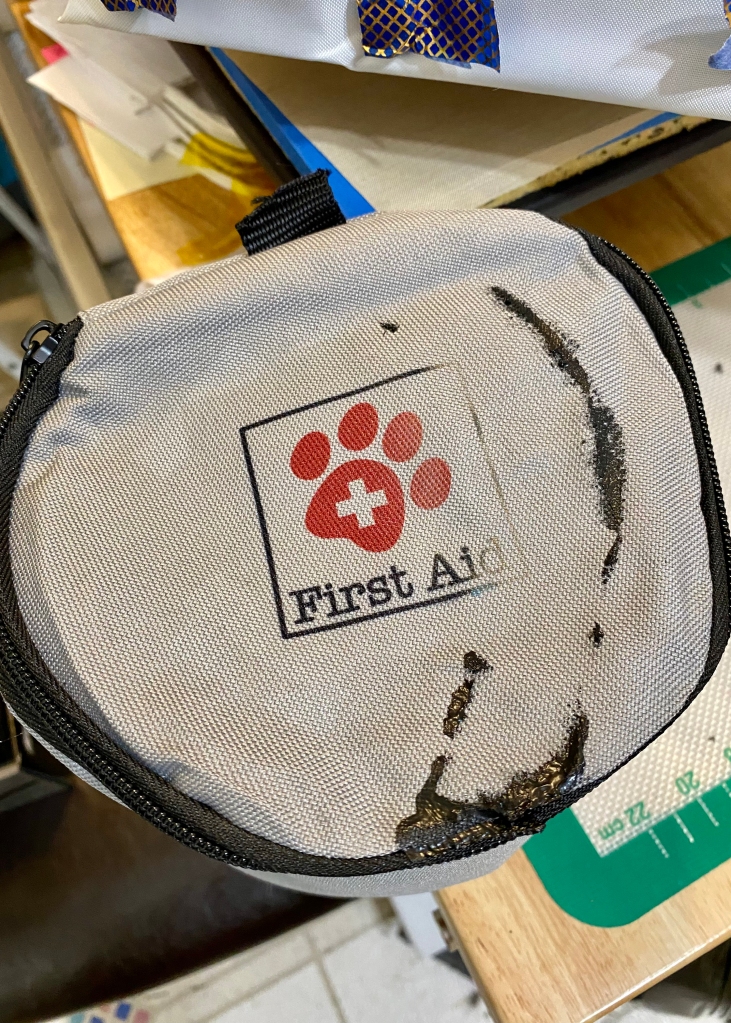
3. I also learned that the melted strap I hadn’t gotten off the teflon, was over further than I thought…Maybe I should have tried harder to clean it off, but I thought I had enough room to do the last transfer. I should have paid more attention to exactly where the glob would land. Because some of it got on to the other piece I was sublimating lol. You can see where it transferred on the bottom left. But again, this is an emergency bag, so this gives it character 😉 And I now have a matched set 😀
In addition, the transfer on the bottom left is a little light. So I learned I need to move the image up just a little more to stop the seam from interfering.

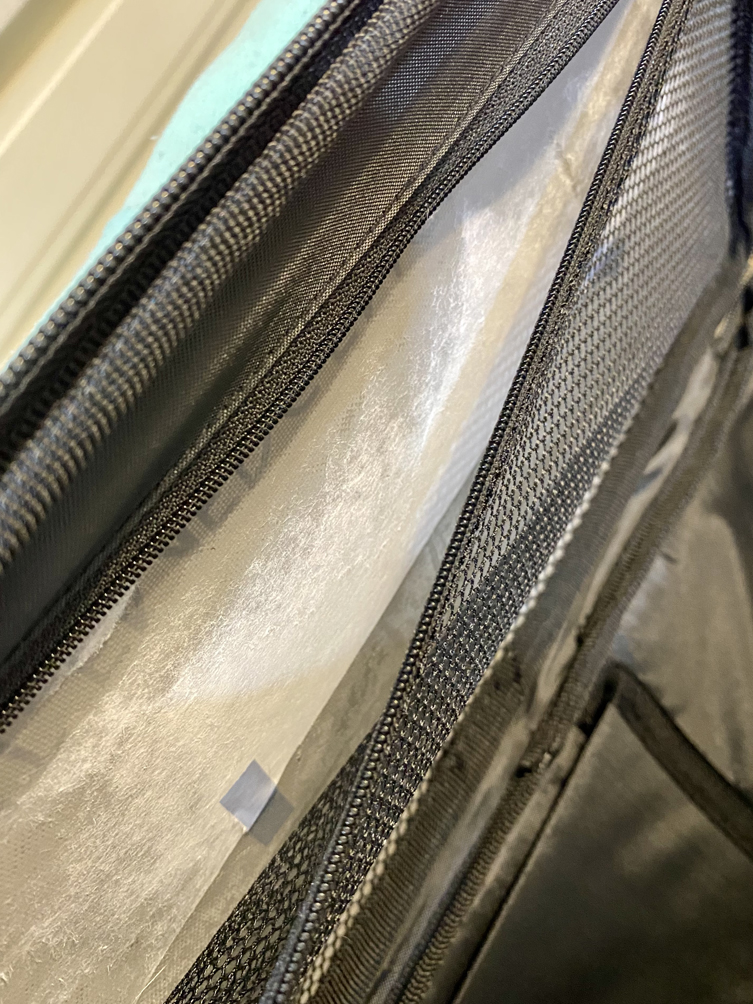
4. I learned that the top inside of this bag…melts a little 🙄
When sublimating, it’s usually wise to use some blow out paper on top of the image and under the substrate you’re sublimating on to, to catch any of the ink that could transfer to somewhere you don’t want it to go. The white part inside the zippered pouch…that’s the blowout paper. It’s stuck to the top of the bag now because the material above it melted a little. You can also see the blue tape I used to keep the blow out paper in place…it may also be a permanent part of the bag now lol. But now I know.
I learned I was right to use another teflon sheet inside that zippered pouch. It was placed after the blow out paper, because I wasn’t sure about the material there and how it would react to heat. If it *did* melt a little, I didn’t want it sealing off this pocket and limiting the options I have for this bag.

I learned a lot. Not everything I did was a failure, I saved some of the project by making smart decisions. But other parts, I really messed up on, and learned from them. Knowing what NOT to do can be as important as knowing WHAT to do.
I have another bag like this. It’s for use in the car or for traveling so the labeling will be similar, but a little different. Now, I can take my mistakes and the knowledge they created, and apply it to this other bag 😀
Thanks for stopping by! Bandit and JJ appreciate everyone’s support on this journey ❤️
To find out more about our organization, you can visit us and check out the pups in our program here: Paws 4 Autism
To find out more about JJ and Bandit, you can find their page here: JJ’s Magic
XOXOXO


