I’m really diggin’ this 3D printing guys lol.
There’s a lot of free files out there. I’ve worked on modifying (very tiny mods) some files – like the Ear Savers For JJ here that we’ve been using as a fund raiser for his service dog. But I’ve printed more where I’ve just stood back in awe at someone else’s genius 🙂
This is one of those times.
Our upstairs bathroom *could* have a nautical theme, or not if you decide to remove the octopus shower curtain. I want it to be easily changed, because I think I’d like to move in a few years and not everyone shares my likes 😉
Anyway, this light switch cover/leaver caught my eye.
First step – printing. This is how it looked after the print was finished.

Then, checking my work before painting or gluing. This is where I found out I printed the wrong gears. They were too big, so I went back and printed the right size, lol. Then it fit together nicely 🙂

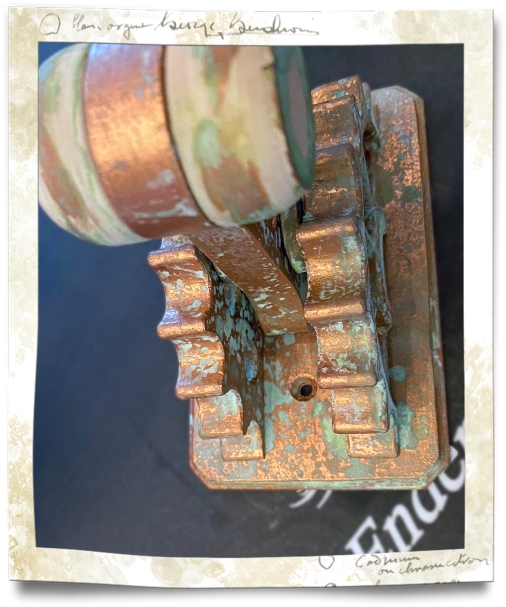
Once I knew it fit together correctly, I smoothed out edges and cleaned things up. Then painted them.
I’d LOVE to tell you I added all the cool detail by hand, but I didn’t. I found a Patina oxidizing finish kit by Modern Masters Metal Effects. A few coats of primer, a few coats of copper paint, and spray on the oxidizing spray and you get some neat finishes 🙂
Here’s the finished piece (except gluing. I still need to glue, but that’s it’s own skill set).


Fun, right? You’re turn. You should go out and try something fun, too ❤️
Thanks for stopping by!
XOXOXO
